


Easy Sea Turtle Painted Wood Sign

by
Karen
4 Materials
2 Hours
Easy
This Sea Turtle painted wood sign was so easy to do...I was shocked! I think you will be too! I can't wait to see what you think when I show you how easy it is.
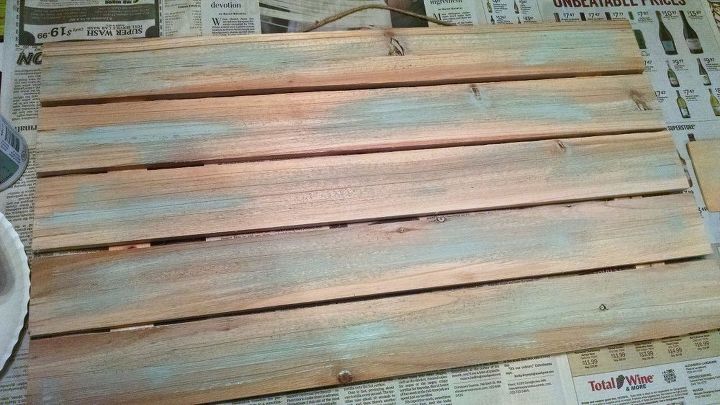
I forgot to take a photo before I started this ...I just got too excited to get started! But anyway this started as raw wood with a rough texture. I had a 60% off coupon for Michaels.
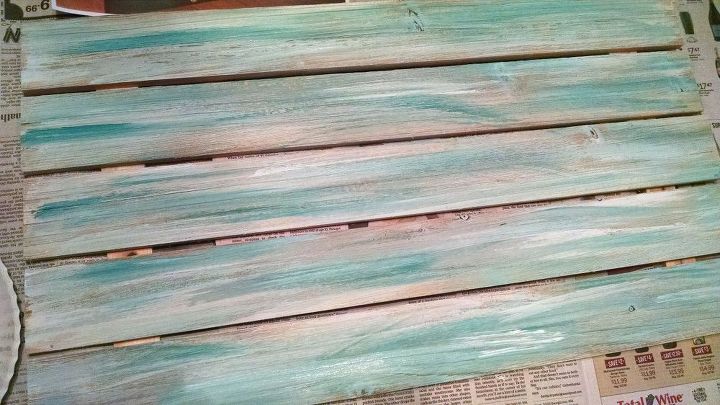
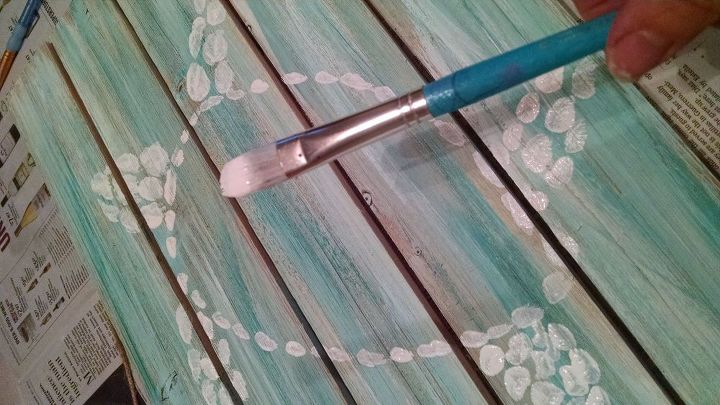
Using a paint brush I dipped it in a light antique blue chalk paint. Then I gently applied it to the wood in a sweeping motion. I wanted to have a good tint of blue but did not want a solid color so I left patches of wood unpainted. Then I did the same thing with White Ning Unicorn Spit. But wanted less paint in the brush so I used a painted a few streaks on a scrap paper before applying to the wood. What is Unicorn Spit, you ask? Well it is a really cool Water based gel stain with vibrant colors...I'll talk more about it farther down...keep reading.
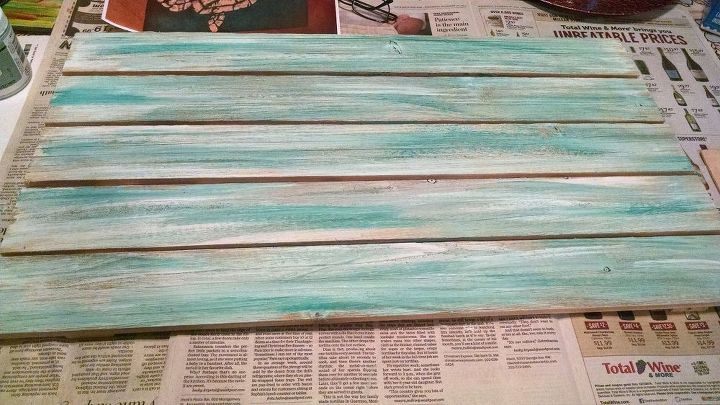
Using Zia Teal Unicorn Spit I filled in some of the bare spots using the same technique...less paint and sweeping motion. The Zia Teal is the darker tones of blue...isn't it such a pretty color? I'm betting you are still trying to figure out what is so great about Unicorn Spit, right? I know right now it doesn't look like anything all that special but the magic will happen when I seal it. The chalk paint will still have the duller tone but the white and the teal will pop!
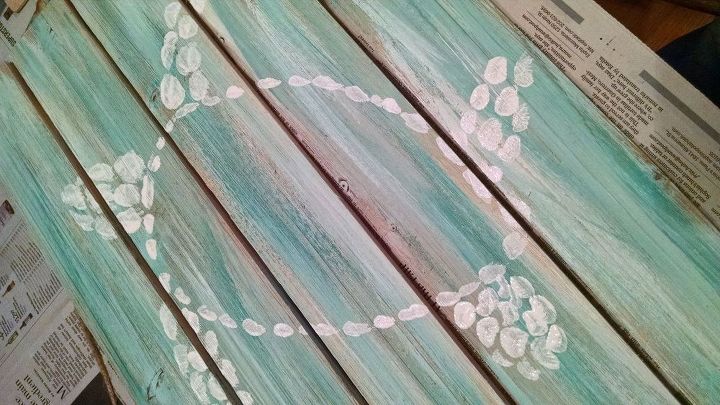
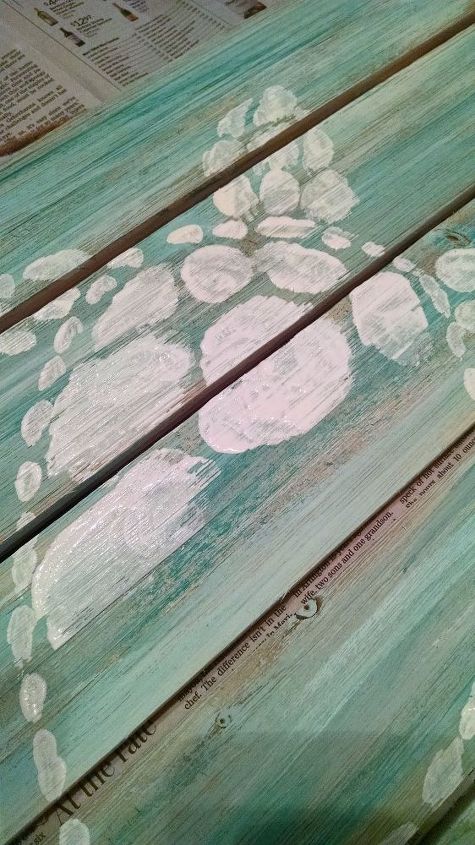
This step take the White Zing starting at the neck (make sure to use a wider flat brush or one with just a slightly rounded tip) and dab out the outline of the turtles body. Think of a pear shaped diamond stone...the point of the stone would be the butt of the turtle.
This step you will want to use a brush with a rounder tip not a straight flat end. Dab out the shape of the head using rounded square shapes. Kind of fitting the shapes like a puzzle. So in other words fill in some of the holes with the next shape. The shape of the head should have a slightly narrowing tip for the nose. You'll do the same concept with the legs. The front legs should be a bit pointier than the back legs.
Now using bigger shapes fill in the body, again filling in gaps like a puzzle. If you have filled the entire piece with your turtle you can leave it just like this and go straight to the sealer. But if you still need to fill some space you can do swirls, another turtle or words. Let dry. The next step is very important...do not skip it! Besides it's where the magic happens with the Unicorn Spit.
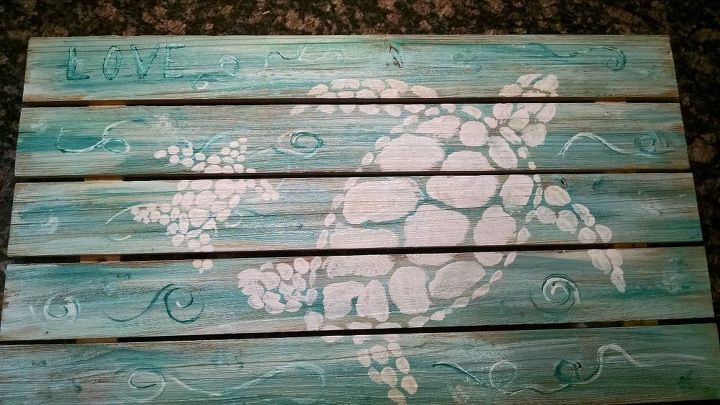
Use an oil based sealer...Polyurethane, spray poly, Triple Thick Poly...it doesn't matter as long as it is oil based. And watch the colors pop! I used the Triple Thick Poly on this piece. I hope you find this easy to follow. My daughter is going to LOVE this when I give it to her for Christmas this year.
Want more details about this and other DIY projects? Check out my blog post!
Comments
Join the conversation
4 comments
-
Great project...thanks for explaining all the steps so clearly
-
Very nice, love turtles


Frequently asked questions
Have a question about this project?