


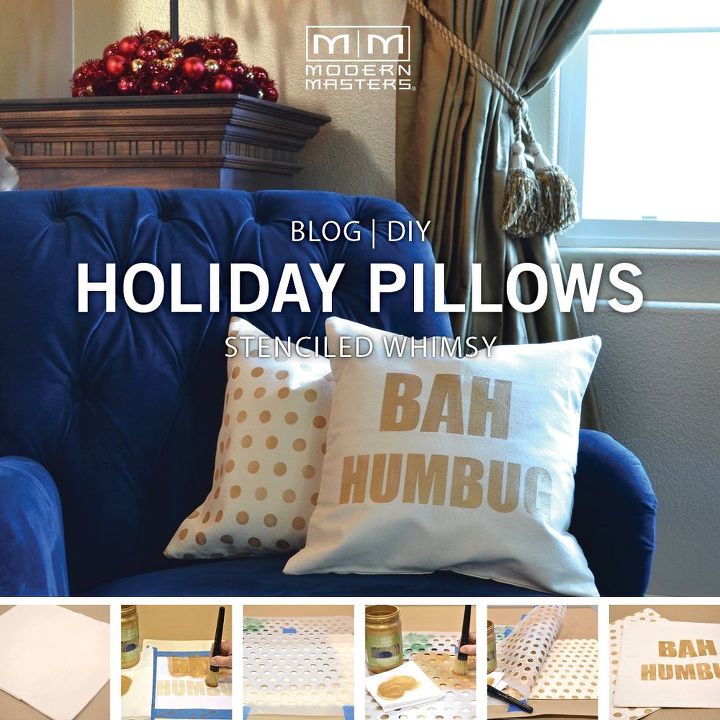
Christmas DIY: Stenciled Holiday Pillows

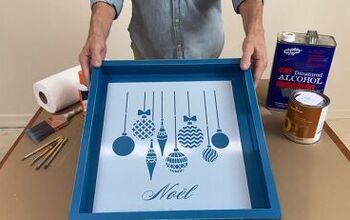
1 Material
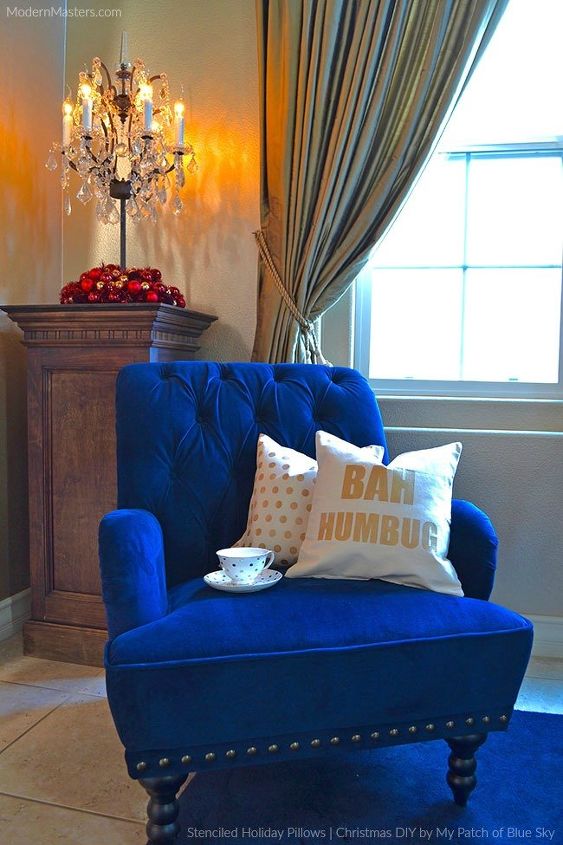
Here's a cute idea for sharing your favorite holiday expressions! Debbie Hayes of My Patch of Blue Sky creates super fast and easy stenciled throw pillows that add a little fa la la fun to your holiday decor! The best part is that you can use these techniques to create custom pillows for holidays year round.
Supplies:
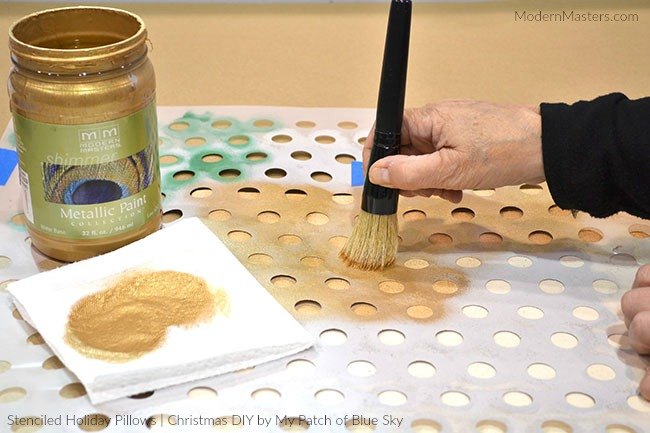
INSTRUCTIONS FOR POLKA DOTS PILLOW
INSTRUCTIONS FOR 'BAH HUMBUG' LETTERED PILLOW
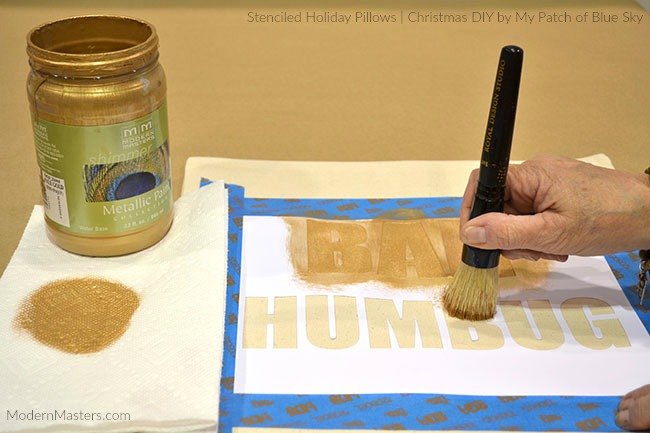
Apply and secure the Bah Humbug vinyl lettering stencil over their designated pillow cover. Tape in position. Repeat the stenciling process as outlined above. After stenciling, remove the vinyl lettering and let dry.
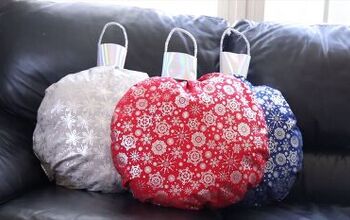
What an easy way to add some shimmery accents to your holiday decor! We hope we've inspired you to give this project a try and if so, feel free to see more on our blog via the link below. There you can find more of our latest Christmas DIY's as well!


Frequently asked questions
Have a question about this project?