


4 STEPS TO A SIMPLE SCRAP WOOD CHRISTMAS TREE

by
Cindy
4 Materials
Have you seen how people have used pallets to make decorations like a Christmas tree? Well, I had some scrap wood from another project and decided to try my hand at this. It was super easy to make and gives a little pizzazz to my front porch.
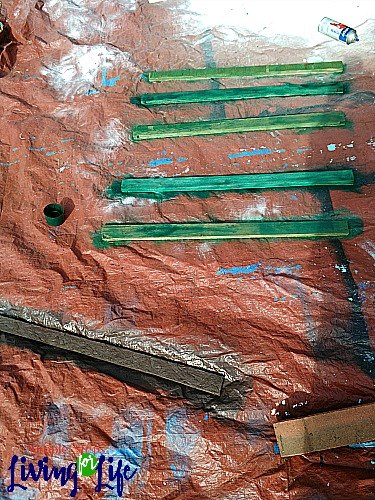
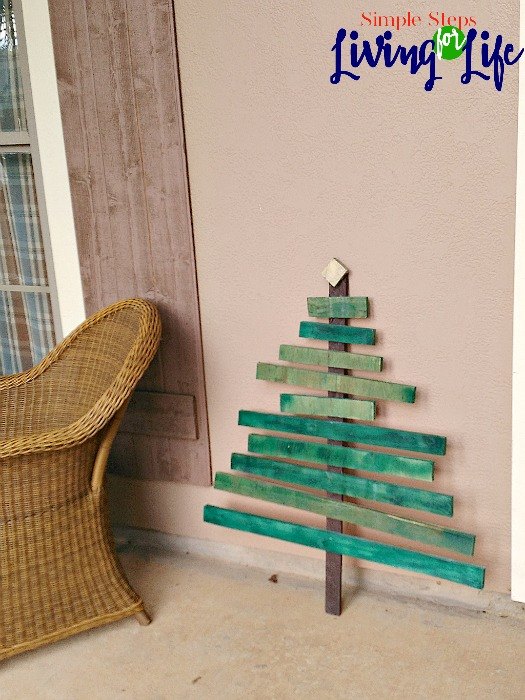
#1 Cut thin wood strips into staggering lengths to make the “Christmas tree” shape. Make sure to cut one little square for the star on to and one long strip to be the trunk of the tree.
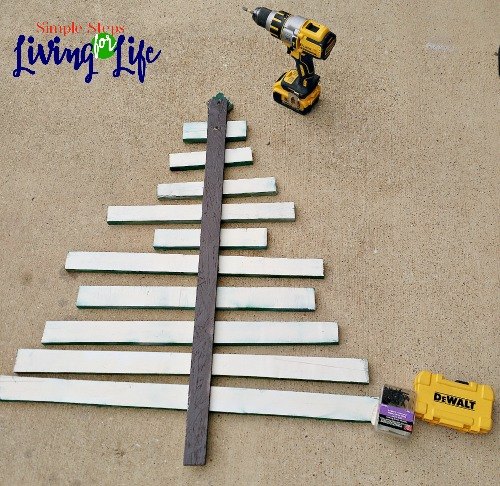
#3 After all the paint is dry, it is time for assembling the Christmas tree. First make sure you have screws that won’t show through on the other side. Lay the branches and star face down with the trunk lined up on top. Put a screw on the wood like this to make sure it is not too long…
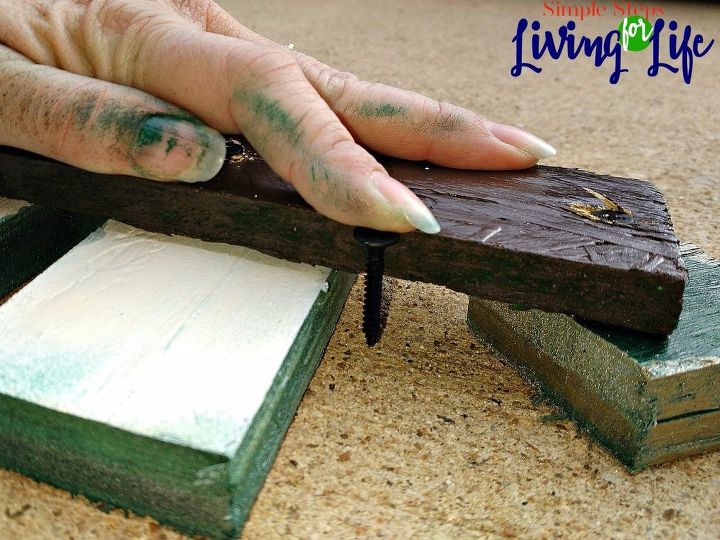
Now screw each branch to the trunk…
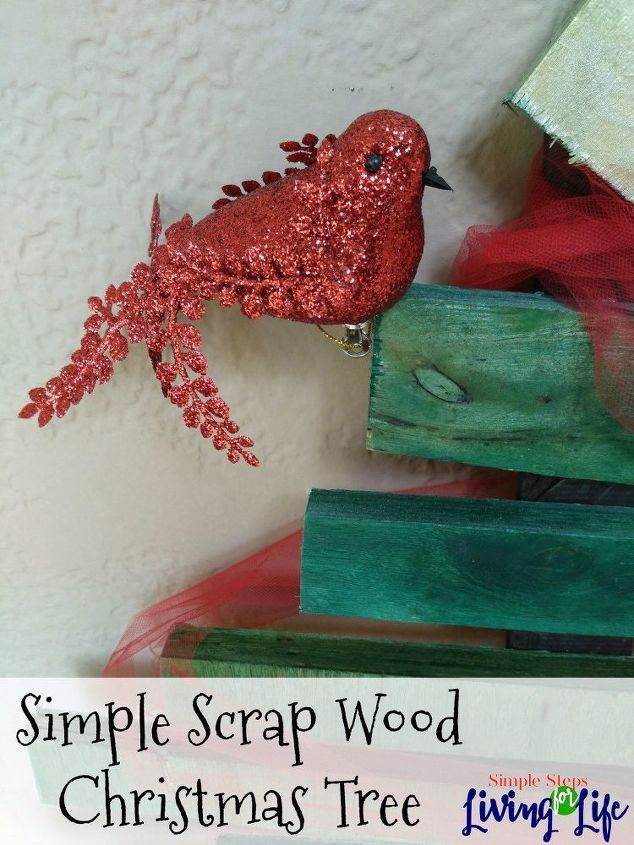
#4 Decorate your tree or leave it just as it is. Here’s a picture before I added the red tulle and little bird I found in my Christmas decor boxed… I liked it but wanted to have it match the Christmas tree on the porch.
Here's after adding the little bird and tulle. A nail was added to the top "branch" for the bird to perch. Tah dah!

For more Christmas fun: How to Make a Gingerbread House & How to Make a Reindeer Chip Clip check out my HomeTalk page SimpleStepsForLivingLife or blog. :)
Want more details about this and other DIY projects? Check out my blog post!


Frequently asked questions
Have a question about this project?