


Make Vintage Bottle Candles

Learn how to make authentic vintage bottle candles with this easy video tutorial.
{
"id": "3647920",
"alt": "",
"title": "",
"video_link": "https://www.youtube.com/embed/5tL3axONF6E",
"youtube_video_id": "5tL3axONF6E"
}
{
"width": 634,
"height": 357,
"showRelated": true
}

Learn how to make authentic vintage bottle candles with this easy video tutorial.
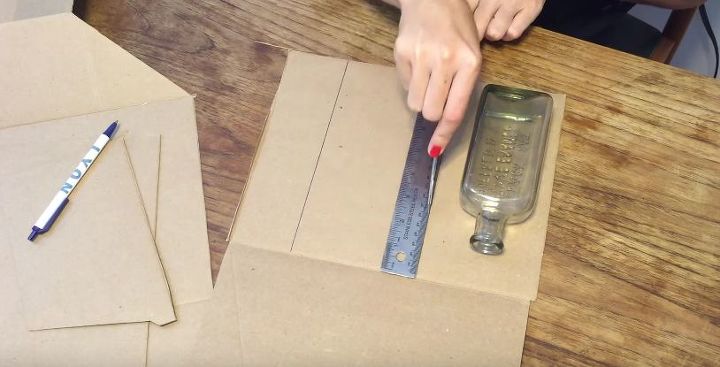
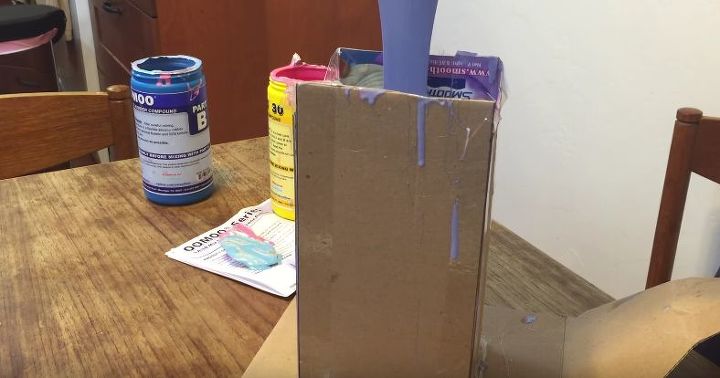
Cut 4 pieces of cardboard to create a rectangle. This rectangle should be 1" larger than your bottle in all dimensions. This will ensure that your mold will be strong enough to retain it's shape.
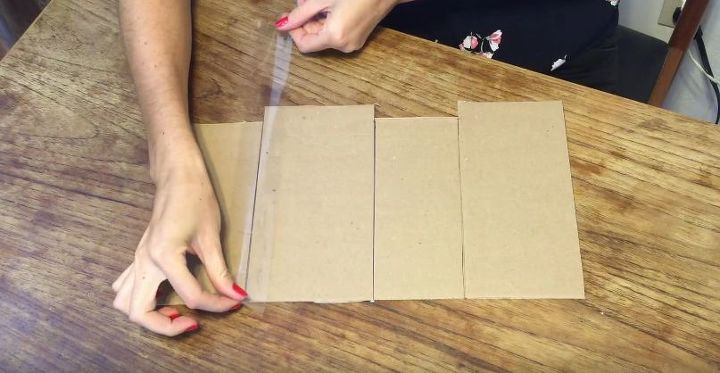
Then tape the sides together with packing tape. I recommend taping both sides (outside and inside) with tape. You'll be pouring liquid into this and you don't want it leaking out!
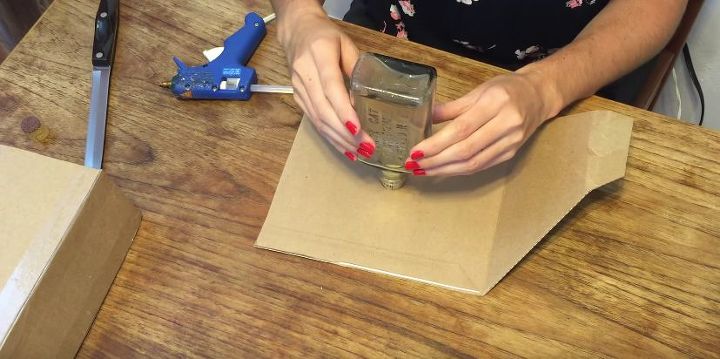
Put a cork in the bottle and hot glue gun it upside down to a piece of cardboard.

Take the rectangle we made in step one and place it over the bottle. Seal with hot glue.
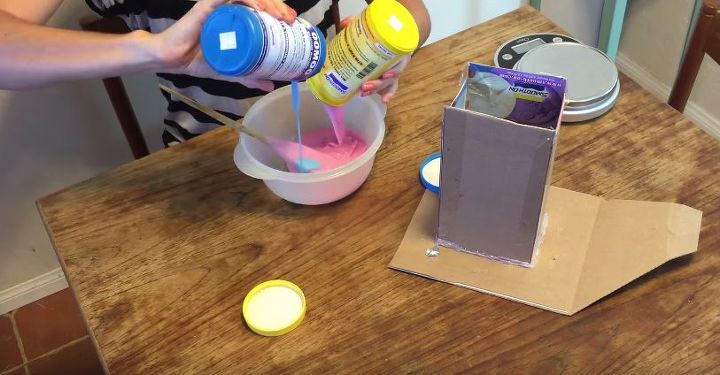
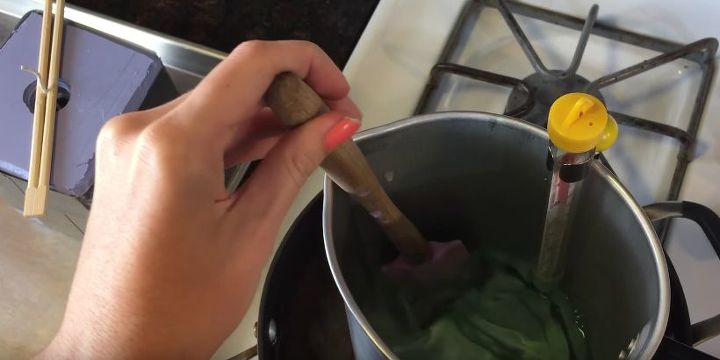
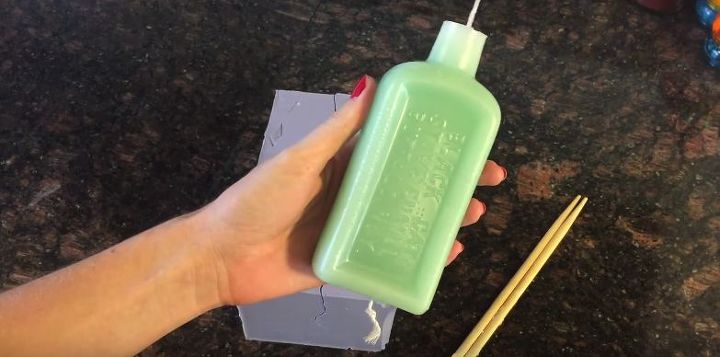
This is the easiest step EVER. Just mix equal parts A and B together in a bowl until well combined. There are lots of different types of silicone out there. I got this kit on Amazon for about $30.
Make sure to pour the silicone in at an angle to avoid creating air bubbles. Let your mold harden for at least 6 hours but preferably overnight.
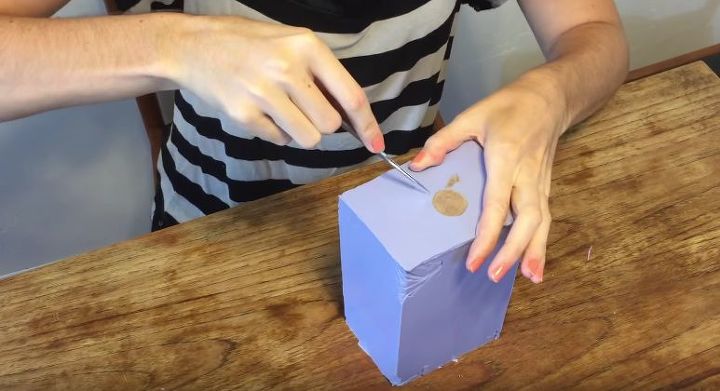
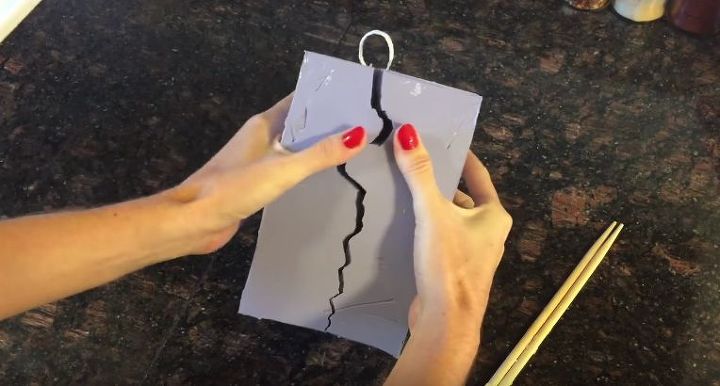
(I'd recommend watching the video to really understand how to do this step -- It's much clearer then photos.) When cutting through the silicone use a sharp exacto or scalpel. Do not just cut a straight line. Remember, you'll be pouring hot liquid wax inside so try and cut in a zig zag pattern. Then remove the bottle.
It's SUPER important to choose the right wick size for your object. Use a wick guide from your preferred candle seller. I like to use Candle Science. They're very knowledgeable and have great products. Based on the diameter of your bottle you'll use a different type of wick.
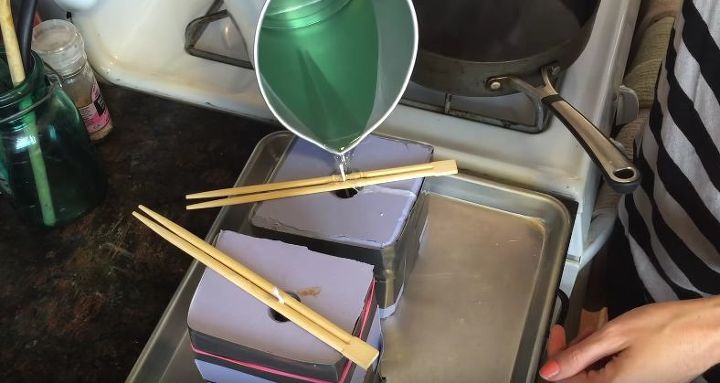
Note: I also secured the sides of my molds with rubber bands and tape. Nothing leaked out, so ultimately it wasn't necessary, but do this step over a lipped cookie sheet just in case you have spills!
Definitely the most fun and rewarding step! Time to take the candle out!
Please subscribe to my Youtube channel! for more sweet DIY projects.
Comments
Join the conversation
2 of 49 comments
-
Nice idea for a mold.
-
Love this project! Thinking I'm prob going to have to replace my silicone molding agents I bought years ago...Oh well...worthy project! TFS!


Frequently asked questions
Have a question about this project?
what the name to make a silicone that you mix A & B?
would a 1/2 gallon milk carton work to make the mold in?
Can you use soy wax?
understand the reason to use paraffin, but would rather use soy….great idea!