Dollhouse Miniature Barn Doors DIY

Mish Volonino
by Mish Volonino
3 Materials
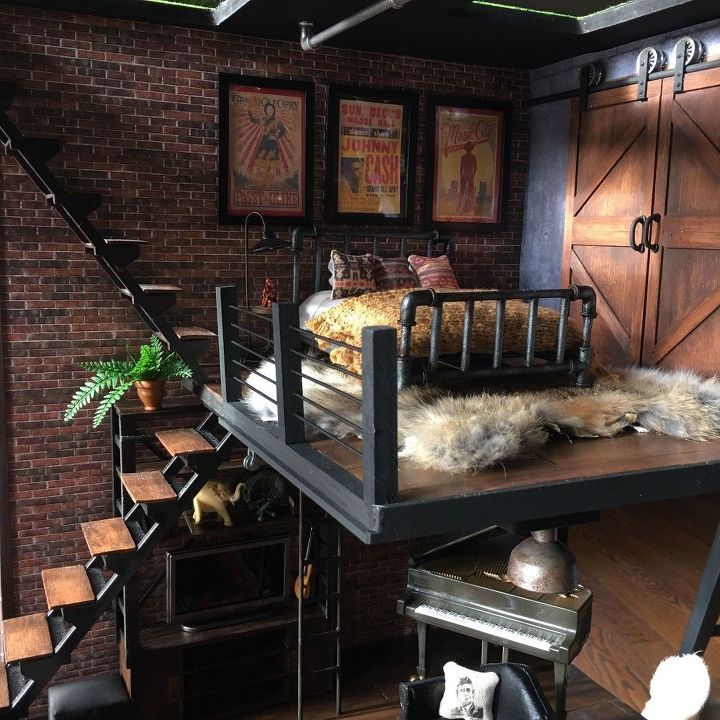
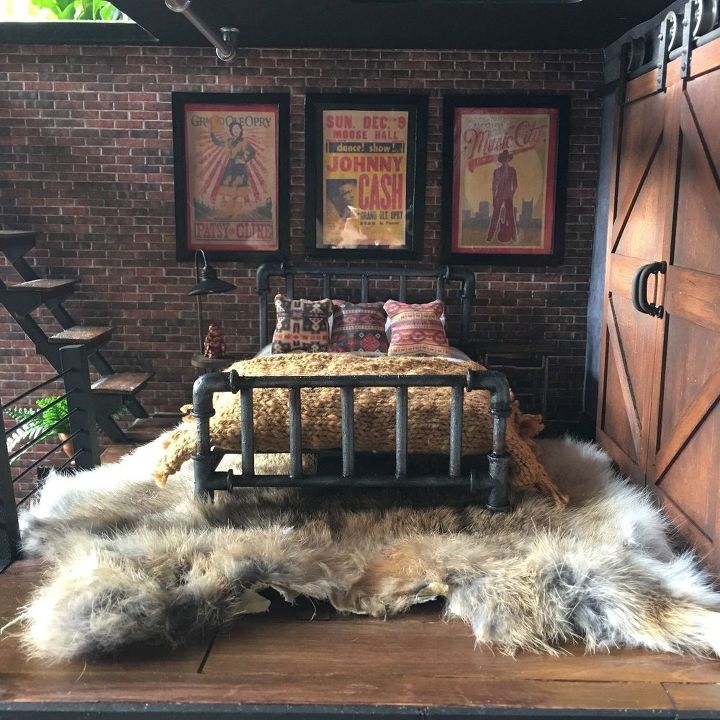
I wanted to make Miniature Barn Doors for my Nashville Duplex Dollhouse. I searched all over the net and much to my surprise I couldn't find one single image of a tutorial or dollhouse that had Barn Doors. I was really surprised.
That didn't stop me. I did however come across a posting online of someone who created a barn door to cover a peep hole on a life size door. So I took that idea and modified it for my dollhouse.
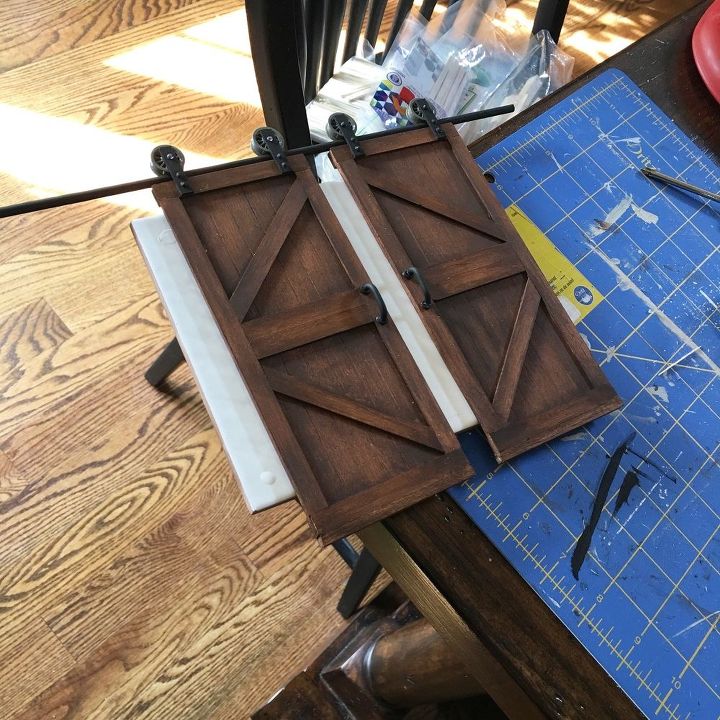
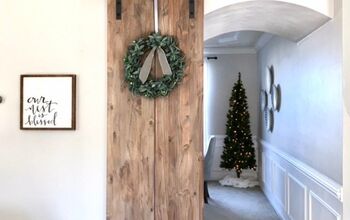
I'm going to try and describe to the best of my ability so you too, can make these doors for your miniature project. The first picture is the complete Doors.
Now let's dissect the process.
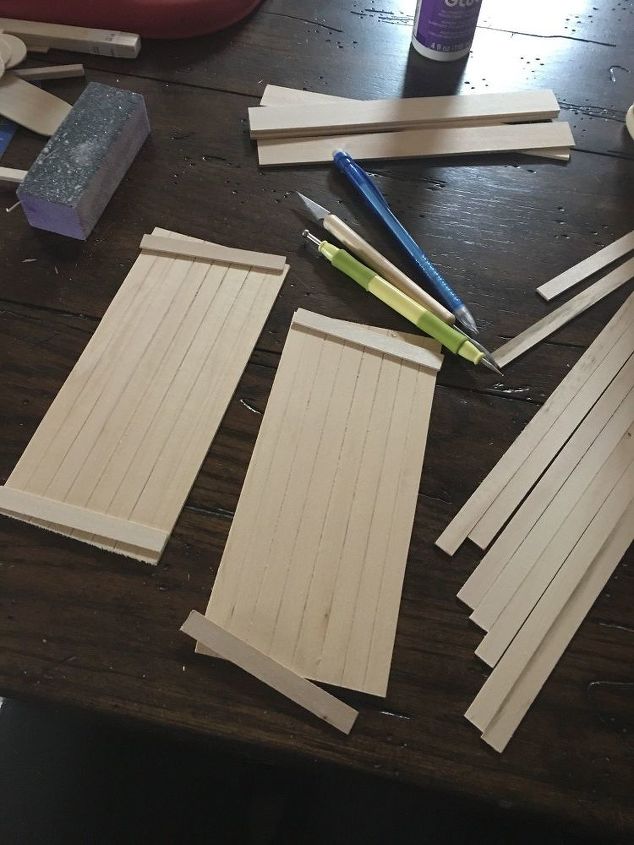
So, I didn't have enough Popsicle/crafts stick in any one size to complete two Doors. I grabbed my bag of assorted wood pieces. Hobby Lobby and Joanne's sells bags of wood in several sizes. I used bass wood. It's soft but works fine once stained and has a protective coating.


I measured my door opening and divided that in half. I then measured my wood pieces and used an xacto knife to cut door.


I also had a stack of wood trim pieces that I was going to use to create the design of the door (as seen in pic)


If you look closely you can see the door appears to be planks. I took one of those sticks and used the width to groove in the effect of planks. Bass wood is soft and great for creating designs and carving.
Next, I asked my father, the Lego man, if he had any wheels. This is what I grabbed from the peephole barn door.
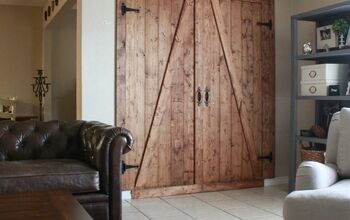
Here are the doors. You can see the design finished on the left. I was trying them out for size.


As far as design, there are so many styles and designs online. This is just one style.
Next, I stained them with the first coat of Americana Gel Stain. I can't tell you how much I love this product. It's cheap, comes in several colors, no fumes, dries within 20 minutes, and easily cleans up with water.
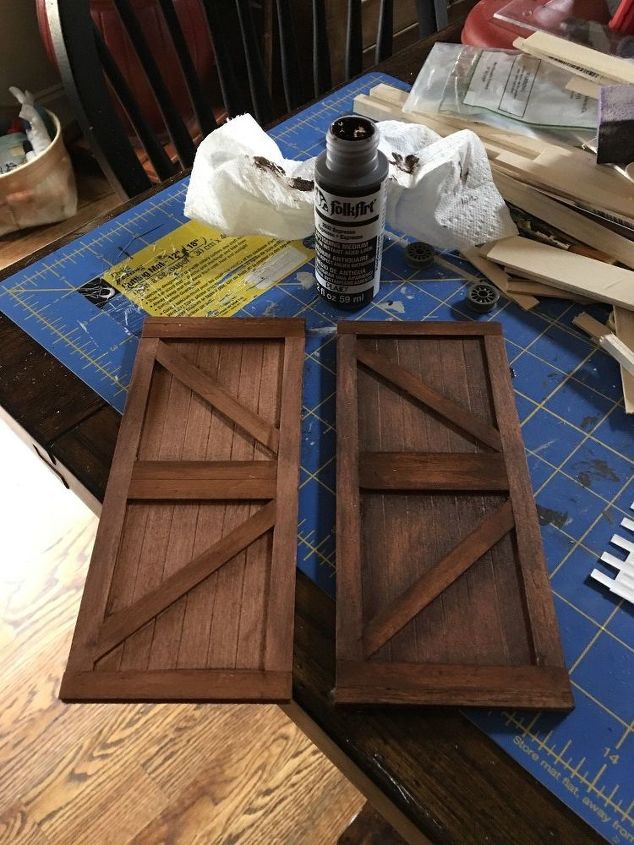
Next I started the aging process. I used Folkart Antiquing Paint in Expresso. This is another great paint that is inexpensive.
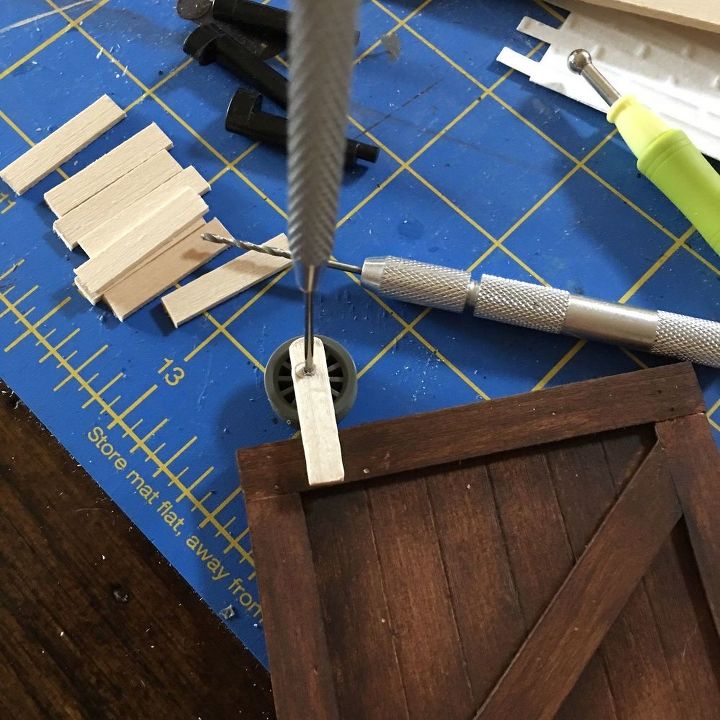
Figuring out how I was going to attach the wheels and make the track was hard. I studied Barn Doors online, probabaly too much. But this is what I came up with.


I used a thicker coffee stirrer and measured how tall it would have to be for me to be able to slide a thin dowel under the wheel. I then cut eight pieces for the door. Four pieces for each door, two on each side.


I pressed a point to indicate where I would drill my hole. Now it's not showing in this picture but it's very important to slide a thin dowel under the wheel before pressing your point. This will be the full measurement of where the wheel will attach and slide back and forth on the dowel/track. I used the first piece as a template to drill holes in remaining pieces.


Once all holes were drilled with little hand drill, I glued on flatback rhinestones (I had in crafting supplies). I glued two stones on each wood piece. Once the rhinestones dried I painted all eight piece black.
I started working with one unit at a time. (Can you see the rhinestones painted? They give the appearance of bolts).


First I glued the front brace. I let that dry fully. Once that was dry, I pushed through wire. I cut these wires about an inch long, longer than need at first. I attached the wheel and then pushed the wire through the back support and glued the back piece to the door.


It's important to know that this takes a little time because you should let everything fully dry before moving onto next wheel support.


So you would work through each wheel support, one at a time.


At this point, the wires are long.


Very carefully you will push the wire so that it is level with the brace. Dab some glue (I used Fast Grab Tacky Glue). I finished it off with applying a flatback rhinestone on top, to give the effect of a bolt. Let completely dry. Once dry, take your wire cutters and cut wire in back as close to brace piece as possible. Fill hole with glue and let completely dry. Once dry, finish up with black paint. Work one wheel/brace at a time, moving slow and steady. Believe me, the results are worth time invested.
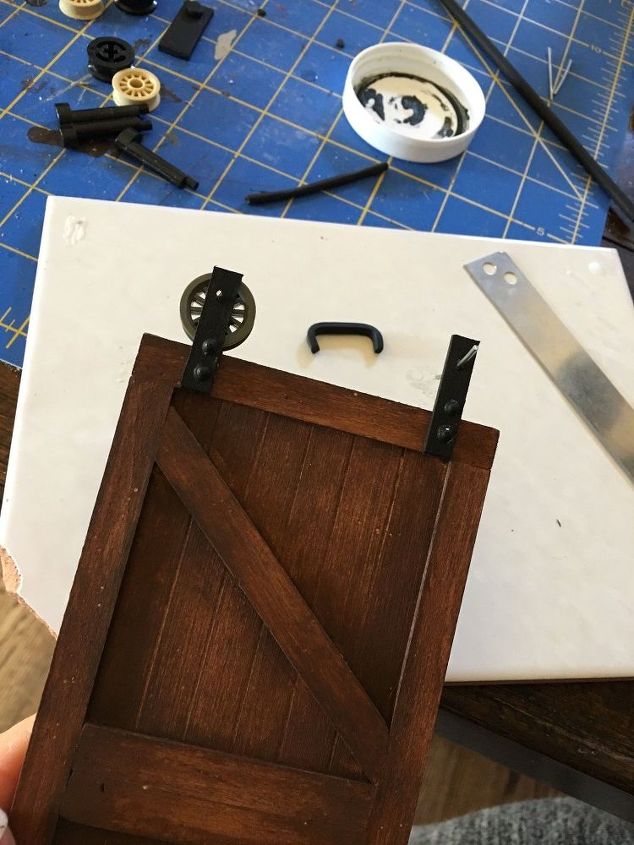
So now that your Wheels and braces are attached, you need the dowel to slide them on. You should have measured your brace wood by having a dowel under the wheel.


You will take a wood dowel, sand it smooth and paint it black.


The handles I added. You don't really need the handles but it does gives a nice effect. I made he handles from black polymer clay. I make a lot of my door hardware from polymer clay. It's so easy to work with and sculpt.
These doors are not children friendly. This is for the Dollhouse and Miniature Enthusiast.


Now to attached the doors, you can use little eye hooks, or as I will do, you can make braces from polymer clay.


Once they are attached to the wall, you will be able to move them back and forth (carefully of course)
I hope you can get a good view of the doors.


I try my best to describe the process but if you are confused and want some help, please feel free to ask away. I want you to feel confident that you too can make the fun and great looking barn doors for your dollhouse, diorama, or scene.


Thanks for stopping and checking out my post.


Happy Holidays Hometalkers
Suggested materials:
  • Wood, wood dowels, flatback rhinestone   (Hobby Lobby)
  • Folkart, Americana paint   (Hobby Lobby)
  • Lego Wheels   (My father)
Frequently asked questions
Have a question about this project?
3 of 6 questions
  • Connie Connie on May 25, 2019

    Can you show the eye hook wall attachment?

  • Mcgypsy9 Mcgypsy9 on Sep 11, 2019

    I am absolutely amazed at the work you have put into this dollhouse! It is gorgeous beyond belief! I only wish you would have shown the whole dollhouse, I can only imagine! You are welcome to come and decorate my home anytime!! Do you have a blog? I would love to follow your work!

  • Chi51521442 Chi51521442 on Jun 23, 2021

    Can you please help me with the measurements

Comments
Join the conversation
2 of 10 comments
  • Wendy EGOLF Wendy EGOLF on Feb 03, 2020

    Thanks for the barn door idea!

    I actually took a few stainless steel washers put epoxy on them for the rollers.

    Waiting to dry wish me luck!

    Thanks again!

  • Stephanie Sh Stephanie Sh on Jul 28, 2021

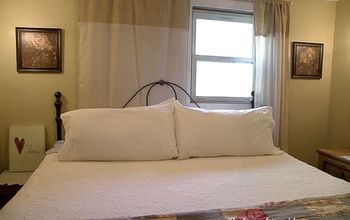
    Amazing job on this dollhouse. I thought wow when I saw the bedroom. Great bed.

Next