


Wooden Lantern DIY
3 Materials
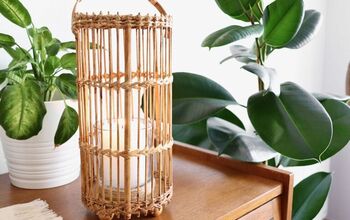
Handmade wooden lanterns are cool and fun to make. They look great inside a home, on the porch, or around the fire pit. It only takes a few tools and you can easily get lumber at a home improvement store or use scrap lumber. These make great gifts any time of the year.
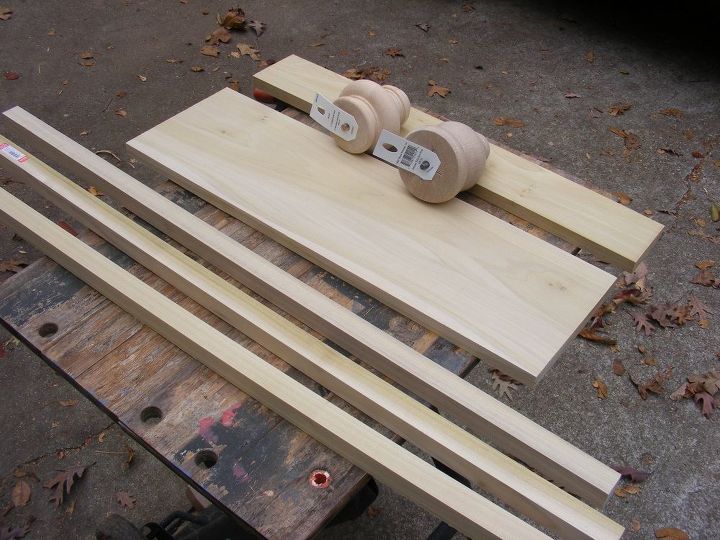
I purchased these poplar boards from my local home improvement store. Poplar is easy to work with -- sawing, nailing, sanding, finishing.
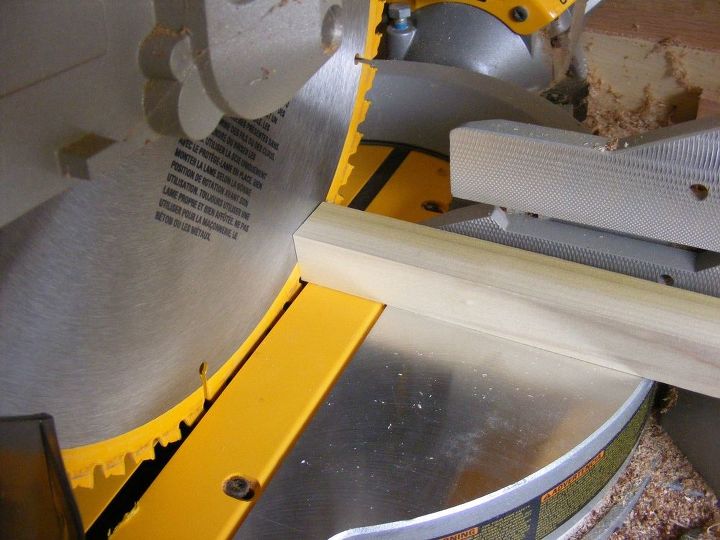
Measure and cut the boards. I used a miter saw which makes it easy to get square, clean cuts. Check out the link below to see the full wooden lantern plans on my site.
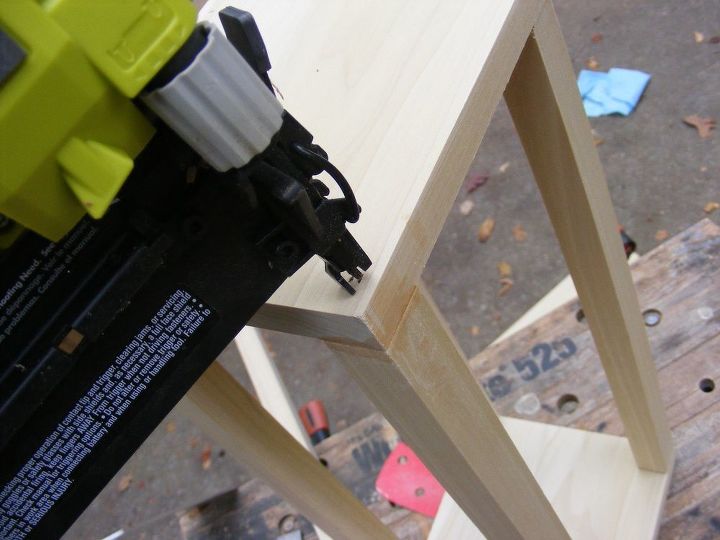
Glue and nail the pieces together. I used an electric nail gun, but you can easily use regular hammer and nails. If you do, you may want to drill some pilot holes so you don't crack the poplar. I used quick grip clamps to help hold pieces for glueing and nailing.
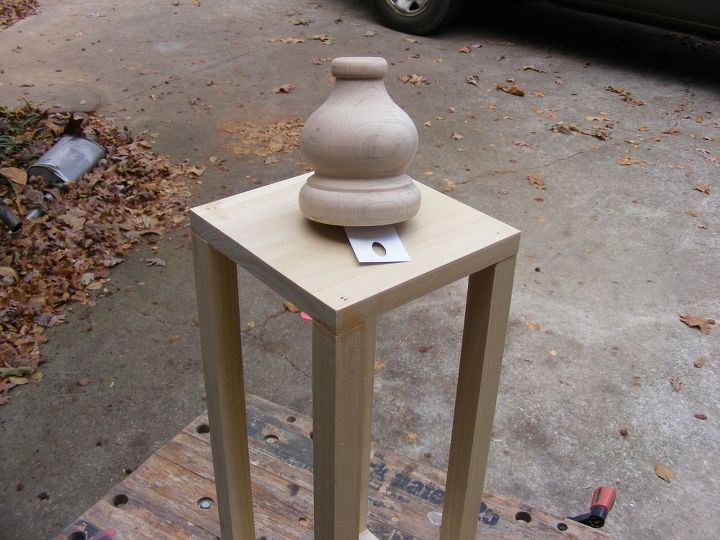
Attach a top board and then the decorative knob-looking thing. The knob-thingy is actually a pre-made furniture leg that I bought from the same home improvement store that has the poplar boards. In fact, I think they were on the same aisle.
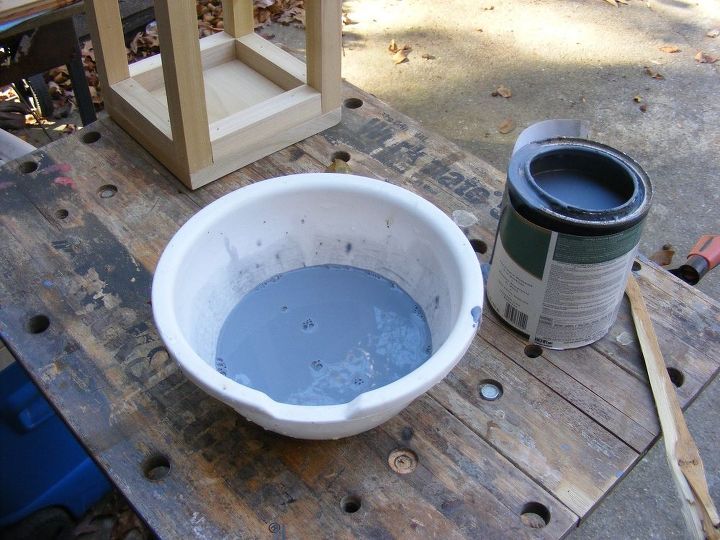
Since I wanted a more rustic look, I decide to make a 50/50 mix of water and grayish blue latex paint. I used a rag to apply it and wipe off the excess. And since this might be outdoors I also sprayed on a layer or two of Spar Urethane. Spar Urethane is a marine grade urethane, great for outdoor furniture.
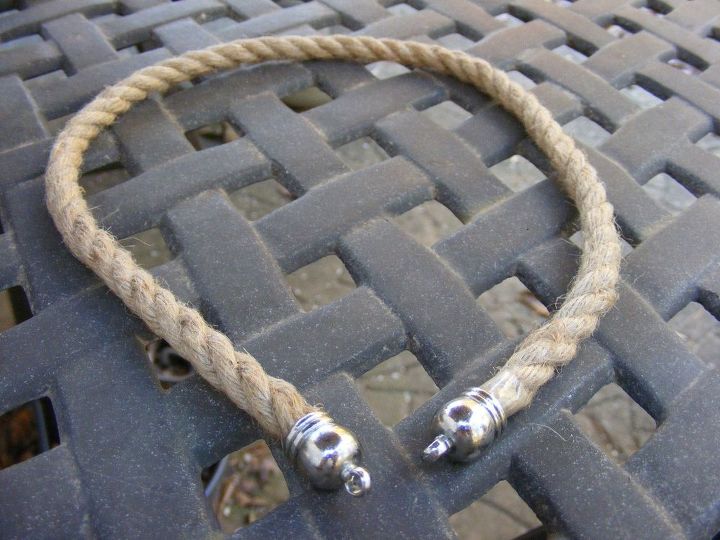
Typically when you think "lantern" you think of something with a handle. But it's certainly an option. I bought some craft rope and made my own handle. I used 2 small eye screws for attachment points on the lantern.
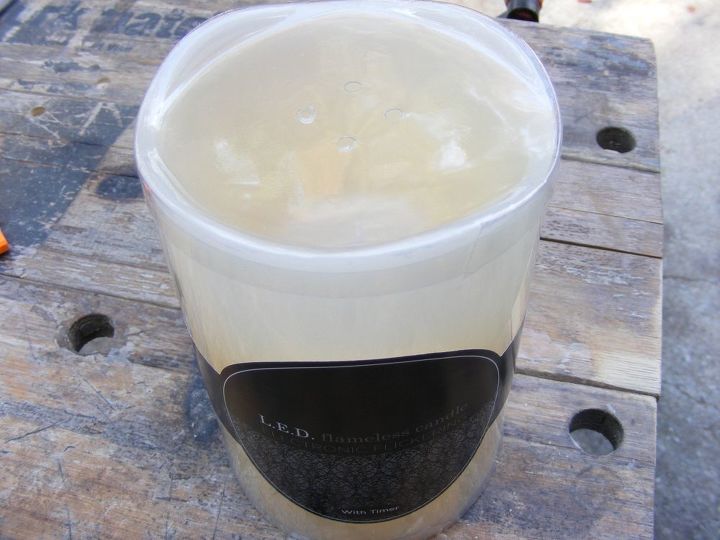
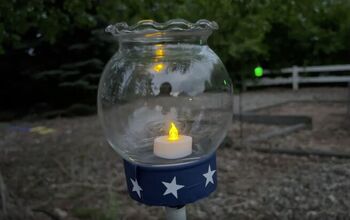
Okay -- I'm a little bit of a safety nut if you can tell. I decided to go with an LED candle to place in my wooden lantern. You can use a real candle if you like. Just be careful with the potential fire hazard.
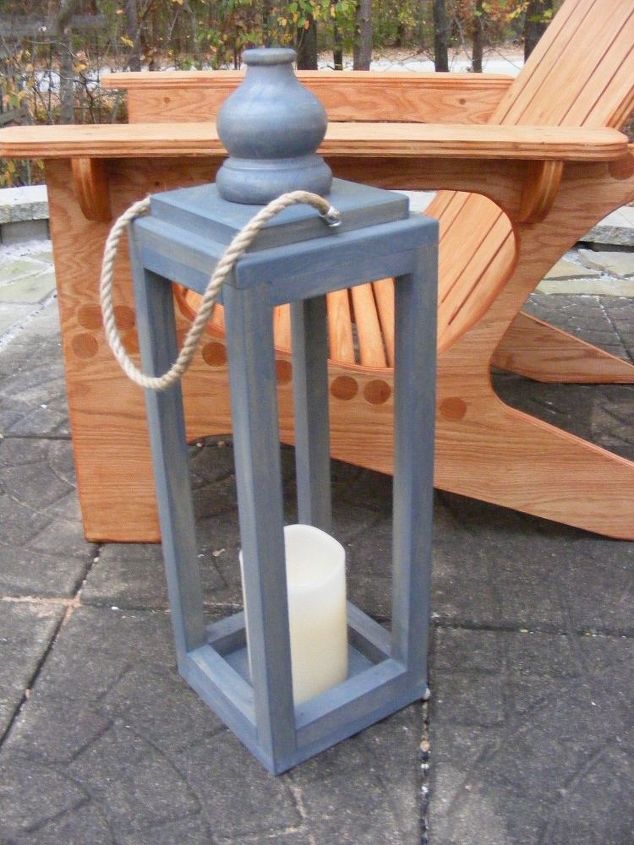
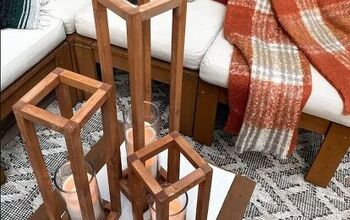
Finished lantern. Very pleased with how this turned out. Check out the tutorial link below and get the full tutorial.
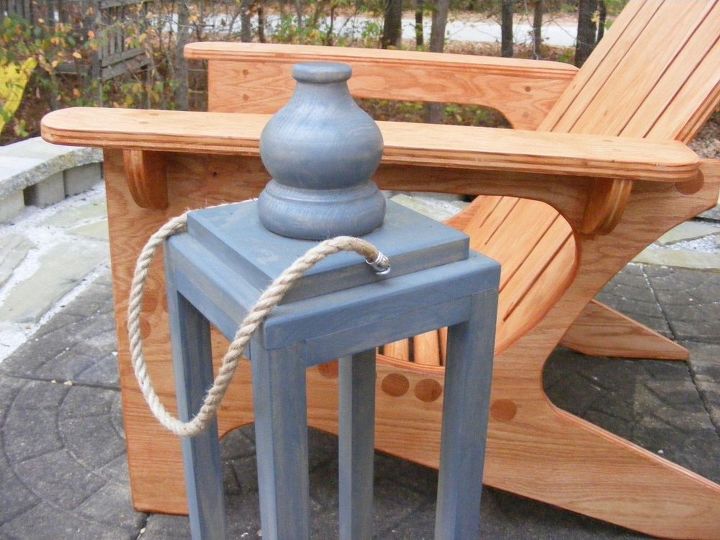
Close up view of the top.
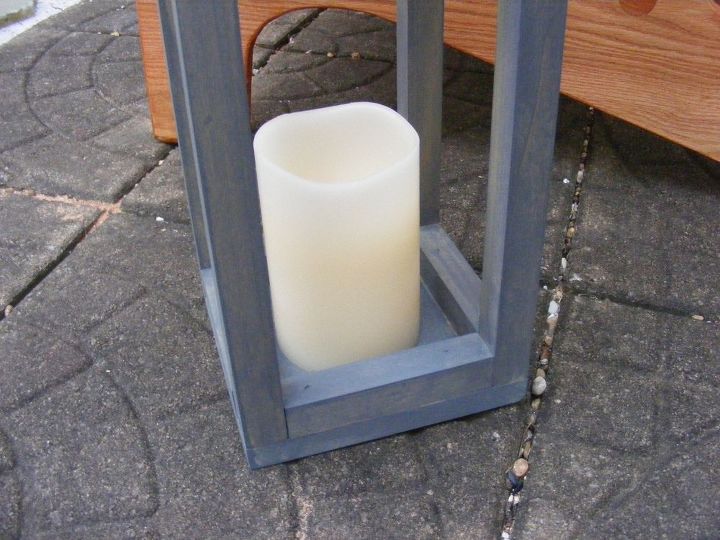
Close up view of the bottom.
If you would like to receive tutorials like this one in your inbox, please consider joining my Four Oaks Crafts Newsletter. I send out 1 to 2 emails per month, and I do NOT share emails. You can go over to my website and look on the left hand side for the sign up box.

Want more details about this and other DIY projects? Check out my blog post!
Comments
Join the conversation
2 of 49 comments
-
I have been wanting to make myself some large lanterns for my porch. Now I can make them without planning the design!
 I can just follow your great tutorial! I love the blue paint too, looks great! Thanks for sharing!
 -
these are lovely! Thanks!


Frequently asked questions
Have a question about this project?
What did you use on the ends of the rope handle? Gives it a nice finished look. Great job!
What did you use the wooden knob/pulls for located on the material list? Since spar urethane is marine grade I'm assuming it must be stronger or something to have a grade on it (not sure) so can it be purchased at Lowe's or Home Depot?