


Vintage Luggage From a Flatware Storage Chest
6 Materials
$15
3 Hours
Easy
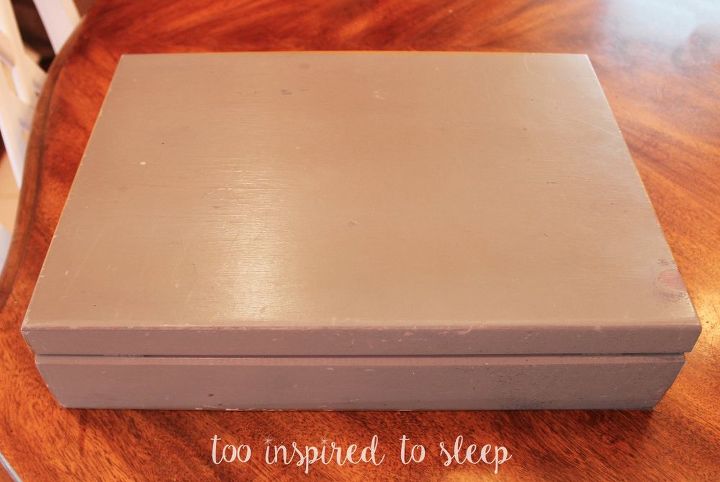
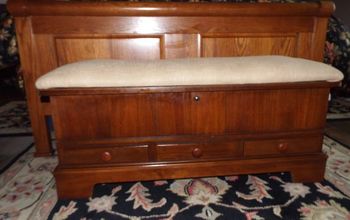
One of the most common items I come across at yard sales or thrift stores are the wooden storage boxes that you store your flatware in. I find them all of the time. And just about every time, I end up buying them. Needless to say, I’ve acquired quite a few of these boxes and I never really had a good idea for them. That is, until now.
I can honestly say that this idea was what spawned “Too Inspired to Sleep”. One night, as I was trying to get to sleep, I got to thinking. (Unless you suffer from ADD/ADHD, you really don’t know what that’s like for me.) I started off thinking about what all I needed to do the next day. Then I jumped to pineapples…boy, do I love that fruit! Next I was trying to remember the name of that tiny bone in your ear. (The stape.) Lastly, I got to thinking about my latest find which so happened to be a flatware storage box filled to the brim with miscellaneous forks, spoons and knives. I thought, “I don’t know why I bought another one of those boxes. I already have a ton at home that I don’t know what to do with. What I really need to find is some vintage luggage.” THEN IT HIT ME. Why couldn’t I transform those boring, wooden boxes into a smaller version of a vintage suitcase?!?! After I thought of that, I was up for the next four hours. (I guess you could say I was too inspired to sleep.) My first order of business was to figure out what I wanted this “suitcase” to look like. My first thought was to make it look like a faux leather suitcase. I had seen a video on YouTube showing the technique for “elephant hide” or crushed/antique leather. I gathered up my short list of supplies: tissue paper (new or used–it’ll be covered so it doesn’t matter), Mod Podge and a paintbrush. My first step was to wad up the used tissue paper. (Let me make myself clear- I wadded up used TISSUE paper; not used TOILET paper.)
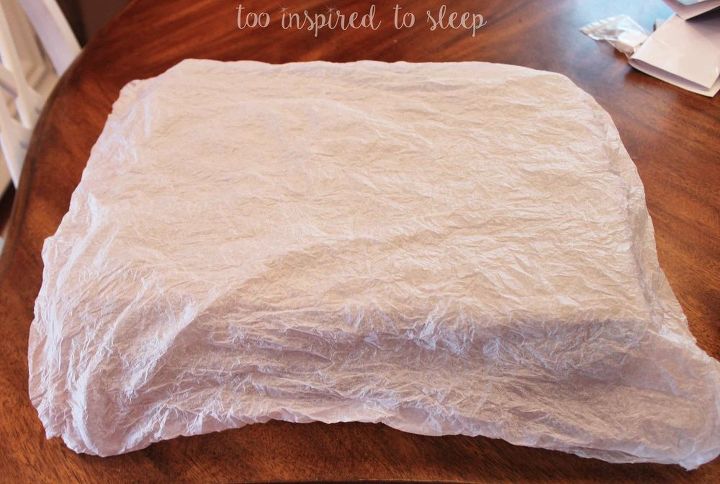
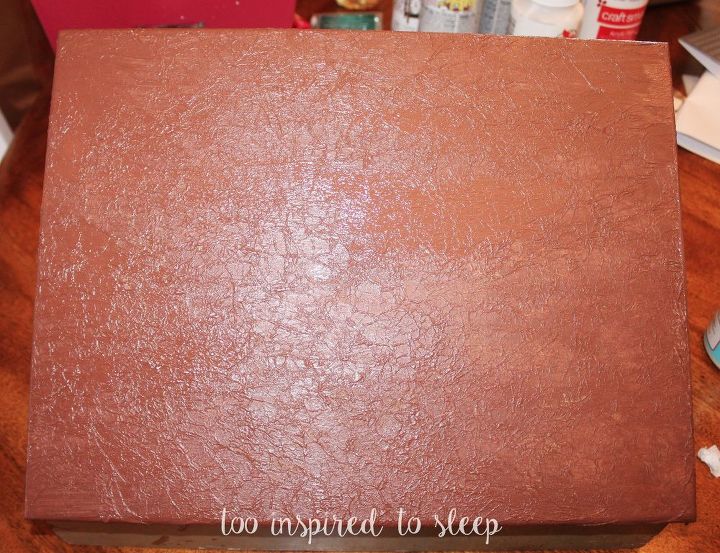
Next step was to apply a liberal amount of Mod Podge to the surface of the chest. After I did that, I laid the tissue paper on top, then gave it another coat of Mod Podge.
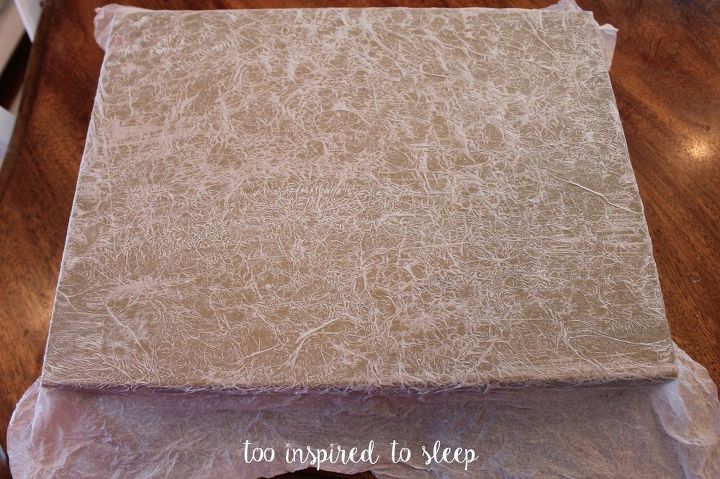
I continued until the whole thing was covered in tissue (not toilet) paper. After it dried, I painted it. Brown. **snicker**
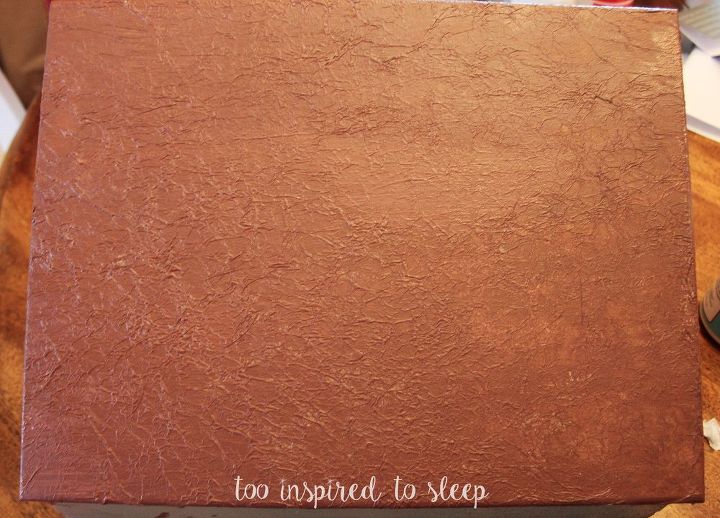
While it did look similar to leather, I wasn’t digging the sheen…or lack thereof. So, I whipped out my other bottle of Mod Podge. Unlike the first bottle, this kind left a glossy finish.
Nope. Still not digging it. Desperate times call for desperate measures.

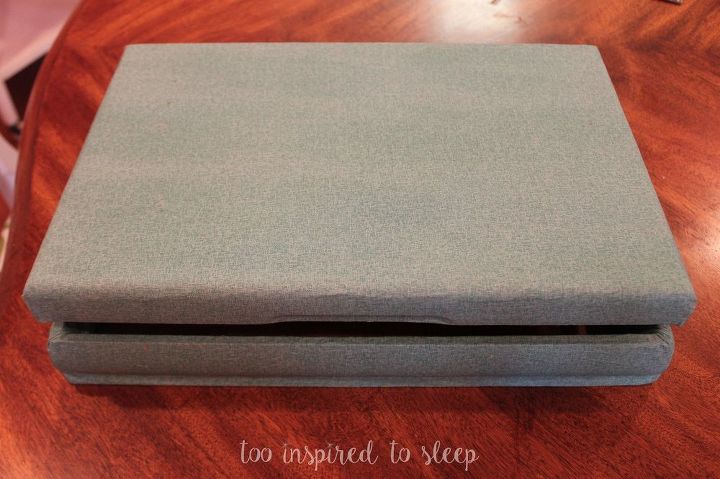
I opted to start from scratch so I painted it white as a primer. This time I decided to use fabric to cover it. I applied a liberal amount of Mod Podge to the surface of the chest. After I did that (deja vu), I covered it with fabric.
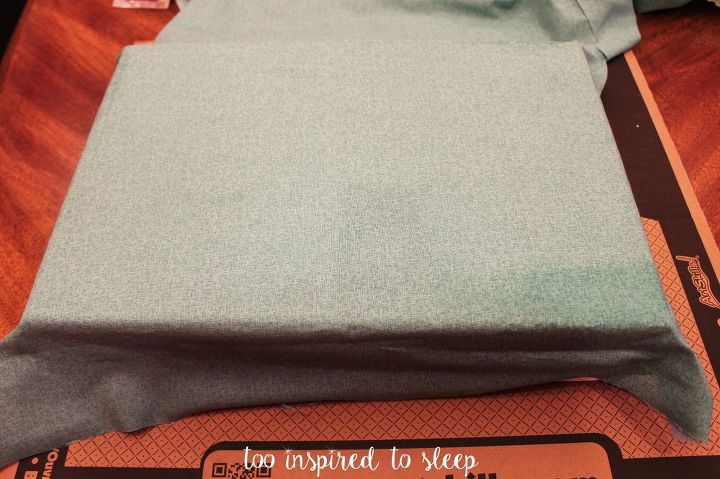
After it dried, I applied a liberal amount of Mod Podge to the fabric. (Gee, I sound like a broken record!)
Next comes the fun part!
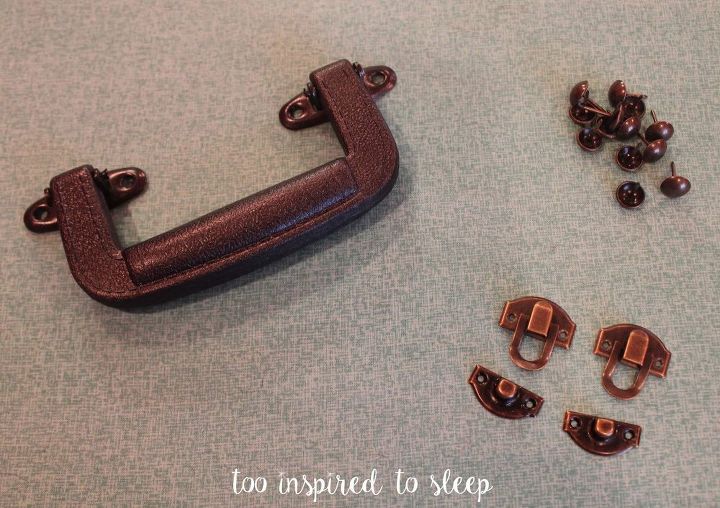
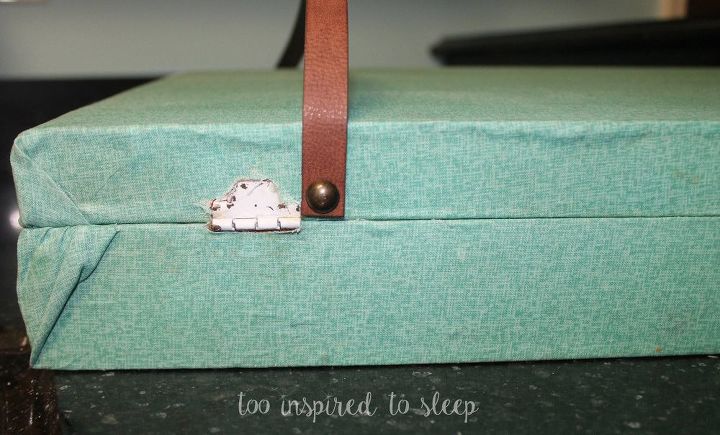
After I cut off the end with the buckle, I used the hot glue gun to help me secure the leather strap (a.k.a. belt) before I nailed it down. I would glue a little and then I'd nail it a little.
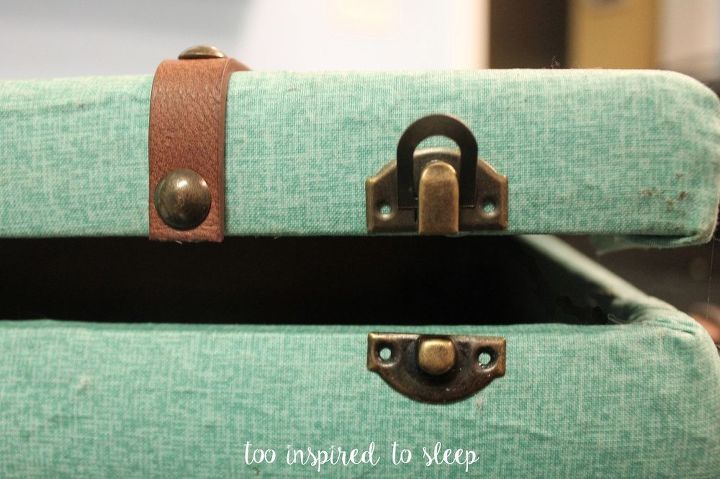
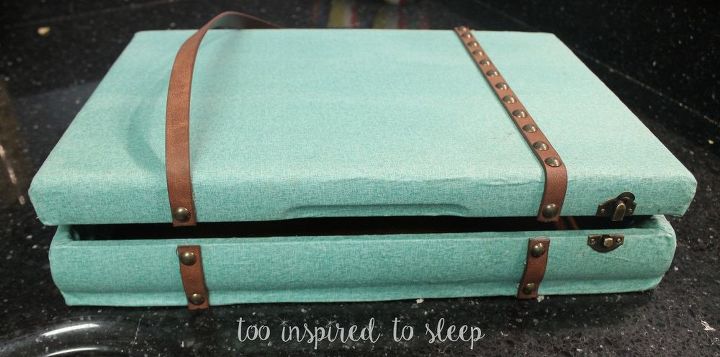
Like I did with the leather straps (READ: belt), I attached the latches with a hot glue gun to make sure I got it exactly where I wanted it. Later, I used the nails that were included, to secure it.
I apologize for not having a photo of me attaching the handle to the "suitcase". It was late in the day and I was getting frustrated. My hubby could see that my brow was furrowed so he made a deal with me-if I would find him some stamps (he needed to mail a letter), he would attach the handle for me. I gladly accepted this deal. When I handed him the stamps, this is what he presented to me:
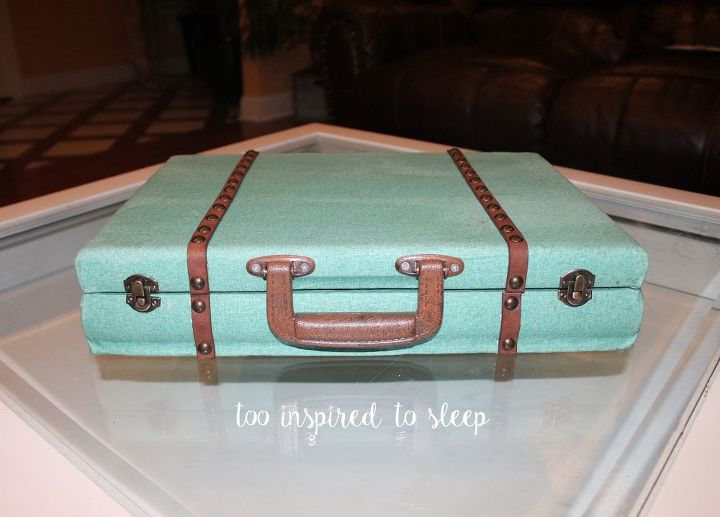
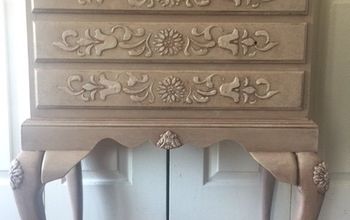
There you have it...a use for all of those flatware storage chests you find at yard sales or thrift stores. I have two more, in varying sizes, that I'm planning on doing something similar. I think it will look darling with three stacked on top of each other. Oh, and they also serve a purpose. They are going to hold all of my magazines that I don't have time to read. Maybe between being a wife, a mother, a social media manager and a blogger, I'll find the time to read my fave magazine--Real Simple. I won't hold my breath, though. The only thing I would have done differently is to have gotten off my rear end and made this back when the idea first came to me. You know, back when vintage suitcases were all the rage. Back when people were adding legs to them and using them as side tables; when people were stacking them to use as a nightstand; when people were cutting them in half and using them a wall shelves. hashtag-adaylateandadollarshort

Want more details about this and other DIY projects? Check out my blog post!
Comments
Join the conversation
2 of 64 comments
-
Loved your post . I was giggling reading about your random thoughts in the middle of the night . Yes... totally get it. Love your idea too . I have one of those silverware cases . Thanks for the creativity since I just can’t come up with this stuff myself .
-
Thanks, Ami!


Frequently asked questions
Have a question about this project?