DIY Cleaning Cabinet Storage
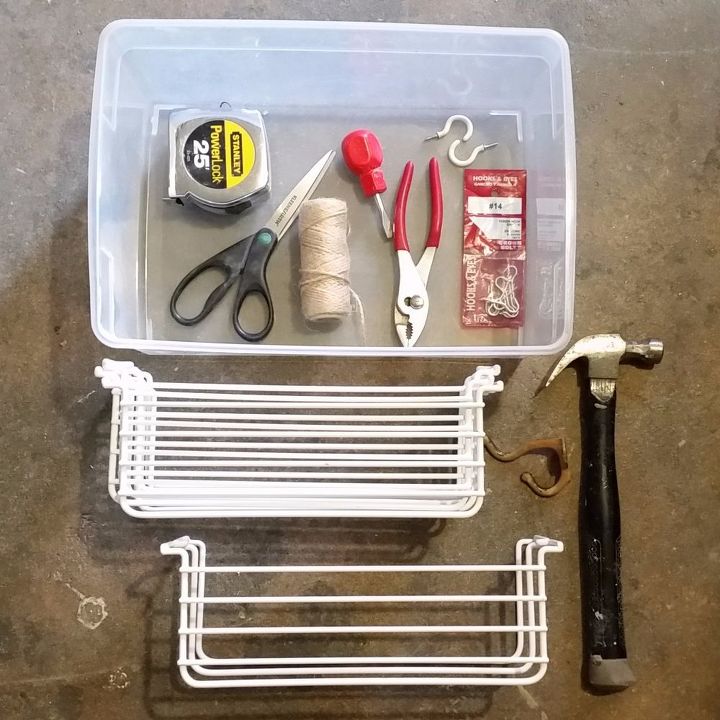
Elena K, Hometalk Team
by Elena K, Hometalk Team
12 Materials
I knew it was time to organize this closet when I couldn’t close the door any more! Not too mention, things will fall over my head (almost) every time I opened it.
Question was, how to use it as both linen and cleaning closet.
Who’d had thought there was so much room here
The answer, as often, easier than it appears: it all comes down to good organization.


Even if you have a small or “multi-use” space, you can still optimize it to fit your needs. With a little planning, a couple of hours, and a few easy items you can turn yours around too.
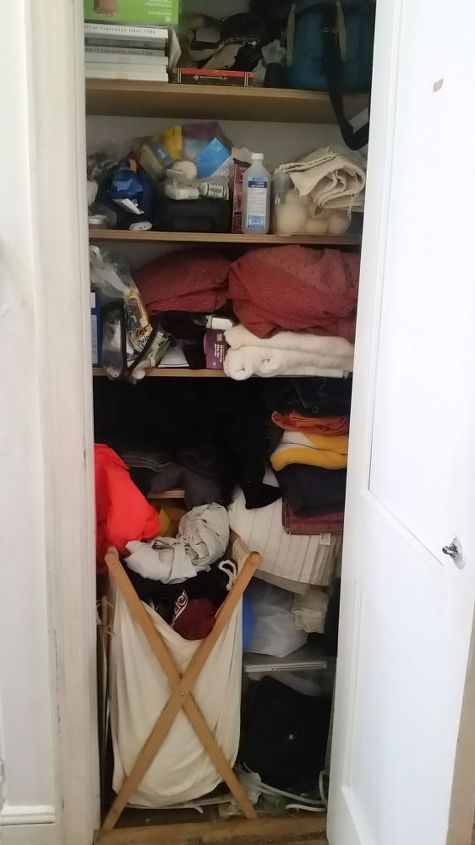
This closet needs an intervention, pronto!
No kidding. This black hole used to be our linen and storage closet :-(


As my husband put it: anything goes in but nothing ever comes out. (That is, once in the closet we wouldn’t be able to find it anymore.)


Until now that is.


And the most amazing thing is that as in a black hole, it has expanded!
What a difference organization makes!
STEP 1: START BY ORGANIZING YOUR CLOSET


Before you even plan what storage units to hang from the door, I suggest you organize the closet.


I guarantee you’ll find some ole long-forgotten treasures. Not to mention, a few duplicates: how come did I have THREE full packages of ear plugs? Hum.


A few ideas that helped me to stay focus:


— Empty one shelf at a time and put things back before you move on to the next.


— Consolidate items by category, ideally using one shelf by category.


— Consider accessibility when storing items: items used more regularly should be more accessible.


— Group small items and place them in baskets, boxes, or bags. Label the box.


— Purging is your friend. If you’re not ready to toss the item, save it but decide first whether it belongs here and where to put it.


All right then. All done? Let’s make it even better!
But first, are you ready for a field trip?
STEP 2: TAKE A TRIP TO IKEA, TARGET, THE CONTAINER STORE or BED, BATH & BEYOND.


With the closed organized you’ll be able to better asses available space.


I can use the door to hang baskets, the encasing for broom & brushes, and the area next to the hamper.


Next, figure out what cleaning products you want to place in there: I decided to keep the kitchen related under the sink, and store here all bathroom and house cleaning products.


NOTE that your needs and space will be different, so feel free to change the layout and proposed items.


To use the linen closet as a cleaning store as well, I’ll need:


— 1 or 2 BOXES


— A few HANGING BASKETS: I’ll use 4


— EYE HOOKS or EYE SHAPED SCREWS, 2 per hanging box


— TAPE MEASURE


— 1 WALL HOOK or COAT HANGER with SCREWS


— SCREWDRIVER


— MARKER


— PLIERS or COMBINATION PLIERS, to tighten up the screws


— HAMMER


And to make things easier, I also used:


— ROPE (optional)


— SCISSORS (optional)


— DRILL (optional) - in case you want to pre drill before you put hooks in.


Got your materials ready? Let’s get started!
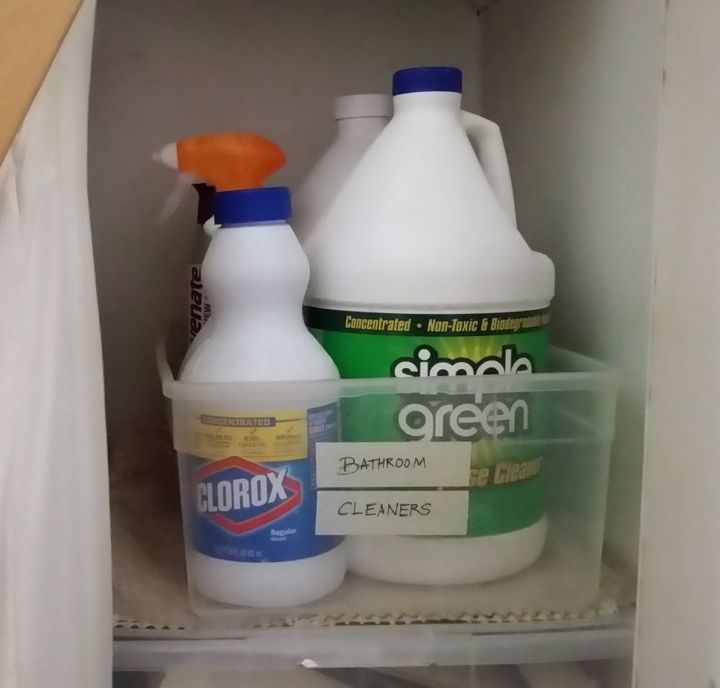
Let’s start with the cleaners
STEP 3: GET THE BOX AND FILL IT IN!


Since the cleaners come in large 1 gallon bottles, they’re too heave to hang. So I’m going to put then all in a box, and leave smaller items for the door baskets.


TIP: Don’t forget to label the box once you’re done!
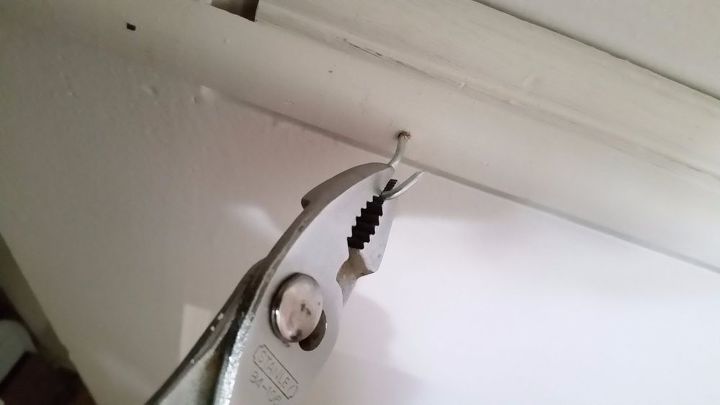
Let’s put those hooks on next!
Assuming baskets will be centered wishing the door, position the basket and mark screw holes.


TIP: Each basket is different, check instructions to find where they should go.


Most likely the hangers you’ll get will come with screws. If not, you can use EYE HOOKS or L SHAPED SCREWS to hang your baskets.


TIP: Make sure your door is thick enough so the screws won’t go through. Keep in mind old doors with recessed middle areas won’t hold long screws.


RECOMMENDED: Grab the drill and load a WOOD BIT, slightly smaller than your screw. Use tape to mark 1/8” - 1/4” in the bit. Remember, you want to make a hole deep enough so the screw stays in place—you don't want to drill all the way in!


Put the screw in the hole and tighten it in with the pliers.
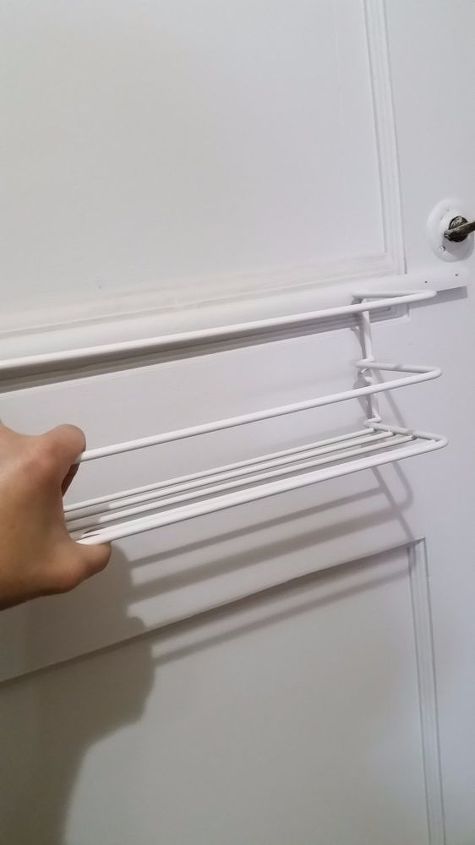
Time to hang that basket!
STEP 5: GET YOUR BASKET AND HANG IT


Grab your basket and hang it from the screws. Now, that was easy!


Let’s do the next one.Repeat STEP 4 & 5 to finish the second screw that will hold the hanging basket.
Let’s fill that in.
STEP 6: GET A BUNCH OF CLEANING PRODUCTS AND FILL BASKET IN


Again, I used the “CATEGORY” criteria to organize my products: bottom basket for cleaners; next above for garbage bags and related; third for cleaners I use less often; and finally the one at the top for those used seldom and restock.


TIP: Keep your most commonly used cleaners handier, but organize your baskets as you see fit.


I used this lower basket to put the products I use the most: vinegar, baking soda, alcohol, and liquid soap.
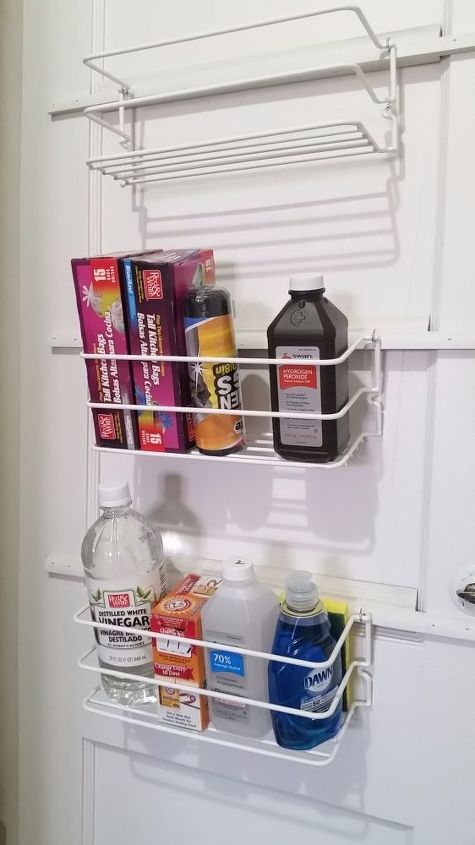
Let’s keep the ball rolling!
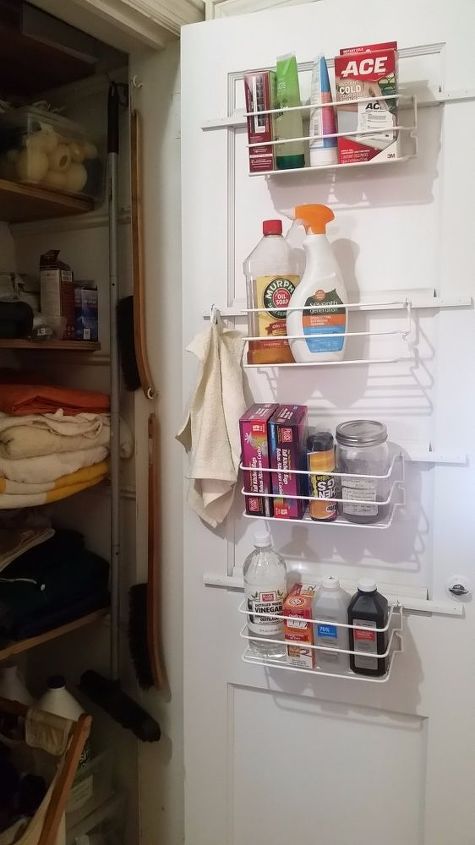
STEP 7: CONTINUE ADDING BASKETS. FILL THEM IN AS YOU GO.


Repeat STEP 4 though 6 to keep adding baskets. Fill them in as you go.


TIP: Don’t forget to leave a few extra inches in between, and make sure you have enough room to items easily. (For instance, if you spaced your baskets too close to each you may not be able to fit taller bottles later.)


Continue until you’re done hanging all baskets. Your door length will determine how many you can fit.
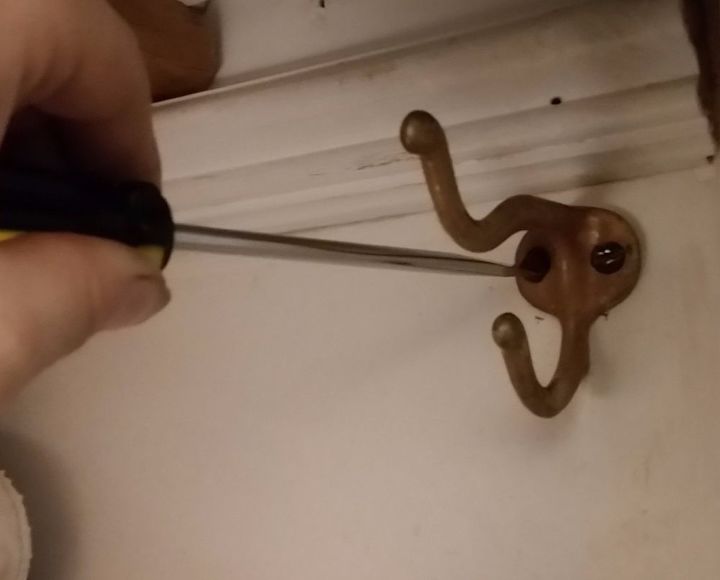
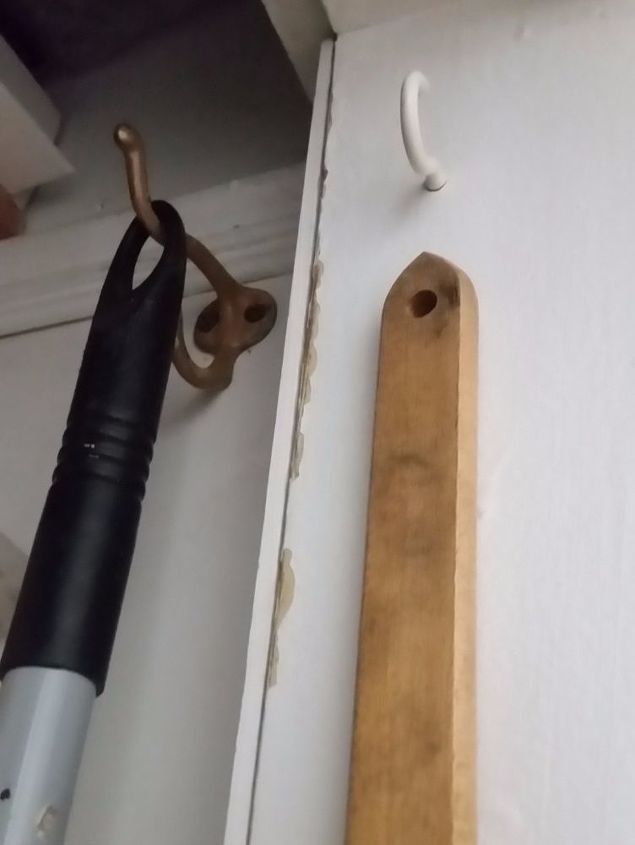
Let’s add a few more hooks!
STEP 8: ADD MORE HOOKS TO HANG A FEW MORE ITEMS!


Is there anything else you want to hang from that door?


Now is the time!


TIP: If you use kitchen rolls often and have enough room in your door, you can get one of those wall-mount hangers.
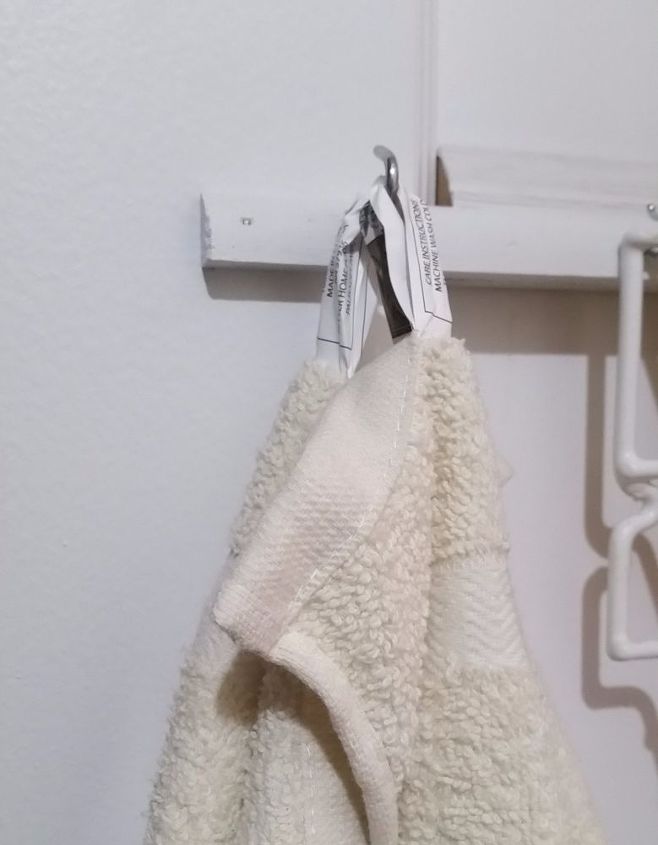
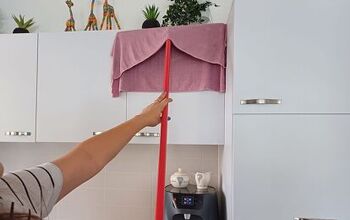
Keeping towels accessible is quick ’n easy
STEP 9: HANG RAGS OR LIGHTER ITEMS FROM THE HOOKS.


I used to keep handy a few cotton rags under the sink or in drawers, but since I’m making a custom storage closet, I’m going to add a couple of hooks to hang them instead.


They’ll be so much more accessible!
Let’s put the coat hanger next
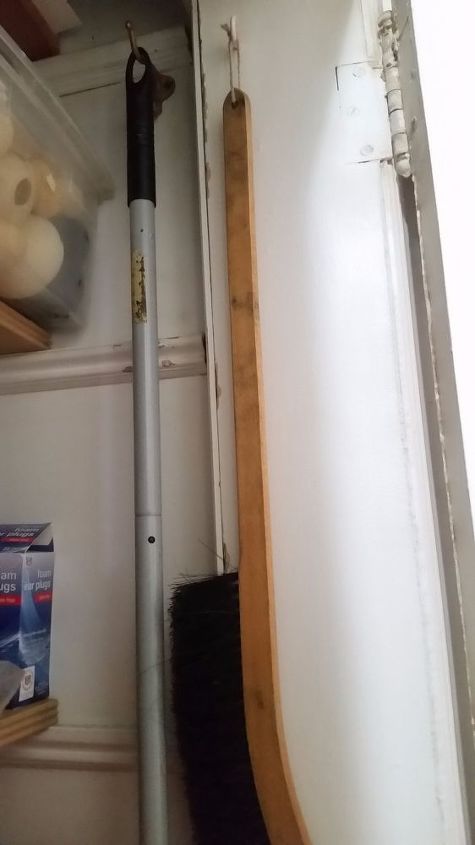
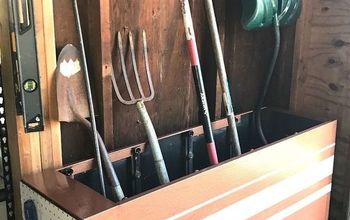
STEP 10: DO YOU NEED TO HANG BROOM AND BRUSHES TOO?


I’m done with the door but there’re still a couple of items that i want to keep off the floor: large broom and brushes.


After checking there’s enough clearance once the door is closed, I found the perfect spot to hang the broom! It’ll be inside the closet, without interfering with any stored item.


Scout your area and find your broom should go — or skip this step if you have no broom, though you may want to hang something else here :)


Next, get a coat hanger and mark there the screws will go. Grab the screw driver and screw all the way in.
Broom & Brush go well next to each other
STEP 11: HANG THE BRUSHES (OR SOMETHING ELSE) AND WE’RE DONE!


Really, I’m getting here turning my former “black hole” into an organized space.


I found the perfect spot for the brushes! They’ll go in the encasing, next to the broom, making sure there’s enough room for the door to close well.


Since I want to hang two vertically, I took a couple of minutes to ensure they both fit in the allocated space. Then, marked the position of the first, grabbed my pliers and started to screw in.


It’s was so easy!
Time to screw the hangers in
STEP 12 (optional): ADD A CORD TO HANG YOUR BRUSHES


Next, I added a hemp cord to the brush for an easier hanging. You can also do this with a short handled dust pans or small brushes to keep it off the floor.


I’m done!
One of the easiest projects I've ever done!
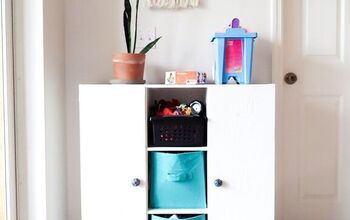
And to get you inspired, here’s the result again.


There’re three more closets at home that need an intervention and can’t wait to tackle them.


And that wraps it up for now. I hope you enjoyed these posts, and more importantly organized and clean along with me ;-)


For more on DIY organizing, check my IRONING BOARD WALL STORAGE - http://www.hometalk.com/diy/laundry-room/organization/diy-ironing-board-wall-storage-to-spruce-your-laundry-room-26376405 - and for more on DIY cleaning tips and solutions, go back to my profile to find how to clean your HOOD FILTERS, your GROUT, REMOVE STAINS and much more.


Happy “Spring” Cleaning!
Suggested materials:
  • 1 or 2 BOXES   (Container Store, Target, IKEA)
  • HANGING BASKETS   (Container Store, Target, IKEA)
  • EYE HOOKS or EYE SHAPED SCREWS   (Home Depot)
See all materials
Frequently asked questions
Have a question about this project?
  2 questions
  • Lyn10731200 Lyn10731200 on Feb 08, 2017
    WHAT ARE YOU USING FOR THE LONG PIECES OF WOOD THAT HANG HORIZONTALLY WHERE YOU ARE PUTTING THE HOOKING INTO. IT LOOKS LIKE A RULER BUT I DO NOT KNOW WHAT IT IS. ALSO HOW DO YOU GET THEM TO STICK TO THE WALL?
  • Honor Honor on Feb 10, 2021

    I did not see where you installed the boards across the door to put your baskets on. My door in my pantry is hollow and I would need to have boards across. Not sure if I can do this in my door.

Comments
Join the conversation
2 of 15 comments
  • Carol Prim Carol Prim on Mar 17, 2017

    If you would have put a screw in the door and where the shelves have that indent on the side, slide the shellfish into that indent and the put a screw on the other side. This puts pressure on the shelf and they work great. I have same ones ...

  • Honor Honor on Feb 10, 2021

    I have great new spice rack and would love to put it in the door of my pantry but cannot figure out how to install it.

Next