


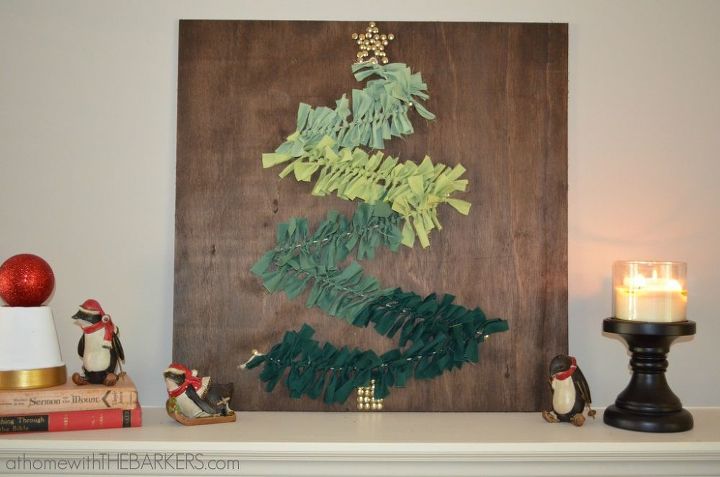
DIY Holiday Tree Wall Art

by
Homes.com
The holiday season is the perfect time to create in your home. Try this project by Sonya from At Home With the Barkers to add a little holiday spirit to your home!
SUPPLIES
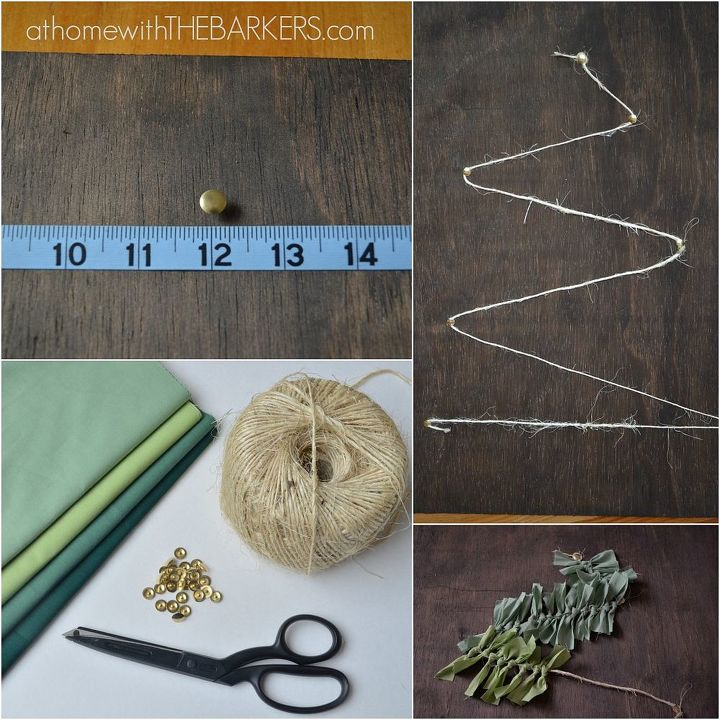
2’ X 2’ birch plywood board from your local hardware store
Stain in your color preference
Fabric (1/4 yard of each color is plenty)
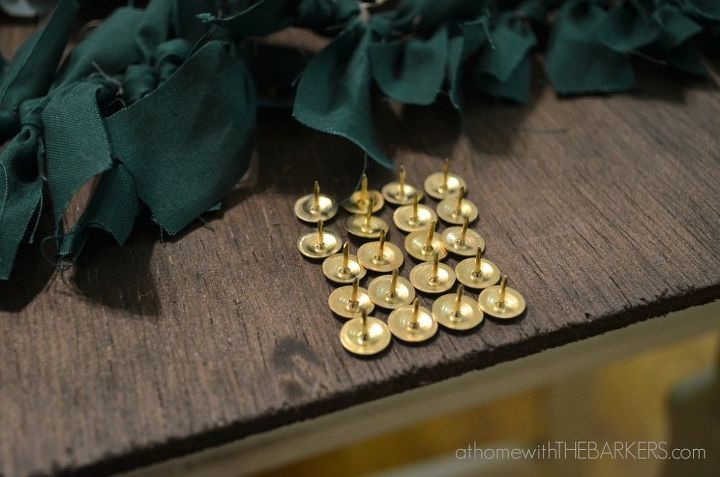
TwineThumbtacksScissors
DIRECTIONS
Step 1:Stain the plywood board. Be sure to wipe with a clean cloth first to remove any dust particle.
Step 2:After the stain has dried add your twine to shape out your tree. Use a simple measuring tape to find the center of your board approximately 3-4 inches from the top. The thumbtacks will push easily into the plywood to mark the center and secure your twine.
Step 3:Cut your fabric into 1 inch wide by 6 inch long strips. Then tie them with a simple knot around the twine. This is where you can get creative. The color pattern for this tutorial was done in an ombre effect but you could also alternate the fabric colors for a different look.
For the full tutorial visit here: http://blog.homes.com/2013/12/diy-holiday-tree-wall-decor-olioboard/
project
SUPPLIES
2’ X 2’ birch plywood board from your local hardware store
Stain in your color preference
Fabric (1/4 yard of each color is plenty)
TwineThumbtacksScissors
DIRECTIONS
Step 1:Stain the plywood board. Be sure to wipe with a clean cloth first to remove any dust particle.
Step 2:After the stain has dried add your twine to shape out your tree. Use a simple measuring tape to find the center of your board approximately 3-4 inches from the top. The thumbtacks will push easily into the plywood to mark the center and secure your twine.
Step 3:Cut your fabric into 1 inch wide by 6 inch long strips. Then tie them with a simple knot around the twine. This is where you can get creative. The color pattern for this tutorial was done in an ombre effect but you could also alternate the fabric colors for a different look.
For the full tutorial visit here: http://blog.homes.com/2013/12/diy-holiday-tree-wall-decor-olioboard/
project


Frequently asked questions
Have a question about this project?