


Tips On How To Decorate Bookshelves Around A TV
1 Material
Bookshelves can hold A LOT of space and decorating them can be intimidating. However, I may it easy with some tips on how I decorated these Liatorp bookshelves from IKEA.
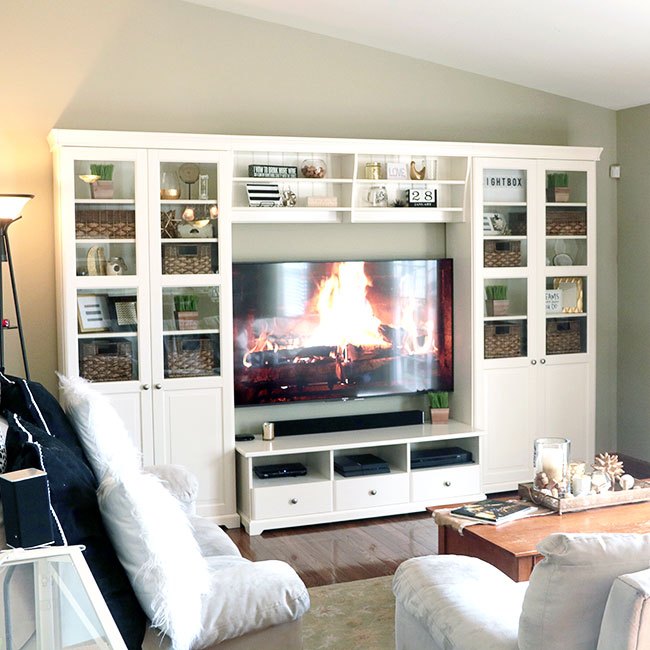
Decorating this much space was a little tricky and I did quite a bit of research on decorating bookshelves before I ventured out to shop for items for it. What helped was to keep a pattern going on each side (i.e.: baskets in the same spot on each side, the plants on the same side, etc.). Sometimes I would place a basket or plant on the inner side on the right, but on the outer side on the left to add a little visual interest. I also had to bring a tape measure with me to measure everything I purchased. I wrote up a chart that told me the measurements of each shelf. Not all of the shelves were the same size, so I had to be careful everything would fit.
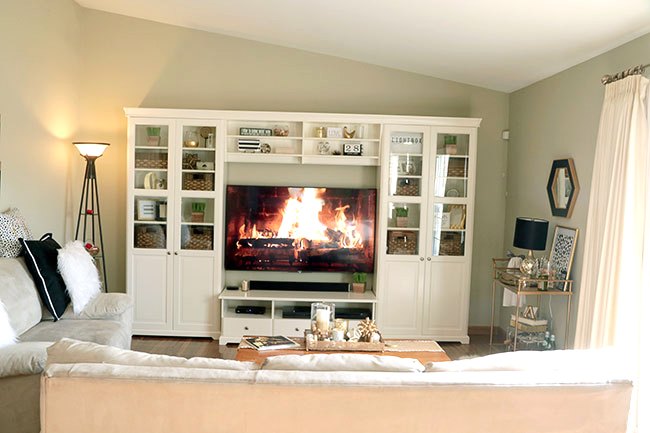
Now I'll give you a tour on how I decorated these beautiful shelves. Let's start with the Left Side, which you'll see in the photo above.
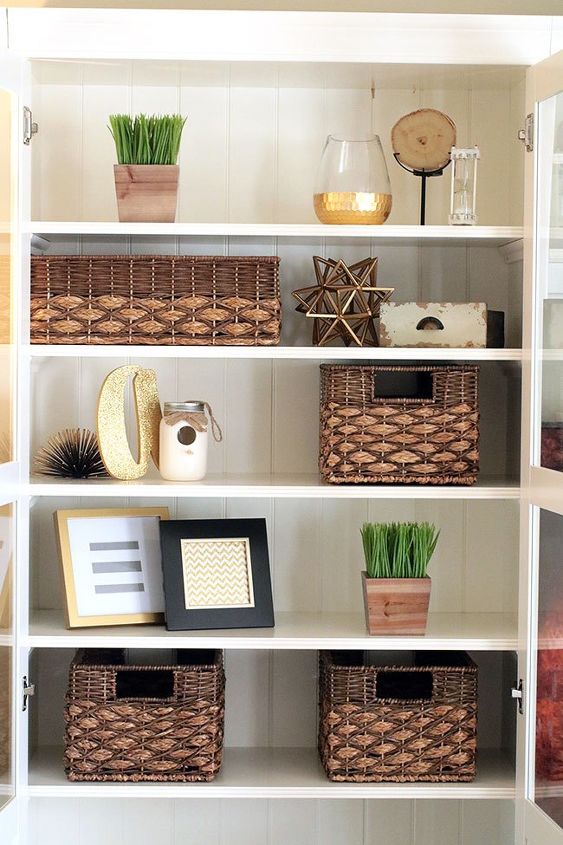
On both sides (the left and right shelves on each side of the TV) I purchased 4 baskets. One of the baskets is thinner, because the other size would not fit on that shelf. I also added two plants on each side of the bookshelves. I purchased the baskets and gold spikes from Target, the plants from Commercial Silk and all of the accessories are from Hobby Lobby. I put scrapbook paper in the frames for now, but I plan to fill them with photos from our trip to Italy last summer when I get a chance!
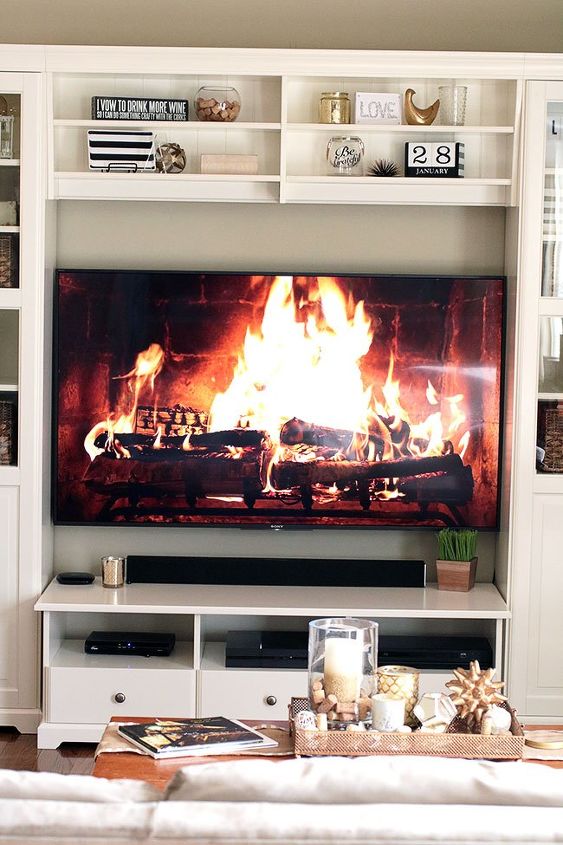
The photo above shows the center bookshelf that is hung above the TV.
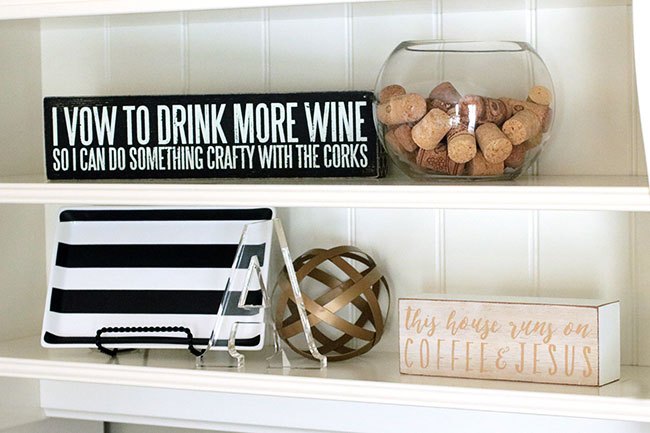
I wanted to share a close up of the two center shelves, the photo above shows the left side.
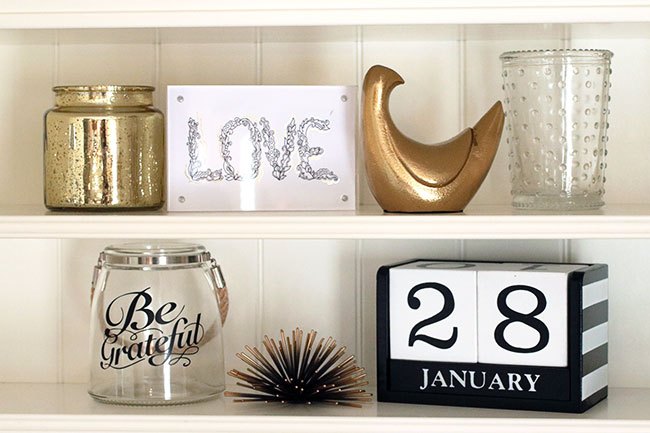
The photo above shows the right side of the center shelf.
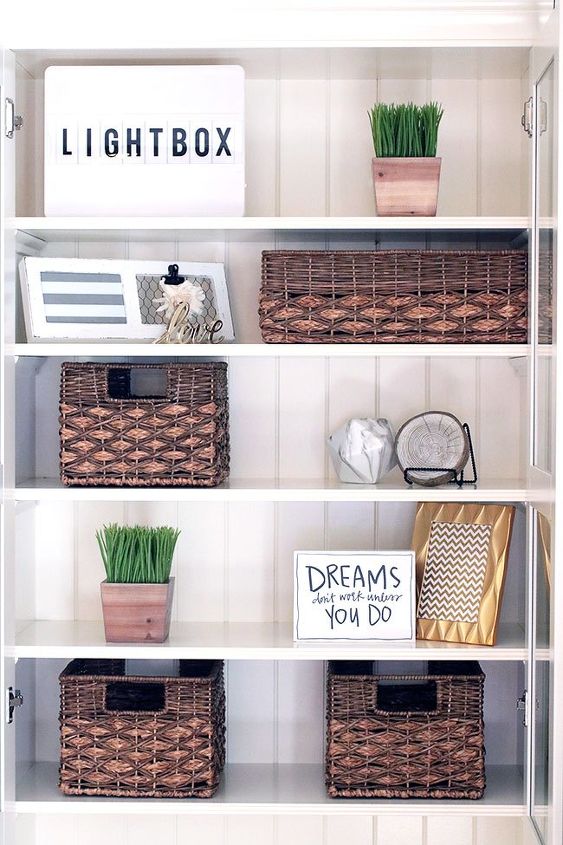
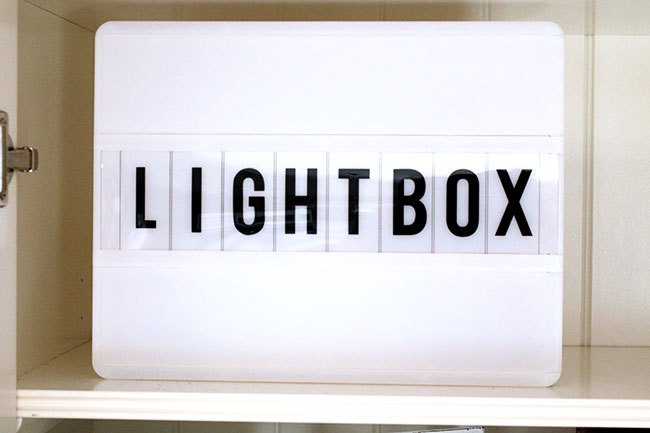
This is what the right bookshelf looks like inside. I can change out what the Lightbox says and you'll see I filled the frames with scrapbook paper again.
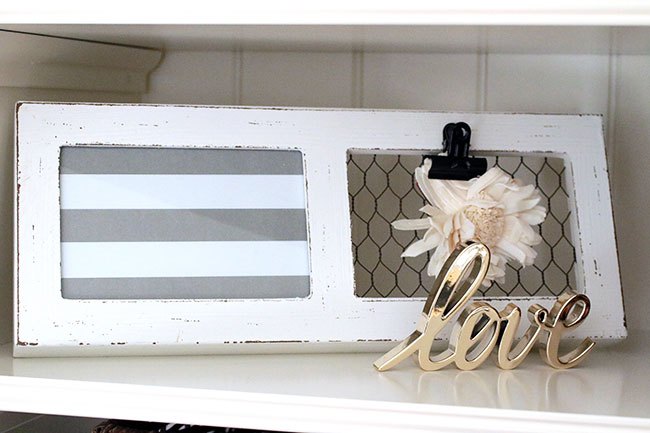
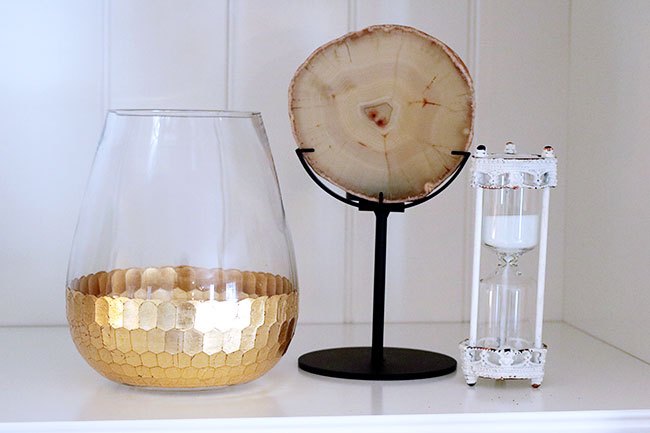
A couple of detail shots.
And that's it! I hope you enjoyed seeing how I decorated these shelves and that you took away some ideas! I still have some things to work on in the room, such as getting the matching coffee table and a new rug. It's a work in process! Have a great day!

Want more details about this and other DIY projects? Check out my blog post!
Comments
Join the conversation
3 of 4 comments
-
Thanks so much!
-
This is seriously so stunning!


Frequently asked questions
Have a question about this project?
What size tv is that, want to buy the unit but not sure on tv size.