


Heart Shaped String Art

by
Lisa
8 Materials
Here’s a fun string art project, it’s perfect to display on Valentine’s Day or throughout the year in your home. It’s an easy project that looks like you spent a lot of hours on it but really didn’t, but no one needs to know that!
{
"id": "3724756",
"alt": "Heart Shaped String Art",
"title": "Heart Shaped String Art",
"video_link": "https://www.youtube.com/embed/pKKLaZF6f-E",
"youtube_video_id": "pKKLaZF6f-E"
}
{
"width": 634,
"height": 357,
"showRelated": true
}
Watch my Heart Shaped String Art video on YouTube!

Supplies
Here’s what you’ll need.
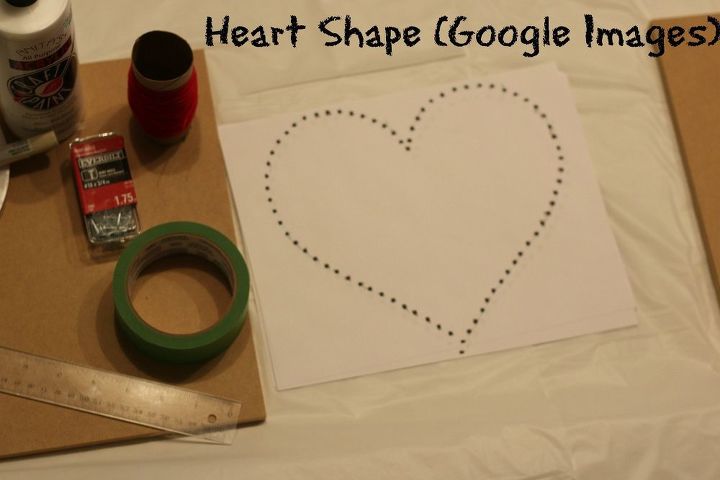
Heart shaped template
Print a Heart Shape. I found this one on Google Images, it even comes with the dots so you can add the nails.
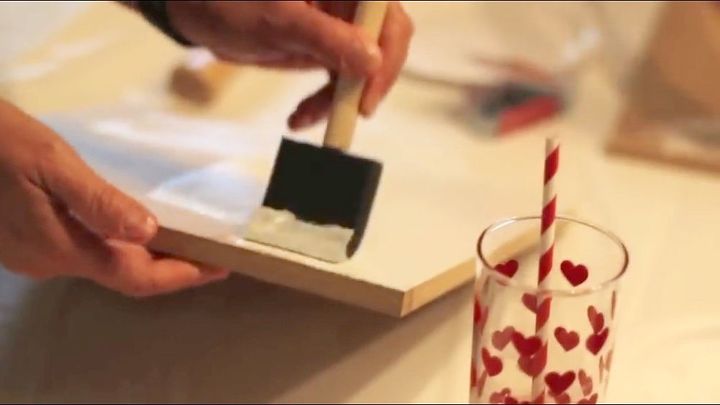
Paint
Start by painting your wood. My wood was raw to it needed two coats, but if you used barn wood it won’t need to be painted.
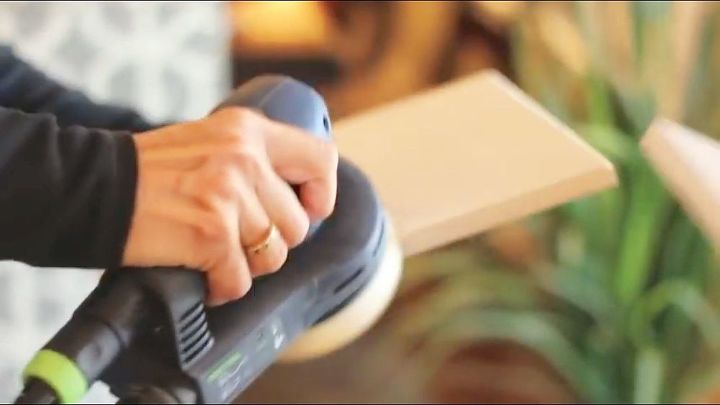
Sand
This step is totally optional. I sanded the edges after I painted it to give it a rustic/worn look.

Add heart template
Tape your heart template to the wood to keep it in place.
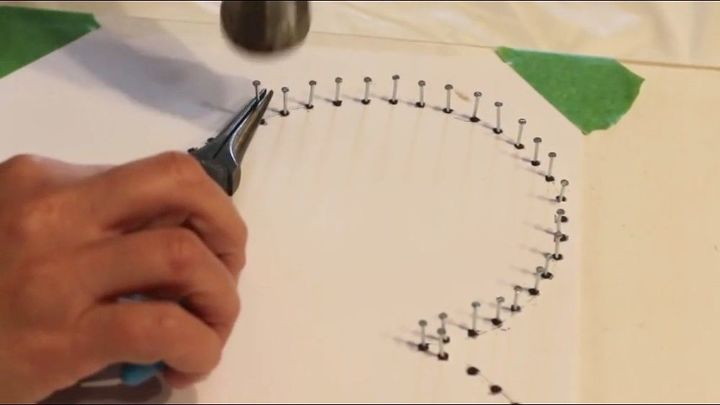
Nail
Start nailing following the patter of your heart. I used needle nose plies to keep the nail in place while I hammered it down.

Once the nails are in then it’s time to tear the paper template off the wood.
Add thread
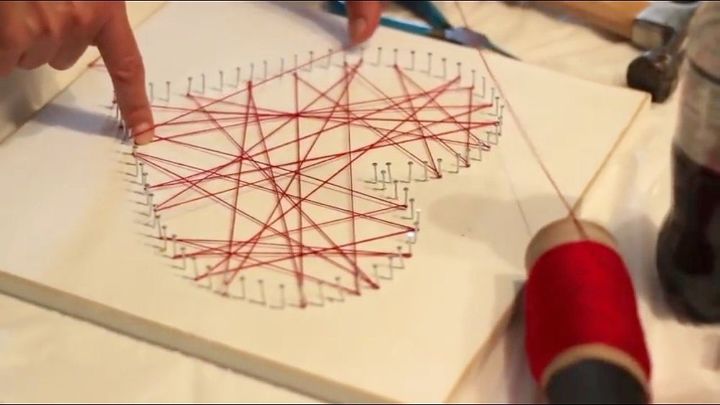
Knot the thread to a nail and start creating a random pattern, going from nail to nail, wrapping the thread around the nailhead to keep it in place. Keep the thread tight while adding the thread. Tie the thread and know when the stringing is complete.
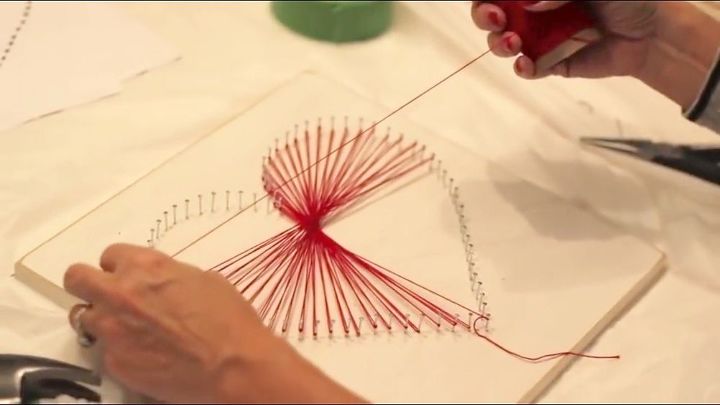
Thread around heart
I framed the entire heart shape with another piece of thread to create a more defined heart shape.
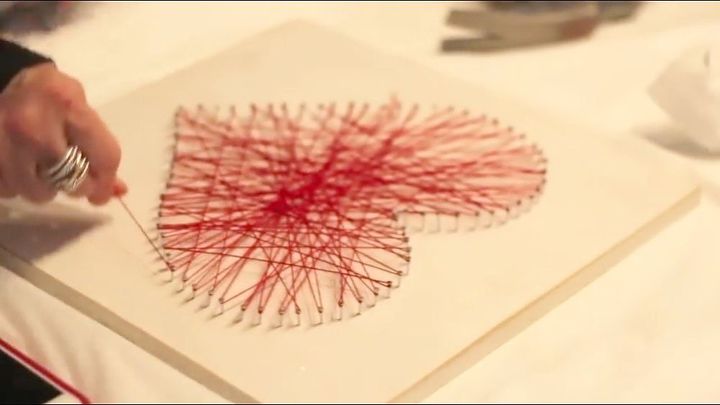
This string art was created by following a pattern of thread diagonally from nail to opposite corresponding nail, starting in the center of the heart.
Patterned String Art Heart
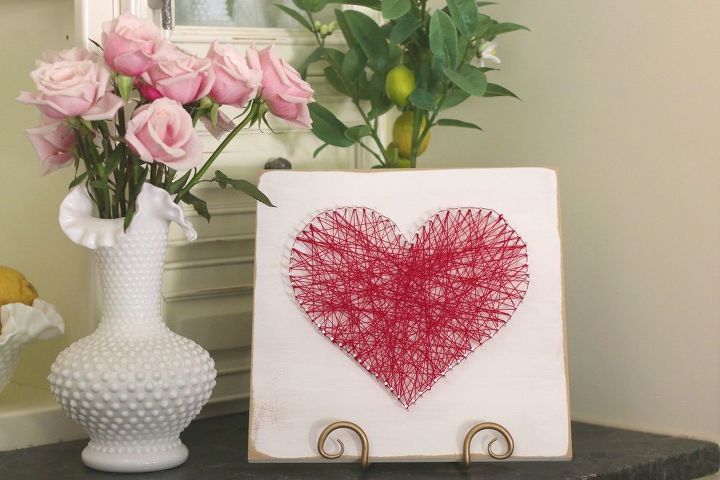
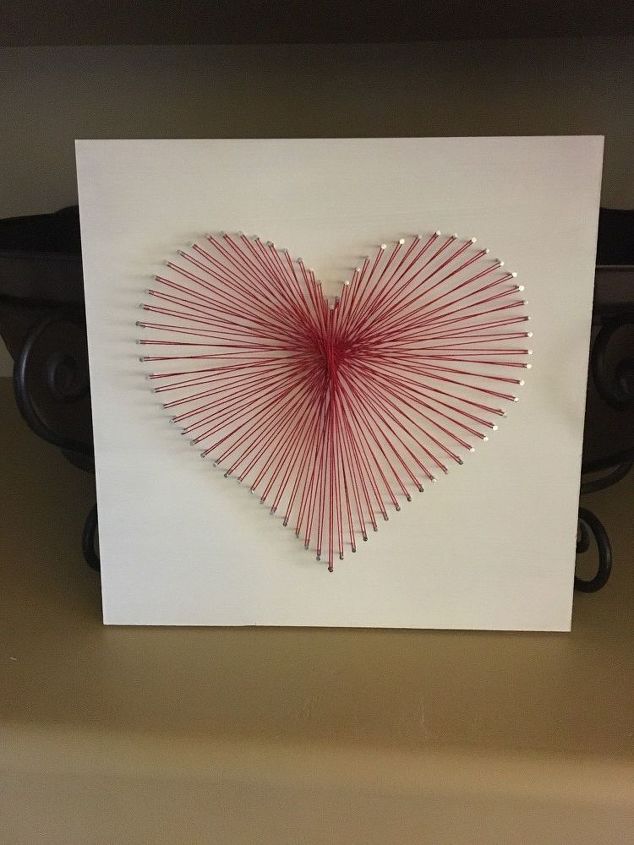
Completed Heart Shape Art
Here’s my completed Heart Shape String Art. I display it on a plate holder.
Comments
Join the conversation
4 comments
-
SO cute! :)
-
Absolutely love this! So pretty! Your instructions are perfect too. I remember doing this with yarn when I was a kid, now I want to do again! Thanks! 💖


Frequently asked questions
Have a question about this project?