


Building A Dining Table
7 Materials
$250.00
5 Days
Medium
Our son and his wife wanted to new dining table so I volunteered my husband and I to make one as their Christmas gift. We had fun choosing wood and putting it all together!
It turned out to be more expensive than we thought due to the oak boards. This price also includes a matching bench with the same materials that we have not made yet. I just lumped the entire thing together.
We used pine for the bottom portion of the table and Jeff picked up cedar 4x4 posts for the legs. They were nice and light. We knew this table would be pretty heavy so it was a good choice.
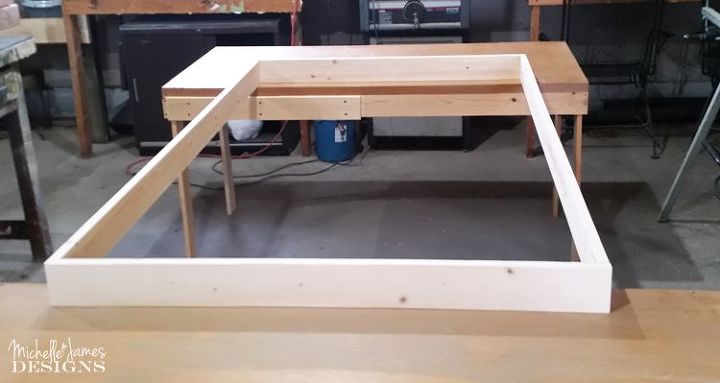
We started with a frame then added pieces of 1x2 to span across the frame to attach the oak boards to to create the table top.
We used screws in the corners but made plugs to hide them.
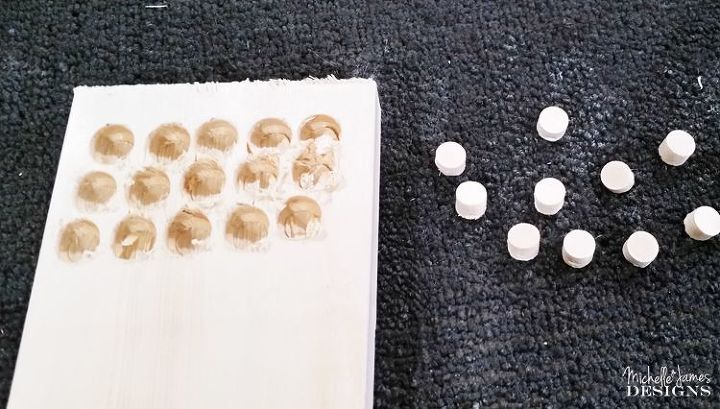
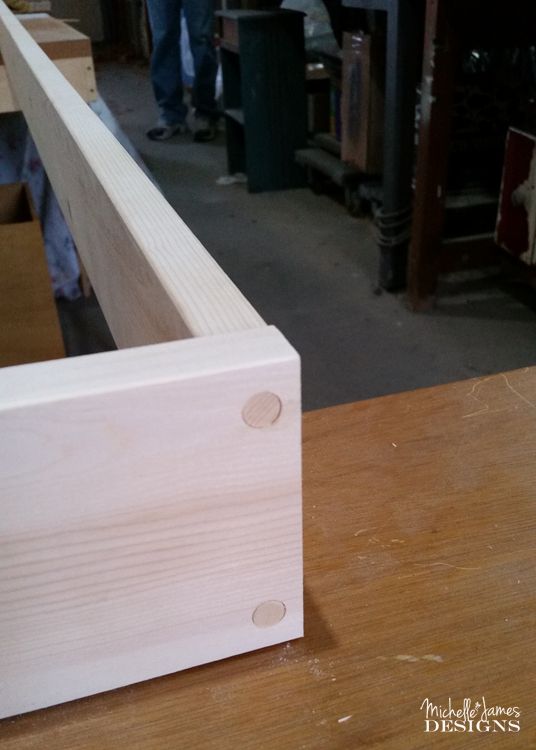
This photo shows the plug but after putty and sanding they were invisible.
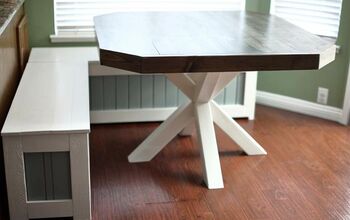
Our son wanted the legs to be removable so he could transport it and move it easily. Jeff used large carriage bolts so they could be removed and re-attached fairly easily.
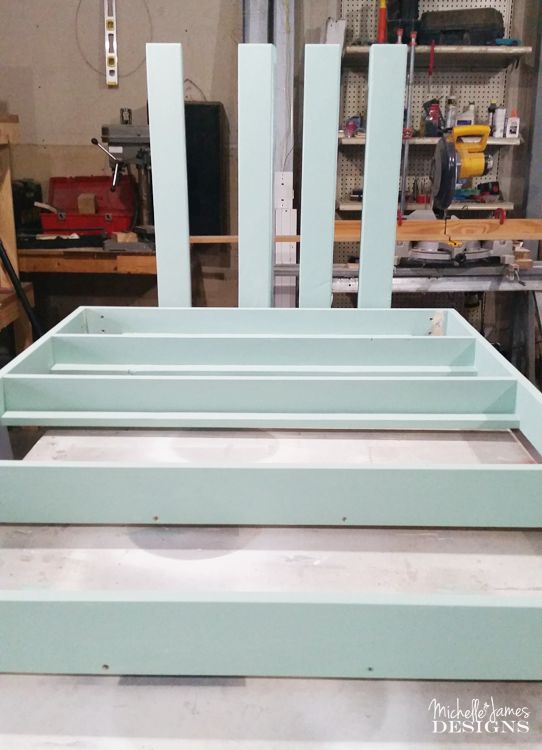
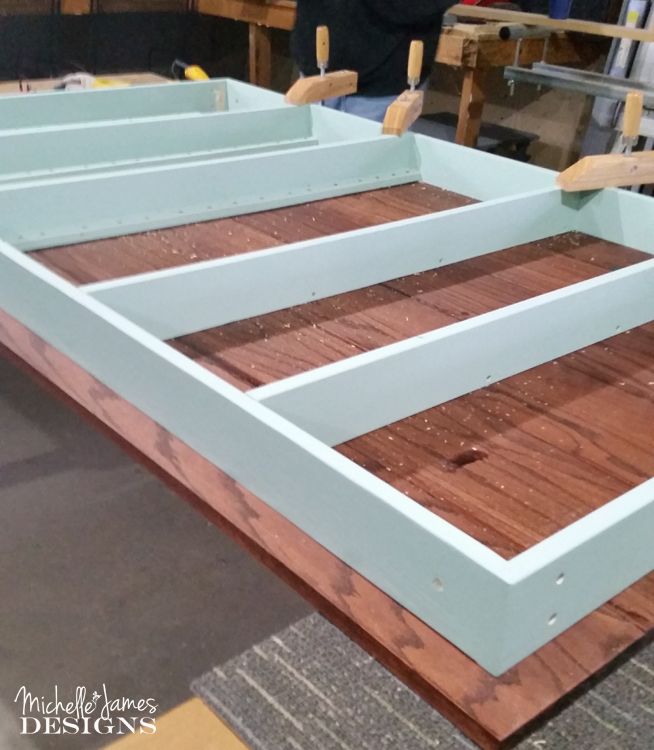
The photo below includes the base and the legs after they were painted. This color is so pretty. It is called Sea Glass from Dixie Belle Paint Co. This paint really was a dream. It went on so nicely and I added a second coat just around the outside edges and the legs for extra protection. It didn't really even need it. Dixie Belle Paint Co. provided the paint in exchange for my blog post but you can find the Sea Glass and other colors (affiliate] here.
Next came the table top. We used 1x8 pieces of oak. Jeff sanded them and then we stained them with Red Mahogany from Minwax for the stain.
After the stain was dry and set we started with the middle two boards and added them to the base one at a time. We added a ton of screws to keep it strong.
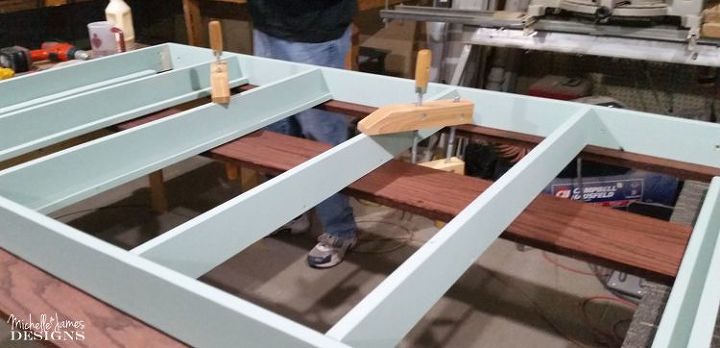
This picture shows the first board going in. The wood clamps helped to keep it in place.
This next photo shows the last board going in. We did it!
We applied three coats of Polyshades to the top for protection. Before the last coat we used really fine steel wool to buff it out. It turned out gorgeous!

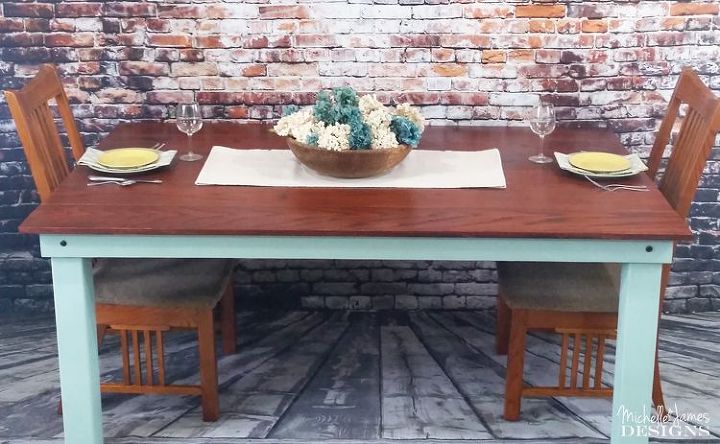
What do you think? We loved it but more importantly they were trilled to death and couldn't wait to get it home.
If you like my projects I would love for you to sign up for my email/newsletter You will receive a free printable download when you do!
Thanks so much for reading,
Michelle

Want more details about this and other DIY projects? Check out my blog post!
Comments
Join the conversation
3 of 111 comments
-
This turned out lovely. I am really impressed with the final product. Good job!
-
IT is a beautiful gift, from beautiful parents!! They will cherish it forever.


Frequently asked questions
Have a question about this project?
Super job on the table, but the flooring really caught my eye! Is it laminate or lino? Where did you get it? Love that look.
Don in BC Canada
Who chose the leg color?
So How much did it end up costing ?