This is a shot of the 7' (low side) of the ceiling. As you can see, we were able to get the cabinets mounted at ceiling height. (still needs to be trimmed out tho' for a finished look)
Need help figuring out what to do with slanted/cathedral ceilings...
by
Hope
+9
Hi to all and Thank You in advance for your help...I really appreciate it!
We bought and moved into a house/double-wide trailer. It was in very bad shape (inside needed a total gut-job) and we have been working on gutting and re-modelling it since (while living in it and working F/T).
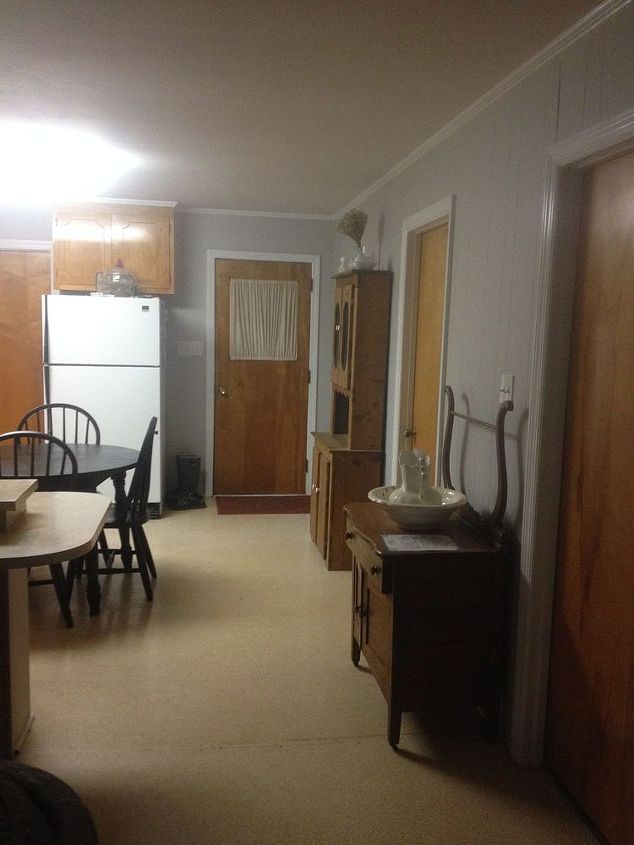
All of the ceilings in the house are slanted/cathedral throughout the house...7' tall at the lowest (outside wall) and 9' tall at the highest point (center of house).
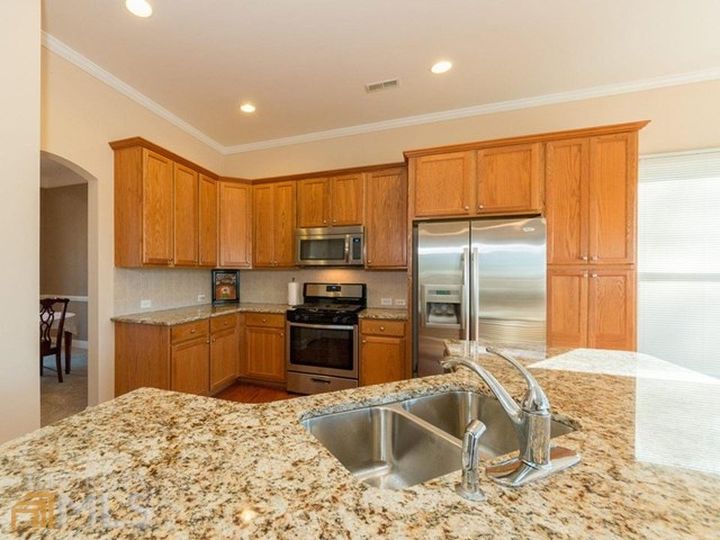
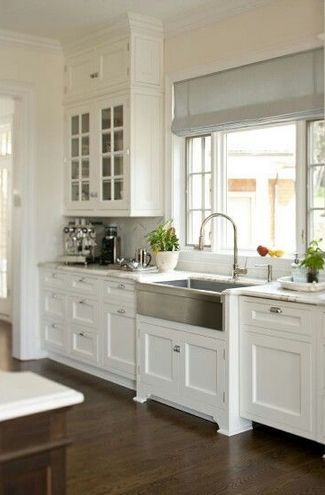
I NEED HELP figuring out how to make these slanted ceilings work. I have seen many kitchen remodels that I LOVE where the cabinets go to the ceiling but, they all show flat/level ceilings...we installed the kitchen cabinets (see pic) but, the slanted ceiling really bugs me and makes it look unfinished to me. I'm just not sure what to do about it...
Thanks so much!
~Hope~
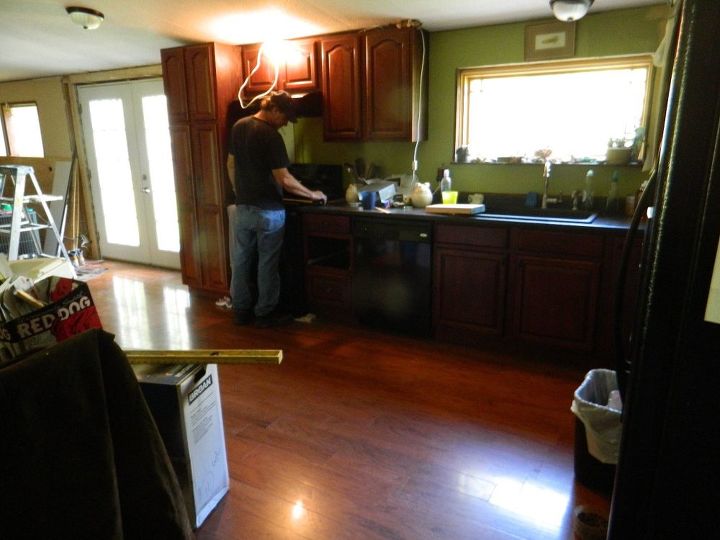

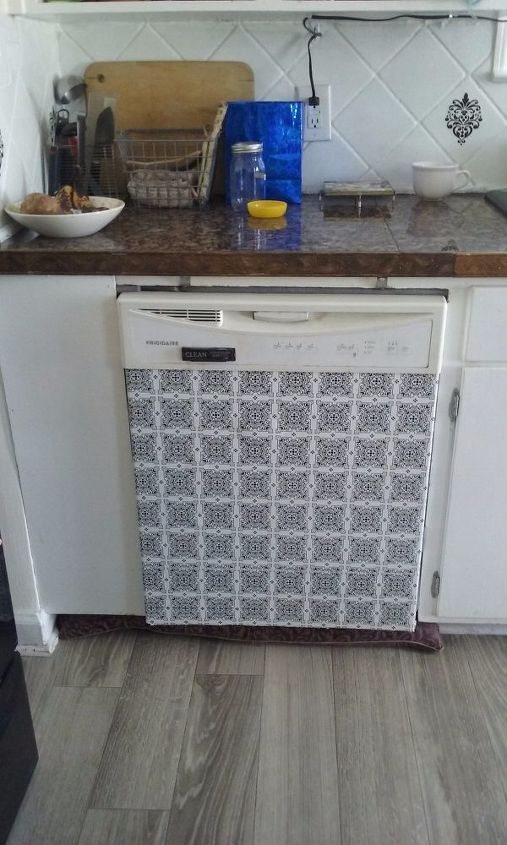
This shot shows the slanted ceiling issue. I'm not sure much can be done about it but am hoping someone will have a suggestion to make it better than it is. Please excuse the chaos...you can see several projects going on at once and the kitchen also serves as a make-shift workspace. Anyway, between the two pics, you can get an idea of what I am trying to explain.
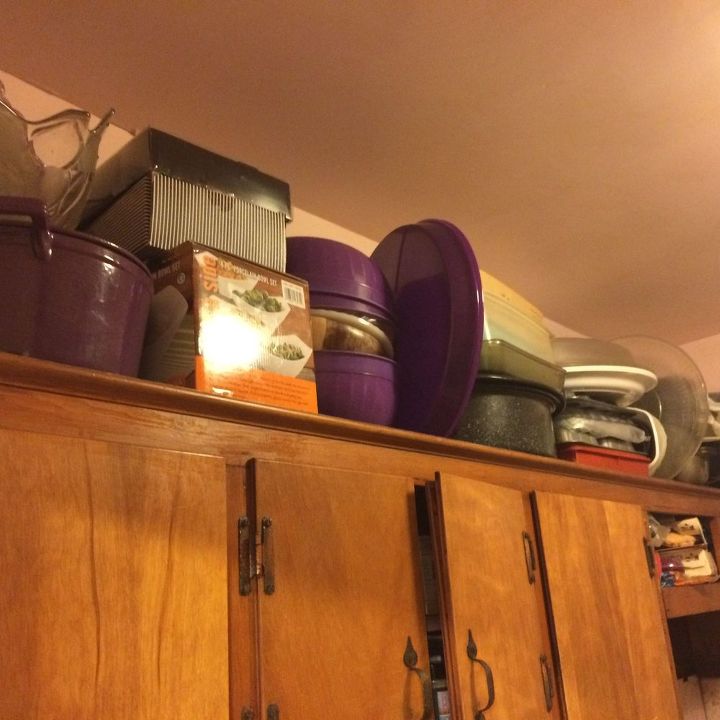

I think it looks great the way it is. Maybe use better coordinating items on the top of the cabinet. All same shape or same color or just call me OCD.
Hi- in one area with the slanted ceiling we took the side panel all the way to the ceiling. Then I used greenery up in the tightest corner and amongst the displayed items.
Try using something for a visual example- like taping up cardboard to see how it looks.
I think you will notice that once that space is defined by the end board, it will become more manageable.
.... But looking at the arch over the doorway, I might instead play with the cardboard templates, putting a shelf from mid side cabinet to end of wall. Cover top of arch with a narrow picture set on top of the shelf. Decorate entire area as one space.
On back of arched opening, from inside the hallway, frame out doorway- trim out with wide board on top, molding on either side of doorway. (And then Lucy and Ethel would have to repeat for other archway...) All good unless front door is arched...?
Hmm... I don't see the second suggestion that I sent last night :/
... which was to extend the shelf over the cabinets to end of room, across the archway, at about the mid level of the cabinet... then covering the archway with a narrow picture. And in the hallway side covering arch with wide trim at top and narrower trim on sides.
Strange that it is not here!
But funny, bc in the Hometalk email this morning was this:
"Grab Some Blond Boards To Copy These Incrediible Ideas", about covering an arched fireplace. Good for a visual, of sorts - for above
I selected cardboard boxes of same height, (you would need to cut each of them shorter than it's neighbor,and covered with paper (or fabric). I used printed felt and Elmers ordinary glue.. I changed the covering on the boxes until I got it pleasing to me. I am "hiding " various kitchen items that I need rarely, very rarely.
Hi Hope. :)
I can see what you're talking about, looking a little unfinished. I agree with you.
If it were my kitchen, or a client's of mine, I would add a crown molding at the top of the cabinets.
On the length of cabinets where it's close to the ceiling, (the sink wall) have the crown molding cut at an angle on the back so that the top of it will snug up to the ceiling.
Then on the side of the cabinets where the ceiling angles up, still add the crown molding, but once you get past the left corner, it will not touch the ceiling.
This will give the cabinets a wonderful finished look.
I hope that helps.
Liz from SimpleDecoratingTips.com