


Distressing Wood On An Old Mirror Using Unicorn Spit!

by
Maura White
5 Materials
$10
1 Hour
Easy
Today I'm going to show you a new project that involves distressing wood on an old mirror using Unicorn Spit, spray paint, and a thrift store picture frame!
Materials I used for Distressing Wood on an Old Mirror:
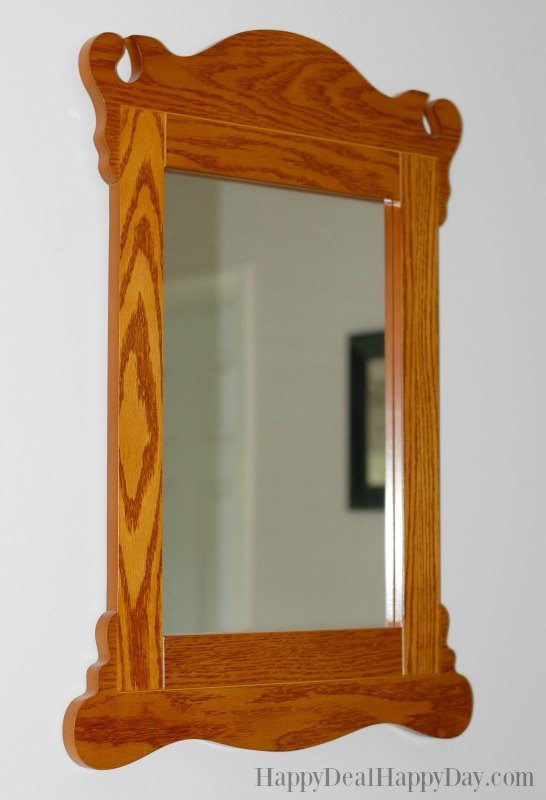
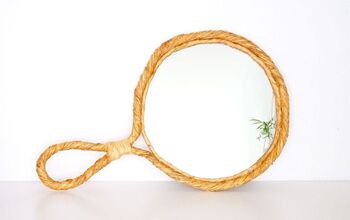
- an old mirror (this was a hand-me-down from my parents.) Take a look for something similar in thrift stores. You can use this technique on a variety of mirrors!
- Unicorn Spit - I used colors Zia Teal and Rustic Reality
- Newspaper and painters tape
- a picture frame for added dimension and texture
- White spray paint
- Liquid Fusion glue
Sandpaper or a Dremel Multi-Max Oscillating Tool with sanding attachment.
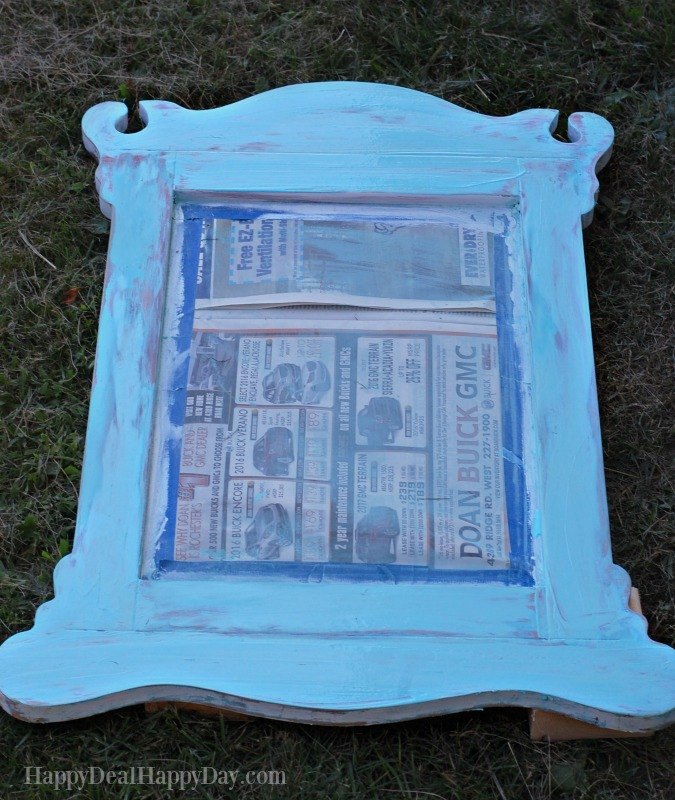
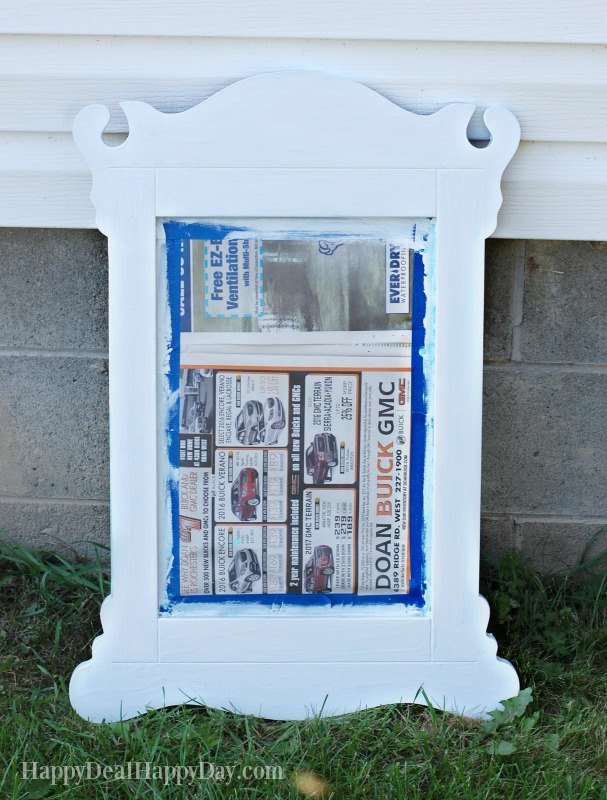
To start, I covered the glass mirror part with some newspaper and painters tape to protect that while I worked on the wood.
Then I took the Zia Teal Unicorn Spit and smeared that all over the mirror.
Then I got my bottle of Rustic Reality Unicorn Spit and put a few drops of it around the Zia Teal color.
Unicorn Spit is so much fun to play with! You will find that the 2 stains will blend together nicely. Also, these stains are water soluble, so if you apply something you don't like, you can just get a spray bottle with water, spray it on the "mistake" and wash it off and start over!
I used my finger and blended the darker Rustic Reality over the Zia Teal. Don't mix your colors together too much or you'll just get a dull gray. These colors will be underneath the top coat of white. I added them as the first layer so that when the top coat is sanded, bits of teal and brown will show through.
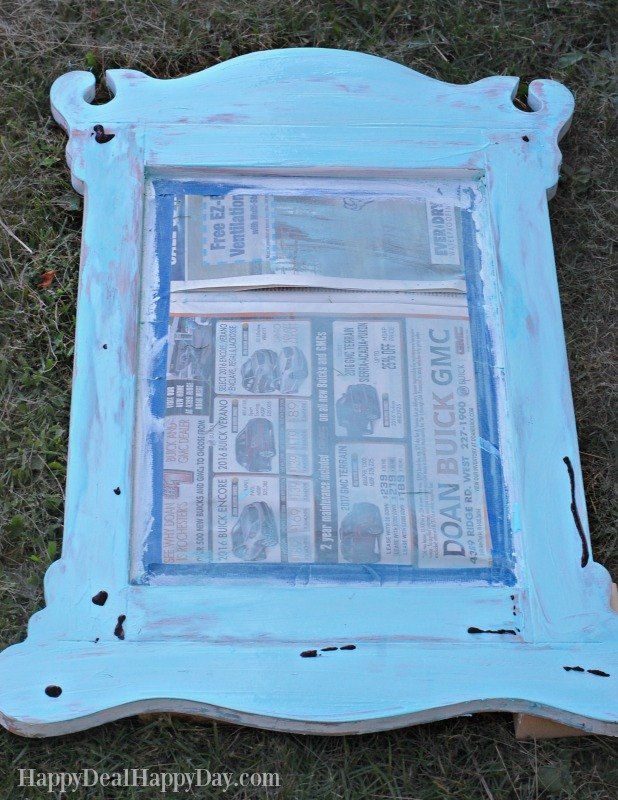
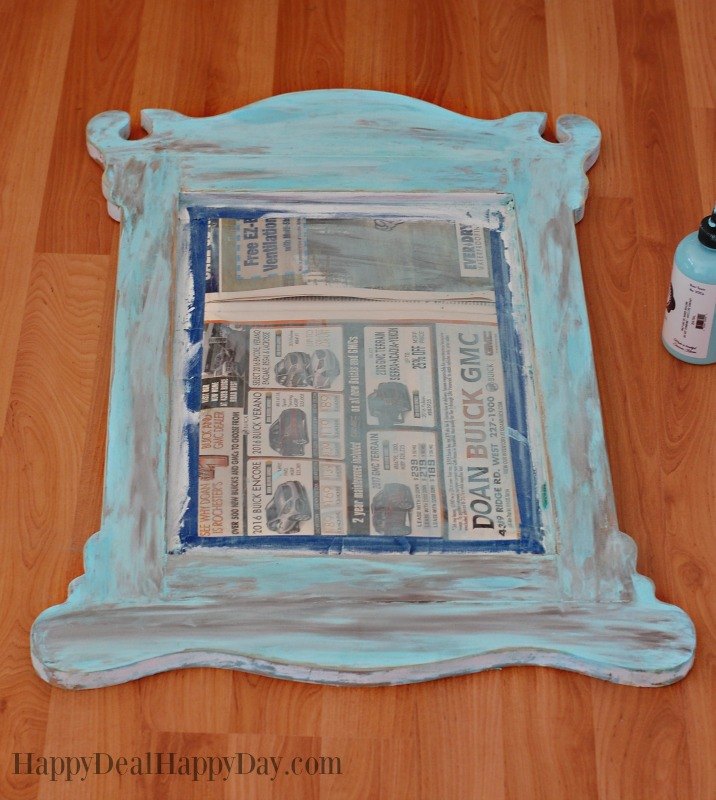
The Unicorn Spit dries fairly quickly. I'd wait 15 minutes or so for it to set, and then you can spray paint (or hand paint with a brush) the white over top the Unicorn Spit colors. Again, since Unicorn Spit is water soluble, you will have to paint in the fewest amounts of strokes as possible so that the colors don't all mix together.
Let all of this sit and dry for at least 24 hours.
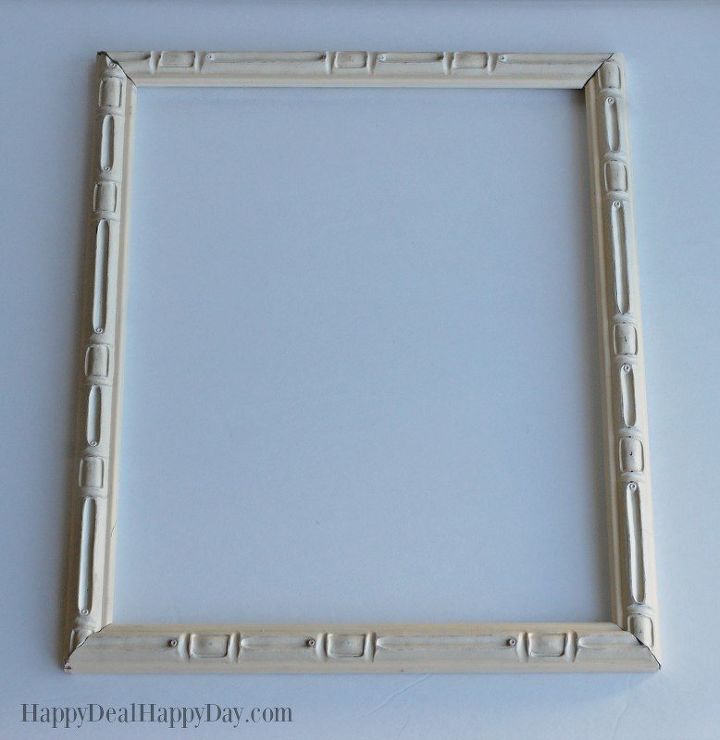
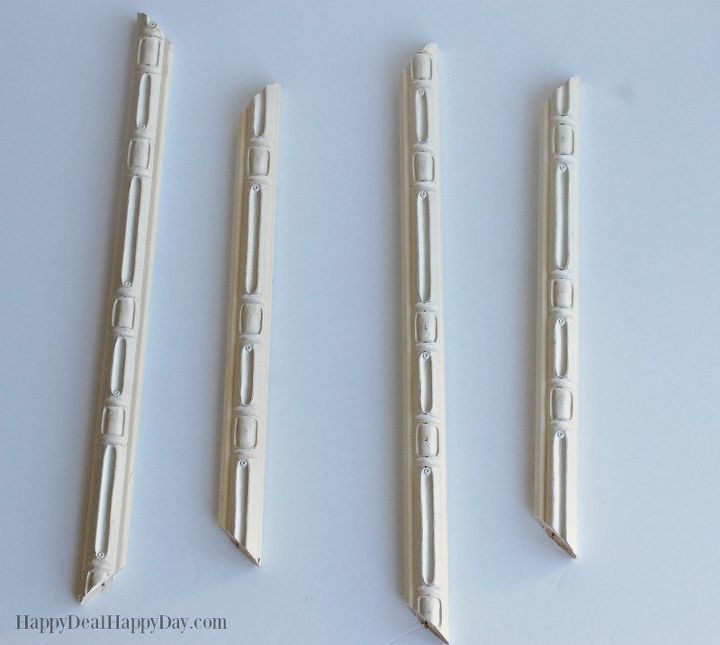
I didn't want the mirror to be just flat and wanted to add more texture to it. So off I went to Goodwill and found this gem to add some more texture, color, and contrast to the mirror.
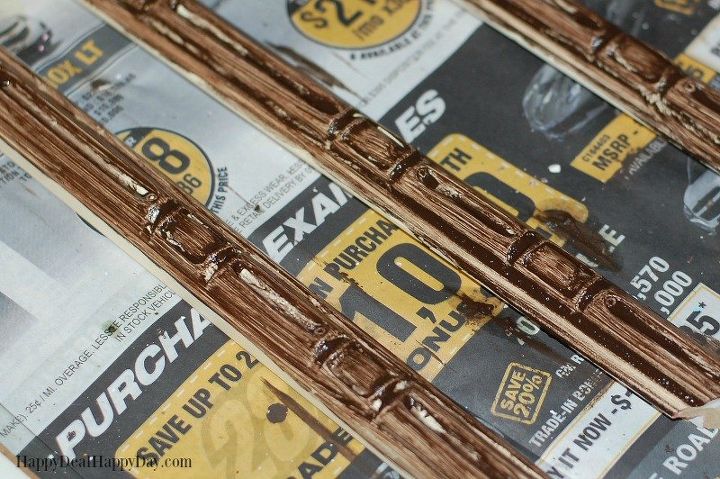
I got out my Rustic Reality Unicorn Spit again and made sure to get all of the nooks and crannies of this frame covered in brown. That will really help the contrast come out when I distress it.

I also added some Zia Teal, again for a pop of color to show through after I sand portions of the top coat of white.
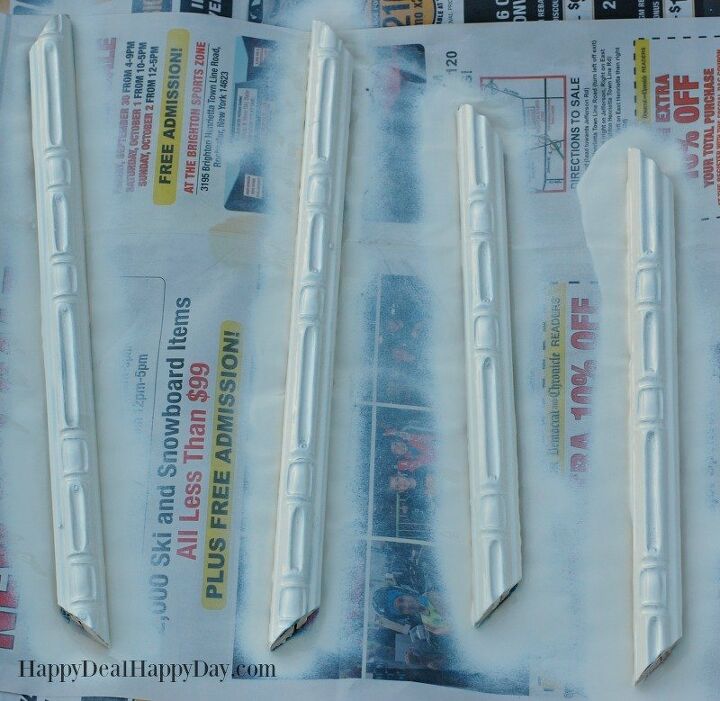
Then I got out my spray paint and painted the frame parts with white. Let this sit until its dry.
I then got out my liquid fusion glue (this stuff is the best!) and glued on the frame to the sides of the mirror.
Wait for the liquid fusion to do its job and dry for 24 hours.
Then get out your sand paper or Dremel sanding tool. I'm telling you, if you become addicted to distressing wood, then you will totally want to invest in a Dremel Multi-Tool with the sanding attachment! It is like magic! You can just turn it on, sand and distress the wood effortlessly!! Sanding by hand is possible, but its more difficult to get into the detailed areas and will take you much longer to finish.
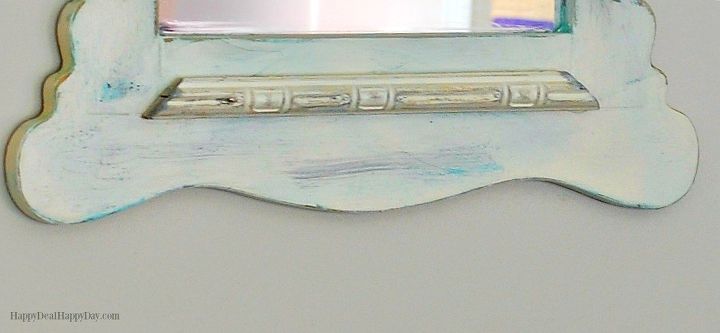
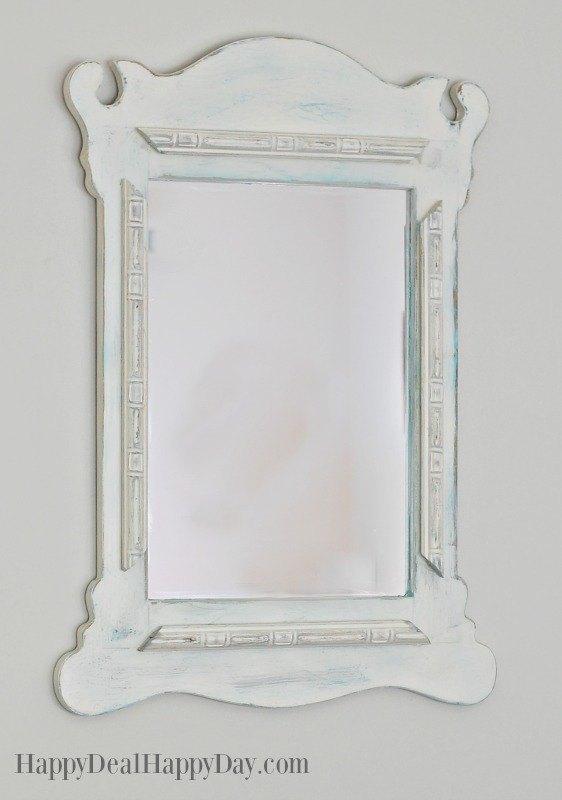
After using the Dremel sanding tool around the edges and on the textured frame, and just enough around the wood until the Zia Teal color pops out, I decided it was finished.
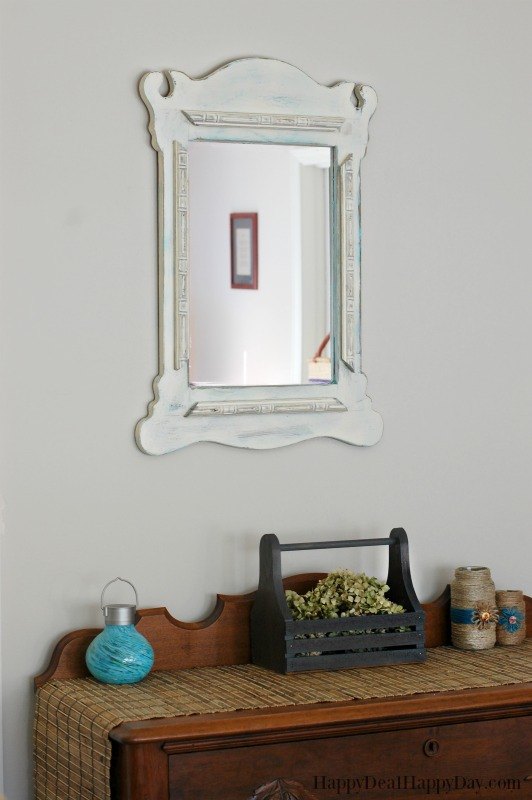
Now I have a matching distressed wood mirror that goes beautifully with the display shelf that I also made over (which is hanging on the opposite wall.) with the distressed dollar tree frames.
Want more details about this and other DIY projects? Check out my blog post!


Frequently asked questions
Have a question about this project?