


Lazy Susan RE-DO...Organize the Chaos


Resources for this project:


Comments
Join the conversation
-
My suggestion keeps disappearing.
Nice idea!
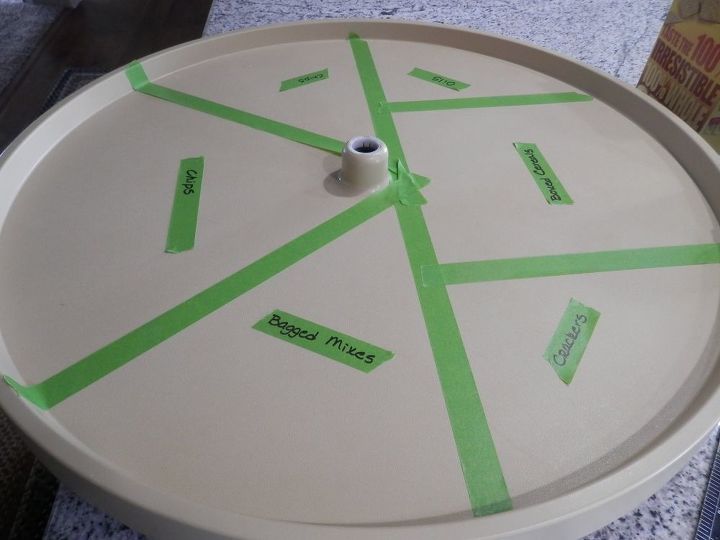
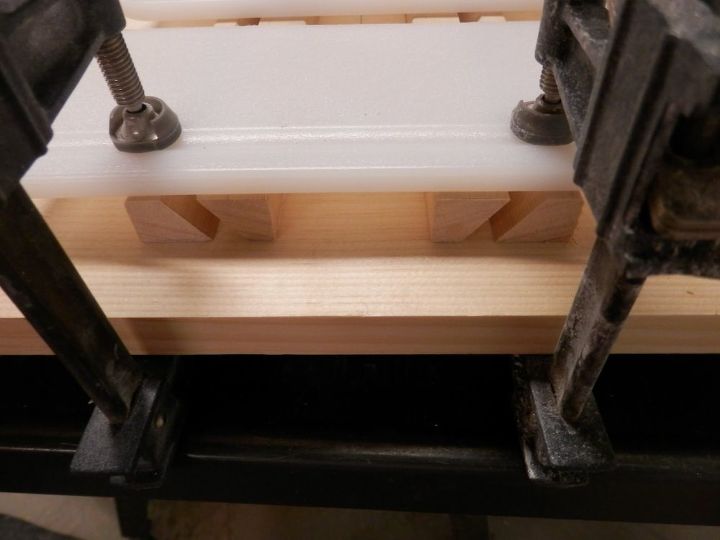
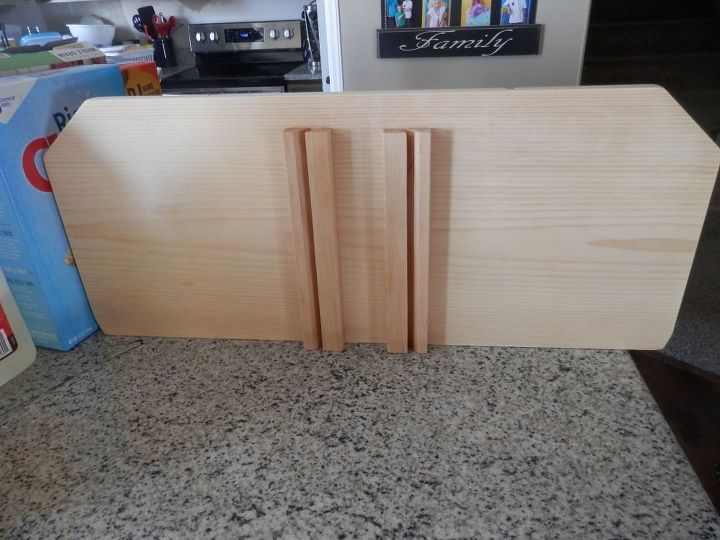
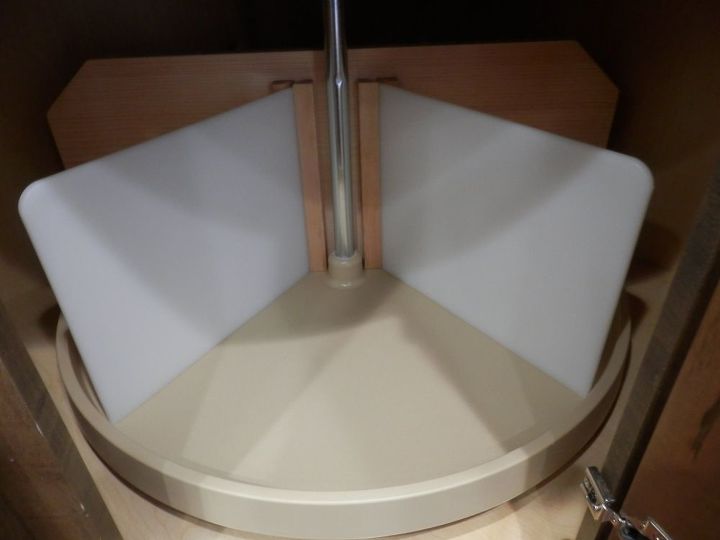
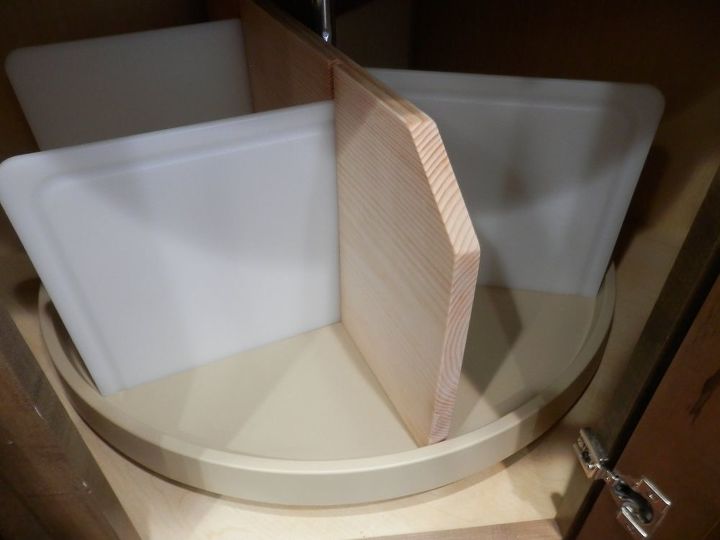
You might try making partitions, a base plate and a top piece with dowels connecting them. Glue the dowels in.place to hold partition together. Height = height of that individual tray. I would taper the inside edge to accomodate the smaller space available near the spindle. Caulk or use a non-permanent 'glue' to hold it in place better. The base of the partition should make it quite stable.
Basically, sandwich dowels between 2 pieces of wood, 1 top, 1 bottom. Taper the spindle edge to accommodate the less space available there. Drill holes for dowels and glue dowels in place. Position the partitions in place. Caulk in place if needed. They easily moveable when they need to be, pull up and scrape away old caulk.
-
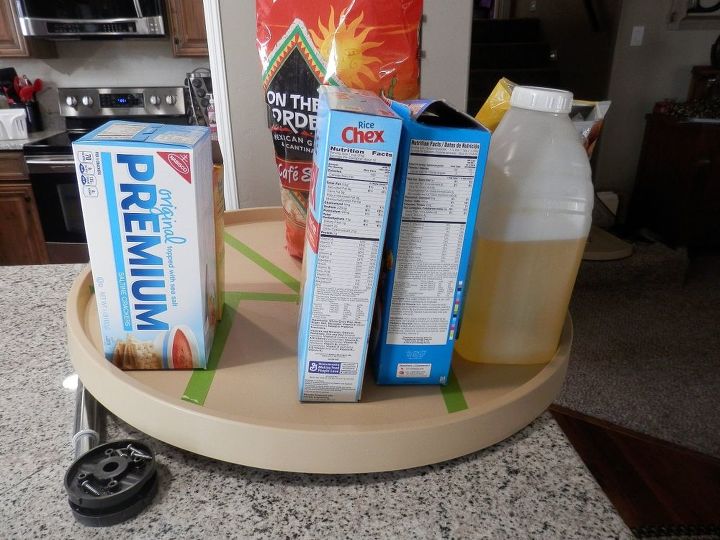
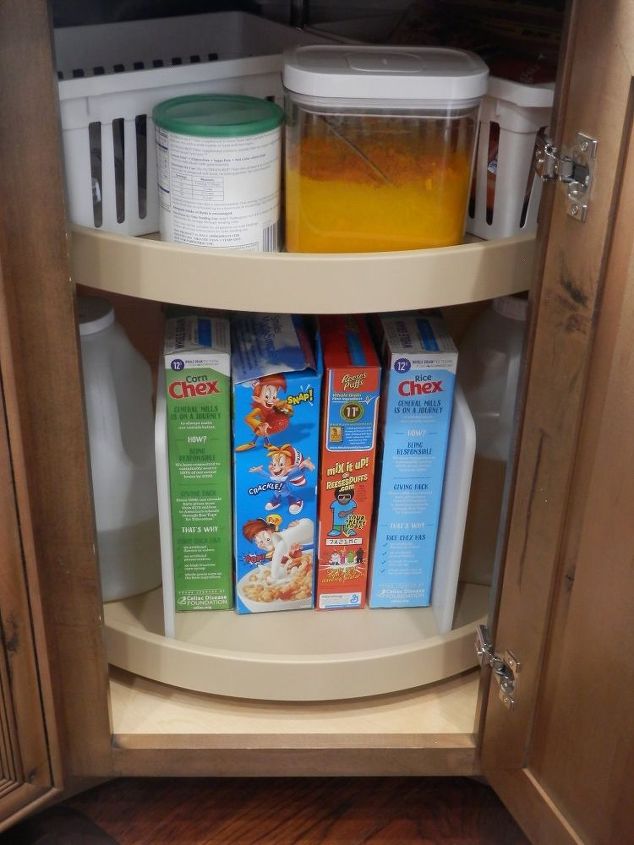
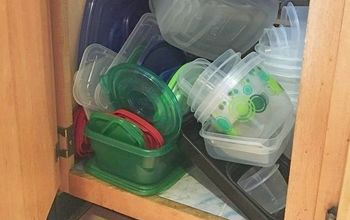
I really want to try this. That cupboard makes me crazy!!! Everything does exactly what you said, plus it’s difficult to see what I have.
This is a brilliant, no maintenance, good looking solution!!! Thanks for sharing. 👍️


Frequently asked questions
Have a question about this project?
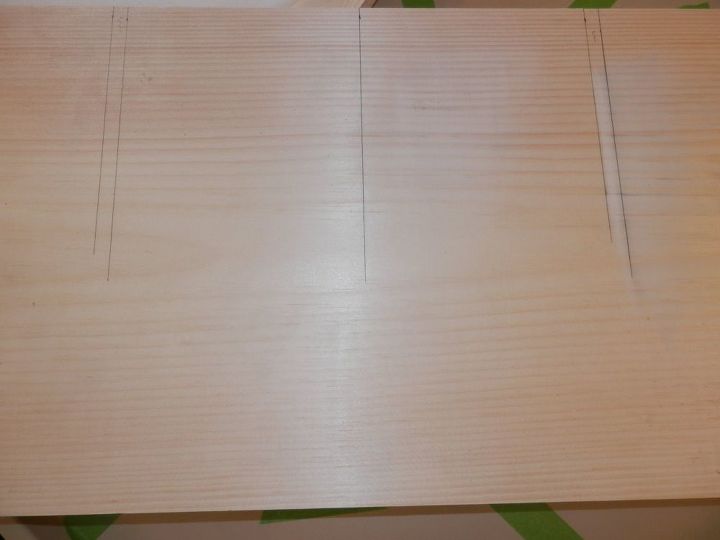
Great idea, but why was it necessary to use cutting boards? Why not just plywood painted white?
Great job. 👏👏👏👏👏👏
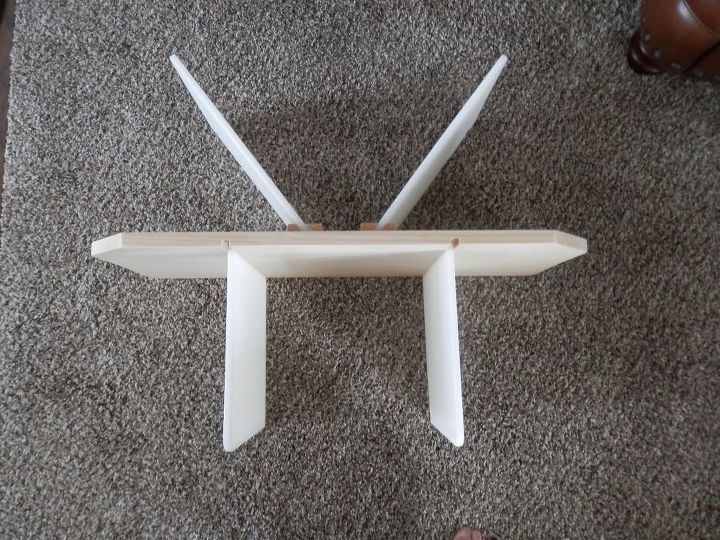
Great project to solve an infuriating mess!!! What did you use to make the angled cuts to hold the cutting board pieces???