


DIY Custom Wood Accent Wall

by
Joy
3 Materials
Today I wanted to share with you a super easy project that will add a whole lot of bang for the buck!
In the Fall One Room Challenge, I decided to take on two powder rooms. These rooms had very different color palettes and vibes. I love them both! I have tons of favorite projects to share over the next few weeks but this one is on the top of the list.
When putting the design together for the upstairs bathroom I so desperately wanted a burled wood-paneled wall. I thought about it, researched product all the time. I finally came to the conclusion that I could not swing the coinage needed for such a wall. The idea… well I couldn’t shake it. So I did what most DIYers do… I came up with an alternative plan!

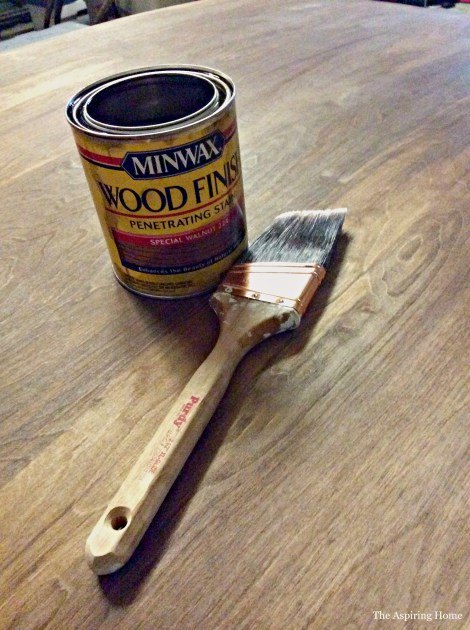
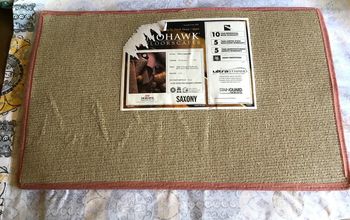
A stroll down the aisle at Home Depot yielded ideas and I settled on thin stainable plywood. With the help of a very patient associate – we found a piece with great wood grain. At $15 for the whole panel plus initial cuts…SOLD!
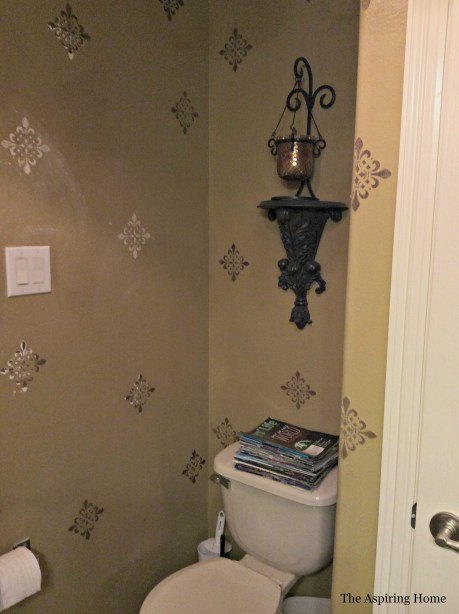
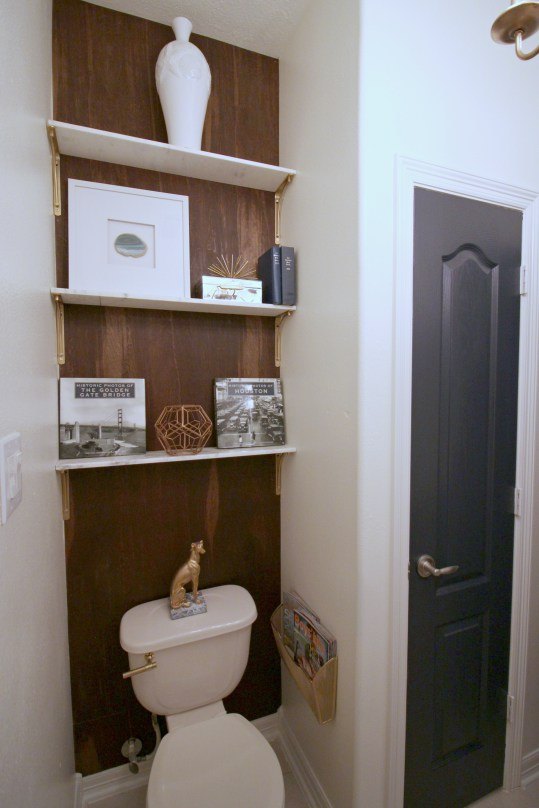
The wall behind the toilet seemed like an obvious place for the accent wall, I had envisioned beautiful Carrera stone shelves gracing that area. Didn’t get the shelves either due to budget restraints BUT I came up with an alternative and you will see the details here on the blog soon.
We measured the area which happened to be a bit taller than our wood panel. No problem- we will just fill in the blanks.
Let’s start with a really good before shot, shall we?
The wood accent wall will make such a big difference here. I put two even coats of Minwax Special Walnut stain on the panel. Once it dried I added two coats of satin non-yellowing poly.
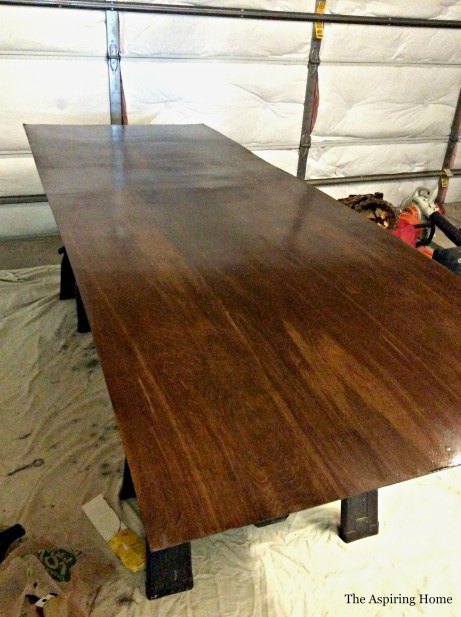
After making sure the piece thoroughly dried, we hauled it upstairs and kinda sorta slid it into place. Thankfully the plywood was strong enough to bend and wiggle into its new home. Watch your fingers though! Hubby pinched the snot out of his.
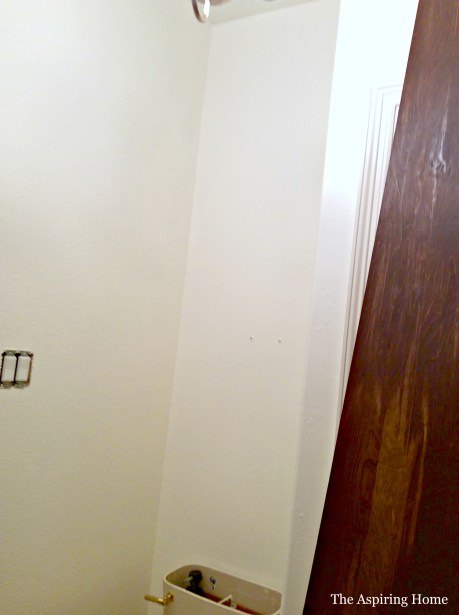
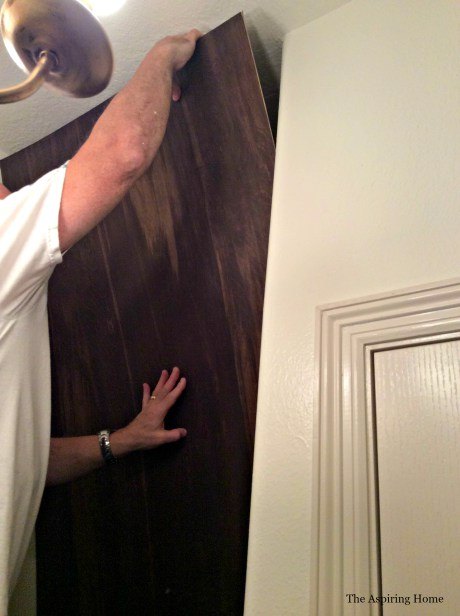
I measured the bottom area of the wall while the hubs held the piece in place. Since our walls are 10ft and the panel is 8 ft., we had to add a bit to the bottom.
We tried attaching the board to the wall using a brad nailer… didn’t work. The brad nailer shot right through the panel and into the wall. Our sheet of plywood was just to thin. We ended up nailing by hand little brads into the edges. Once the shelves are installed- the panel will be super secure.
This project only took a few days to complete due to allowing the stain and poly to dry. The outcome is a bit Rat Pack meets the Brady Brunch and I so dig it.
One day I will have a burled wood accent wall… somewhere, mark my words. 
Let’s have a look at the after…
Want more details about this and other DIY projects? Check out my blog post!
Comments
Join the conversation
2 of 6 comments
-
So clever! looks great :)
-
Nice idea. I think some color on those walls would warm it up and give a more finished look. I like blue with wood personally.


Frequently asked questions
Have a question about this project?
Hi I'd like to do something to my plain bathroom. But I rent whatever I put up has to be taken down when I move. Have any easy suggestions. Thanks