


WARNING (ALWAYS) UNDER CONSTRUCTION

1 Material
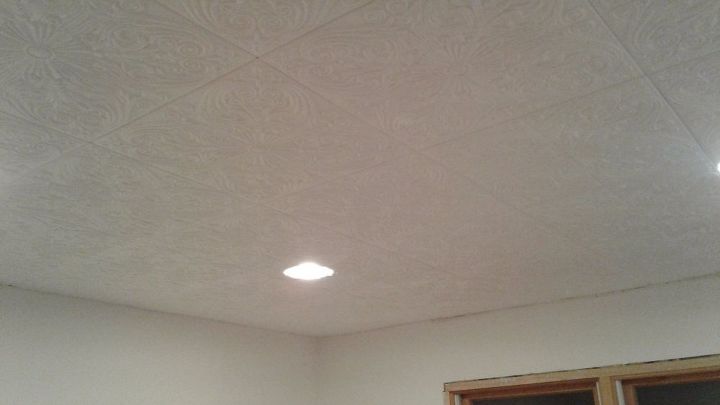
After seeing other projects using these tiles here on Hometalk, we decided to give it a try! We purchased these ceiling tiles from Amazon in a package of 50. They were very reasonable and were delivered in only a couple of days. They are truly as easy to install as everyone has said they are and they look great!

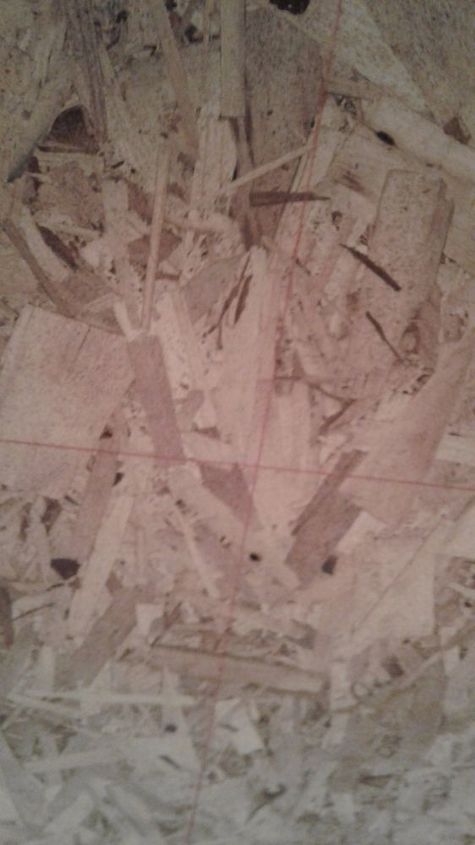
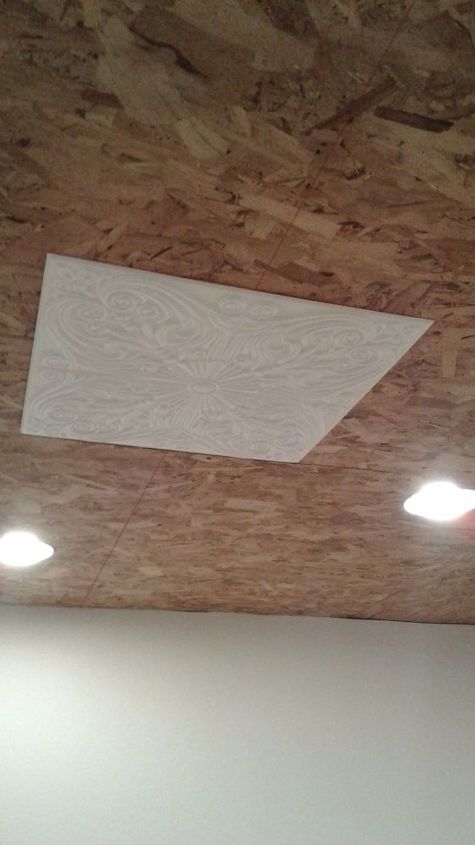
This was an unfinished storage room in our basement. Stacked with boxes, totes and old file cabinets. It had only a pull chain light in the middle of the ceiling that we replace with can lights. It was painted dark blue and felt like a dungeon without anything on the ceiling at all! After we put in the lights we put up chip board as the backing for out tiles.
We found the center of the room and snapped lines in both directions.
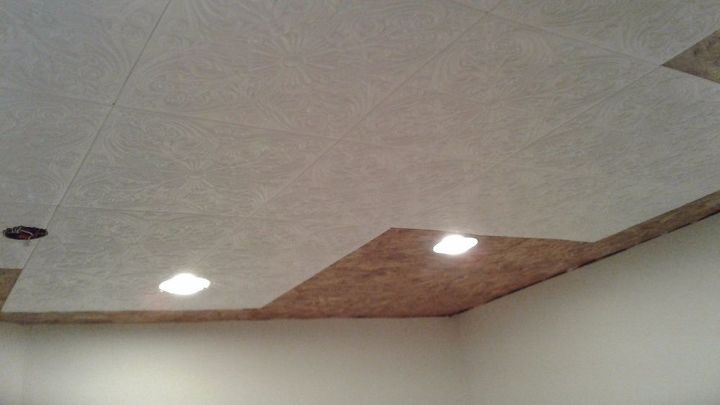
You can see that we had to split a tile in the middle of the room so we wouldn't end up with a tiny piece on two of the edges. The company that makes the tile says there is an adhesive sold at a local box store but when we went there they said they had never heard of it...
The tiles are very light, literally the same thickness as a foam plate but sturdy due to the indentations from the decoration. We found about 16 flat places on the backs of the tile to place a small dab of adhesive and then just made sure to push those places firmly against the chip board. Our tiles were 20 X 20 inches square, but there is a slight variation in the size . As we worked around the lights it was easy to mark them against the electrical box in the ceiling and then cut out with a razor knife.
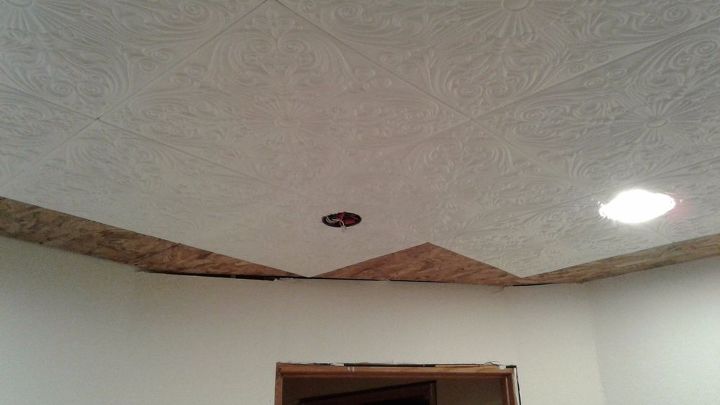
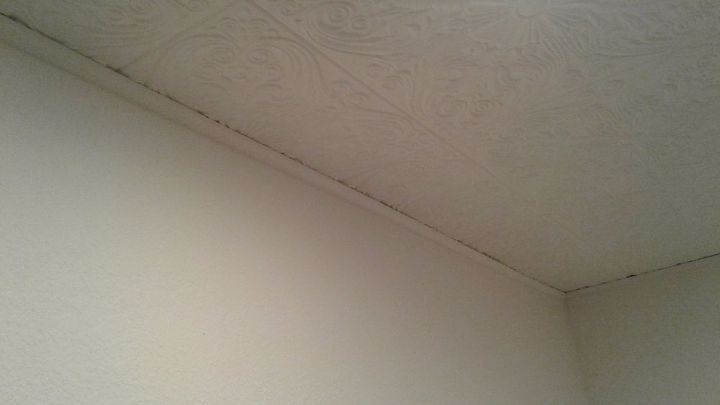
In the corner with the door there is a 45 degree angle so some fancy cuts were necessary. We also put in a fire alarm in case someone ever wants to turn this into a bedroom.
There was a little math involved in getting the tiles to come out even, which usually means you'll need to purchase a few extra tiles, but this is the finished, painted ceiling. We just painted the joints first with a brush and the rest of it with a high knap roller. Next is the trim and deciding how to organize the shelves, cubbies, drawers and hanging rods!

UPDATE! Finally got some trim up for the ceiling in the walk in closet. It seems like forever since we finished the ceiling!
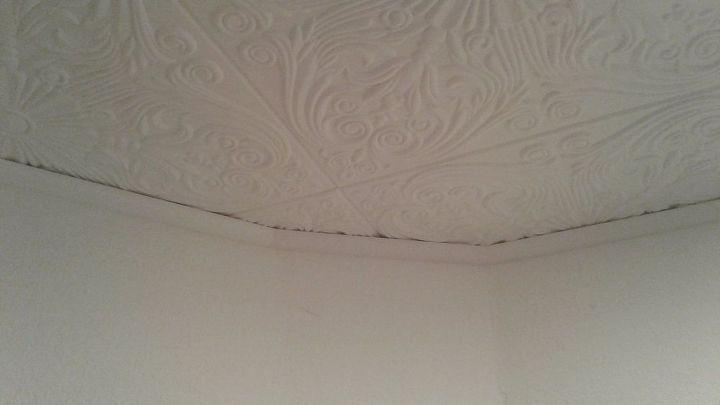
Had some interesting corners to work around by the door but we used the styro-foam quarter round which is also super easy to cut, and then filled in at the bottom where it didn't quite fit tightly up against the wall with white bathroom caulk.
You might be able to see how well it fills and blends in this picture. It is also paintable! I especially love the interesting shadows the tile makes against the top of the quarter round.
Comments
Join the conversation
3 of 20 comments
-
At first I thought the chipboard was your new ceiling, good thing I kept reading!
-
We did this in our living/dining and kitchen caulked and then painted with white ceiling paint. Bought from Home Depot a little pricey because we needed so many but worth it. The outcome wax absolutely beautiful .


Frequently asked questions
Have a question about this project?