


How to Make Paper Decoupage Without Wrinkles!
6 Materials
$20
1 Hour
Medium
Have you ever made decoupage or collage projects with paper and glue, and been frustrated with wrinkles? Ugh, I sure have! I know some people say wrinkles add texture and interest. And I've tried to accept the wrinkles. But I just can't. I will iron t-shirts and jeans, so that's where I'm coming from.
I've now found a way to make wrinkle-free decoupage. Every time. It's a technique that involves these steps: COAT - DESIGN - HEAT ...
As far as I can tell, this method was developed by collage artist Jonathan Talbot (http://www.talbot1.com/) and I thank him for saving us from the wrinkled mess that glues can produce.
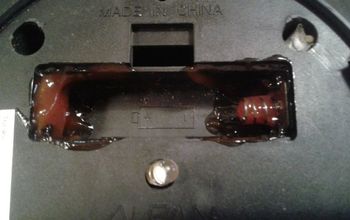
STEP 1: COAT
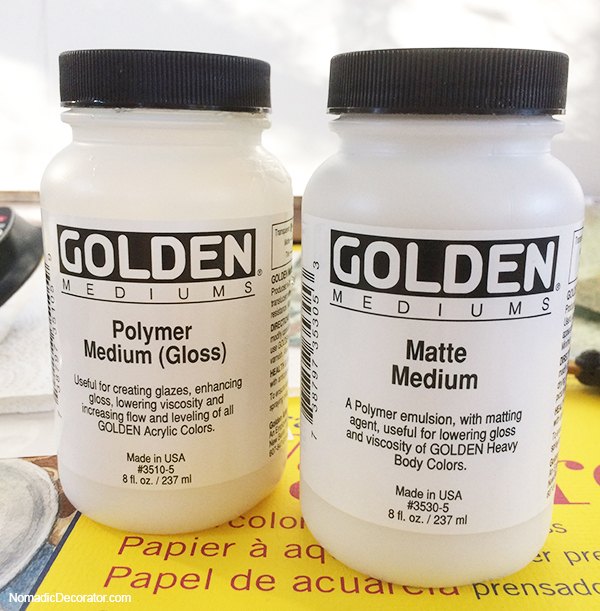
The most important key is to use Golden Mediums, not glues like Mod Podge and Aleene's Tacky Glue. Some people say you can also use Liquitex Mediums, though I personally haven't tried those yet. I still have bottles of Golden Medium to use up!
You can find Golden Medium in art supply stores like Blick Art Supply, on Amazon, and in the art aisle at Michaels. In my local Michaels, the Golden products are not in the craft paint aisles but in the fine art supply aisles.
Golden Medium can cost more than craft glues, but it's the key to doing this COAT - DESIGN - HEAT technique. I've used coupons at Michaels which brings the cost down.
Golden Medium comes in Gloss and Matte. Which you use depends on whether you want a shiny or non-shiny surface.
Golden Medium Matte - Non-Shiny Surface
Golden Medium Gloss - Shiny Surface
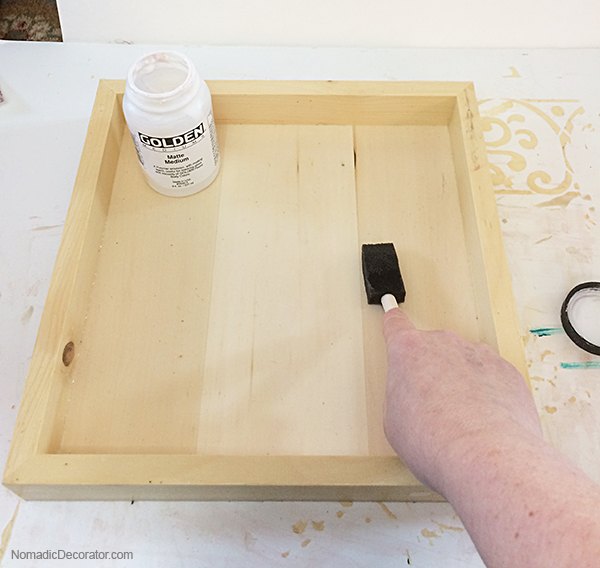
Coat Paper with Golden Polymer Medium
Once you have your choice of Gloss or Matte Golden Medium, next follow these steps:
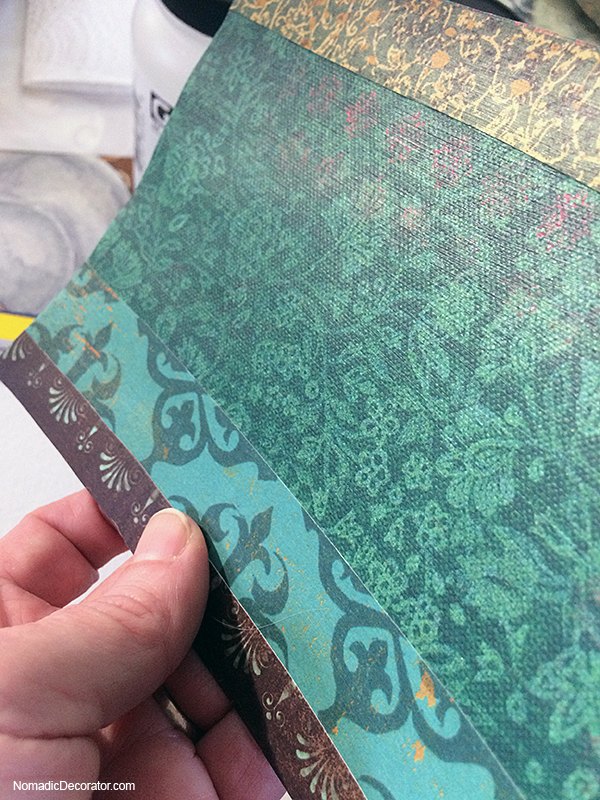
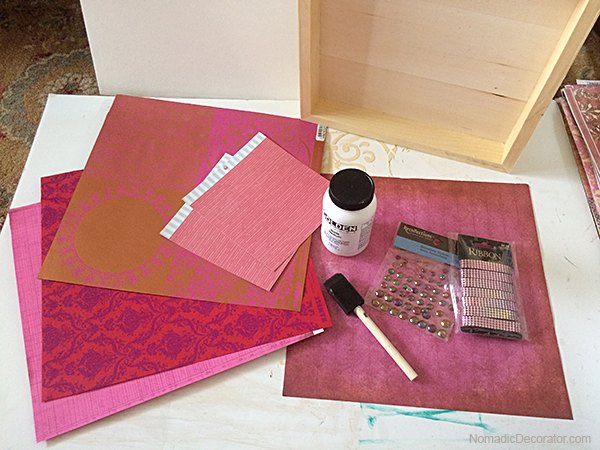
- Choose the pieces of paper that you want to use for collage. I usually use colored, patterned scrapbook papers.
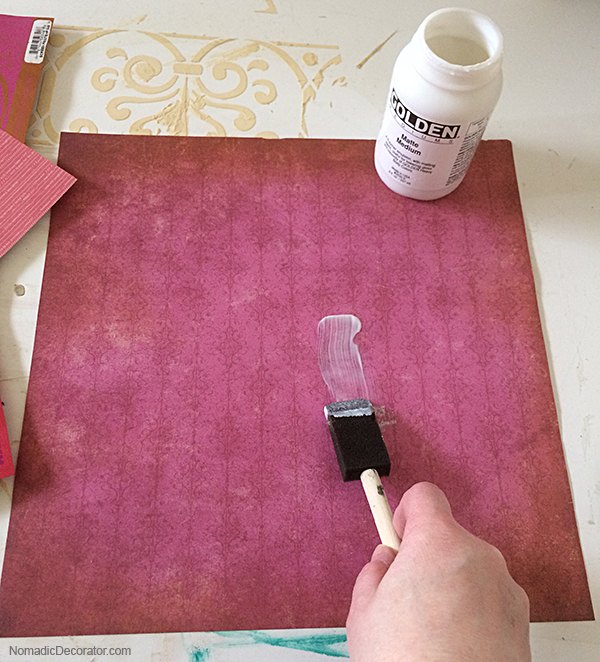
- Using a soft paint brush or foam brush, brush a thin layer of Golden Gloss or Matte Medium over one side of the paper.
- Let the medium dry. It will dry quickly. Your paper may bend a bit when it’s wet with the Medium, but it will flatten out. (Note: Don’t let the papers touch each other when the Medium is wet – the papers will get stuck together!)
- Turn the paper over and brush a thin layer of Golden Gloss or Matte Medium on the other side of the paper. Let the medium dry.
- Choose a surface you want to adhere the papers to. You can use a heavier scrapbook paper as a base. Some collage artists recommend using thick 140 lb watercolor paper. You can also adhere papers to wood boards, canvas (be sure the canvas is stretched very taut), foam core board, etc.
- Brush a layer of Golden Gloss or Matte Medium onto the surface you want to adhere the paper to. Let the medium dry.
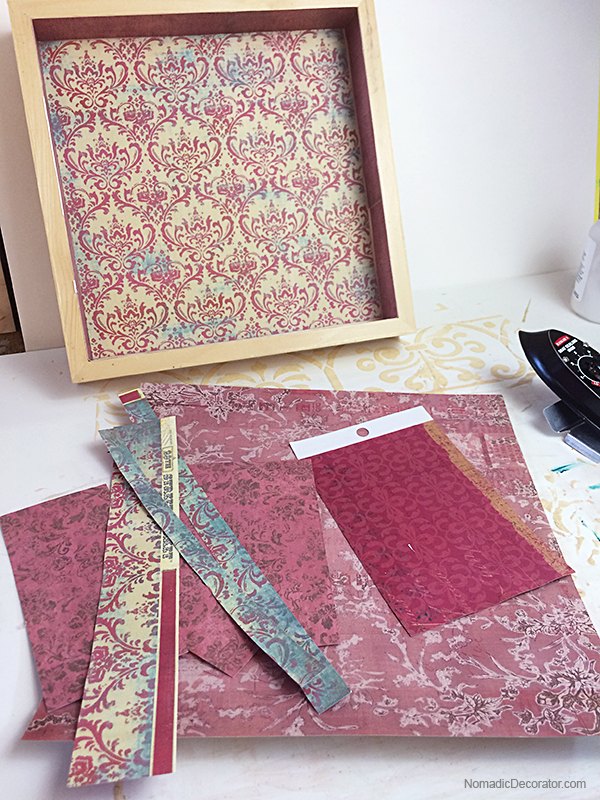
STEP 2: DESIGN
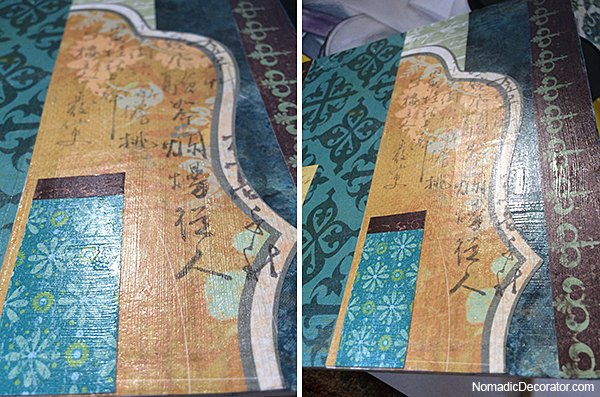
Now it’s time to create your collage! The fun stuff!
- Arrange the papers into a collage.
- Cut the papers, rip them.
- Layer the papers and build up papers on top of each other.
If you coated papers on both sides with Golden Medium, just layer your papers on top of each other — after the next heating step, they’ll all stick together. You can even add other things like string or yarns, lace, etc. Just be sure to coat these things with Golden Medium too, so everything will fuse together in the next step.
This Design step is all up to you — your time to have fun and be creative!
And of course, you can use this technique with just one piece of paper decoupaged onto a surface.
In today's post, I'm showing just the first layer of paper. Because around my full-time job and life in general, projects take a long time to finish! It might be next year before I'll get this done to show you. :)

STEP 3: HEAT
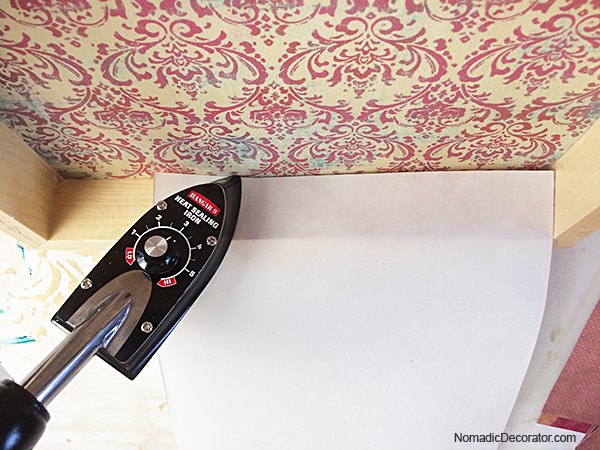
When the papers are arranged the way you like them, next you will set the papers with heat. This will activate the medium and make everything fuse and stick together. Without wrinkles!! For this step, you can use a “tack iron” or “heat sealing iron.” It’s a small iron.
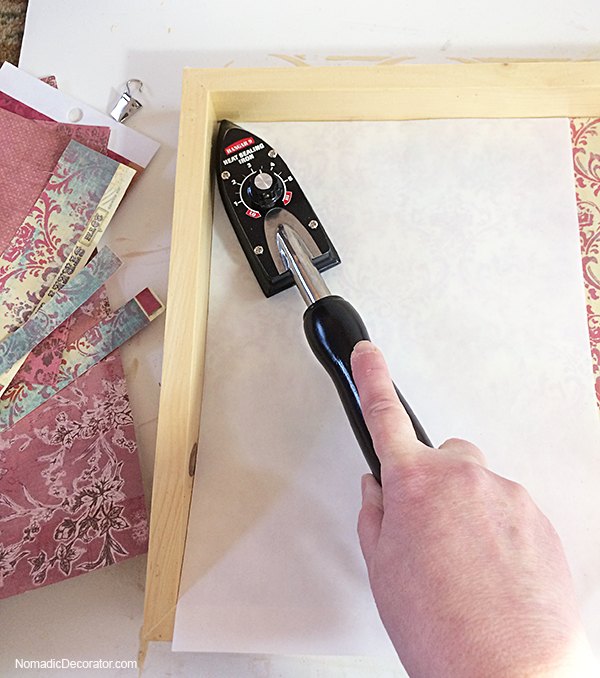
I use the Hangar 9 Heat Sealing Iron. You can get it on Amazon. Because it’s small, it’s good for decoupaging on smaller surfaces where a regular size household iron won’t fit. I’m decoupaging papers in boxes to make decorative niches, and this Hangar 9 iron is perfect for getting into the little corners.
If you don’t want to invest in a heat sealing iron, you could use a household iron, but be careful to test it first at low settings, so you don’t heat it up too hot.
You will also need a special paper between your Medium-coated collage papers and your iron. You don’t want to put your iron directly onto the Medium or it will cause a mess and possible flammable hazard. I used the Release paper from collage artist Jonathan Talbot at http://www.talbot1.com/. Look for silicon and teflon papers that are designed to protect things while heat pressing. The good thing is, the papers are reusable for a long time to stretch your dollars — you can re-use them for years. You can get Teflon sheets at Amazon.
Fusing Everything Together with Heat
- Plug in a heat sealing iron, also called a “tack iron,” or use a household iron.
- Lay a release sheet (silicon or teflon sheet) over the paper collage.
- Push the iron lightly over the release sheet, heating all areas of the collage. It doesn’t have to get too hot. I set my tack iron at heat setting 3, the mid-way point, and that’s working fine.
- Take a look at your collage, check to be sure all papers are adhered. If some areas are still loose, run the iron over those areas.
- It’s also possible that if you missed applying Medium to some edges, the edges won’t adhere. Simply dab some Medium on areas where it’s missing. Let it dry. Then heat the area with the iron.
{
"id": "3767553",
"alt": "",
"title": "",
"video_link": "https://www.youtube.com/embed/O1J442jK6do",
"youtube_video_id": "O1J442jK6do"
}
{
"width": 634,
"height": 357,
"showRelated": true
}
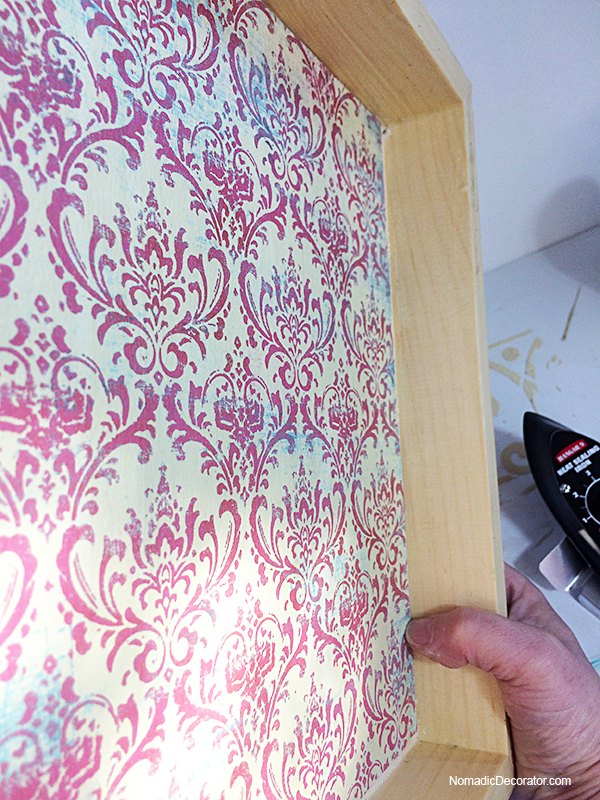
The final result should be a wrinkle-free decoupage or collage! Woo hoo! Yay!!!
I know it’s hard to see here, but this surface is as smooth as glass! No wrinkles or bubbles anywhere!
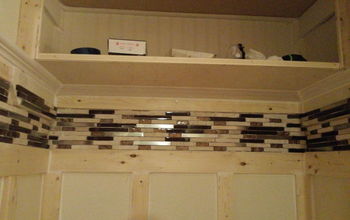
I’m not done with this project yet. You’ll see in posts to come, this will become a bejeweled niche with a Rajasthani-style arch, inspired by Jaipur, the Pink City of India.
See my blog post about this project for more tips.

Want more details about this and other DIY projects? Check out my blog post!
Comments
Join the conversation
2 of 26 comments
-
I was just researching how to set inkjet printed paper for decoupage and saw Liquitex Matte Medium mentioned. Will Golden work as well? I like your technique and it would be great to use one product for both purposes. (I live in the boonies with no access to any craft store beyond Walmart.
 ) Thanks for the tute.
 -
ohh yes!


Frequently asked questions
Have a question about this project?