


3D Coloring Playhouse
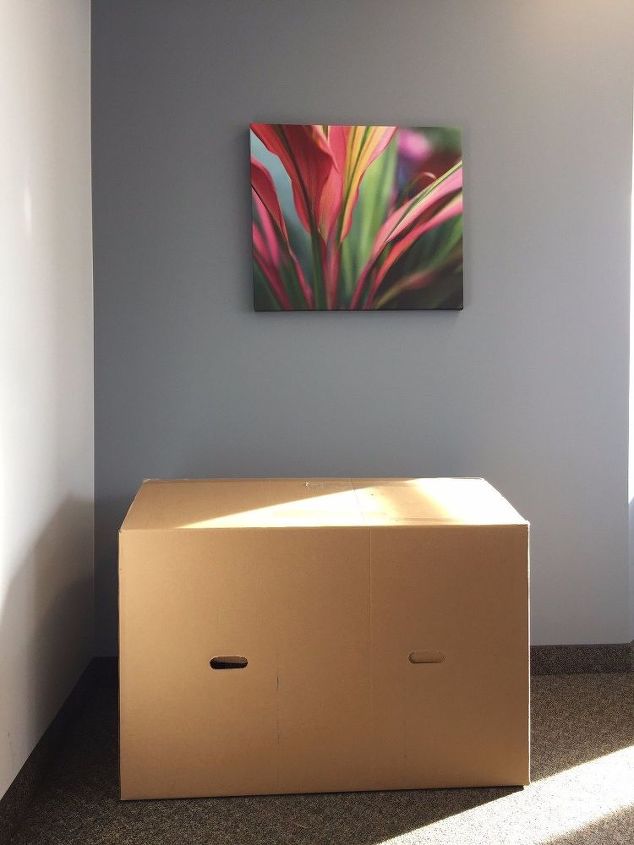
My daughter loves to color. It is her favorite hobby for the last six months. (As a 2.5-year-old, this is a really long time for her.) When I came across a 3D coloring playhouse at Michaels, I knew she would absolutely love this. Who wouldn't really?! It is a 3D house you can color all sides of. Then, I looked at the price - $49.95. Seriously?! For paper?! Even with a 40% off coupon, I couldn't stomach it. I can afford it but can't bring myself to buying it. I did a bit of research online and of course on Pinterest and learned the easiest way is to find a huge box. But, here is where the problem lies. Where the heck am I going to find a huge box?Then, one day at work, we got a huge delivery of computers and they all came in ONE HUGE BOX. I immediately called dibs on it, (no one else wanted it) and dragged the box into my office. It takes up a lot of room in my office and I have to walk around it but so worth it. I now have the basis to create my own 3D coloring playhouse! class="listul">1 HUGE cardboard boxknife or scissors (sharp and strong ones) packing tapethick jiffy marker
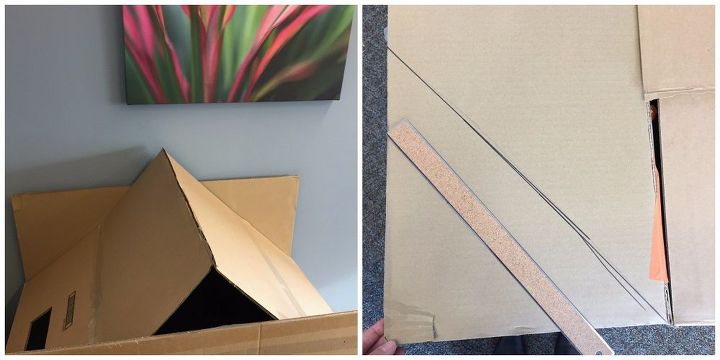
1) Empty out the box. Stare at it and envision all it can be. Or actually plan it on paper. I just stared.
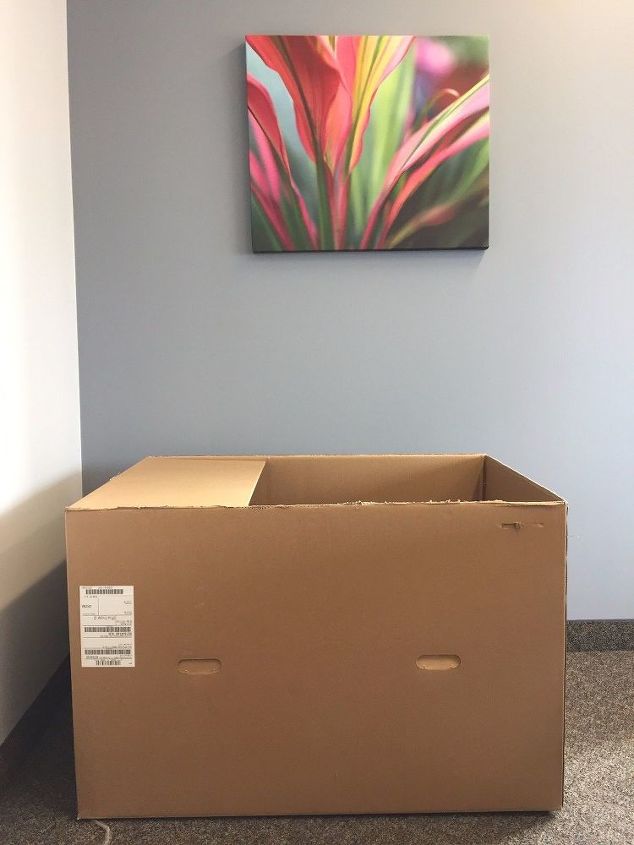
2) Cut out the bottom of the box. I did this for two reasons: I needed the extra cardboard, and I didn't want it to feel like a cage where she is trapped inside. Scary. This part was probably the hardest as the cardboard was really thick. Further, I was in heels and only had a knife I found in the office kitchen. (We all know how dull those are.)
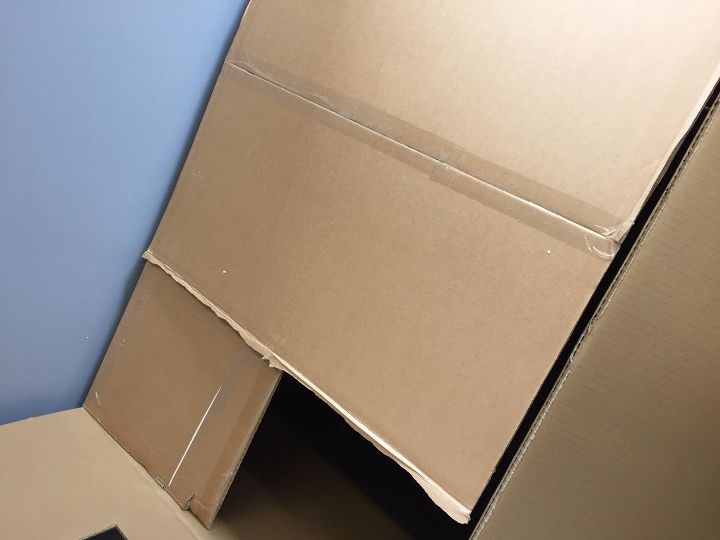
3) Attached the pieces I cut out to both side flaps of the box. This was done to gain some height for the house. I thought this is a good idea as there will be more coloring space for my daughter. What I didn't consider was her height. There is no way for her to color the roof. Whatever. Moving on.
4) Not ready to move on yet. I had to put in some reinforcements for the two side panels to prevent them from sagging. Initially, I put in two panels on each side but proved to be not enough. (Physics was not a strong subject of mine.) Put more in. Little worried about the weight of the panels at this point. If only I was better with Physics. Gah.
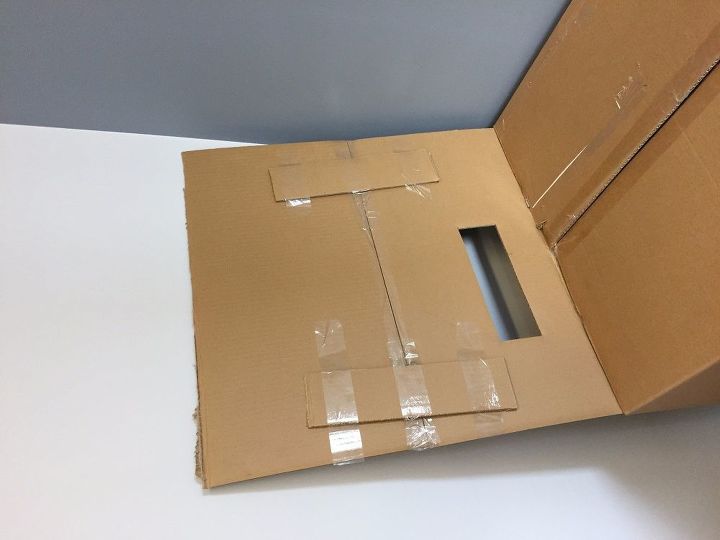
5) Measured and mark the front and back panels where the two sides meet up. Initially, just pulled the two side panels up to mark it. When I got to the cutting part, I realized I needed a straight line. Had to pull out the ruler and marker at this point. Should have just done this in the first place. 6) Cut out the corners for the front and back panels. You should have a hole in the top where the side panels meet up. No worries, just use one of the corners you cut out. Tape in place. 7) Draw and outline things on the house so that it can be colored. You can totally skip this step if you want to let your child color to their own imagination. Personally, I just like to doodle.
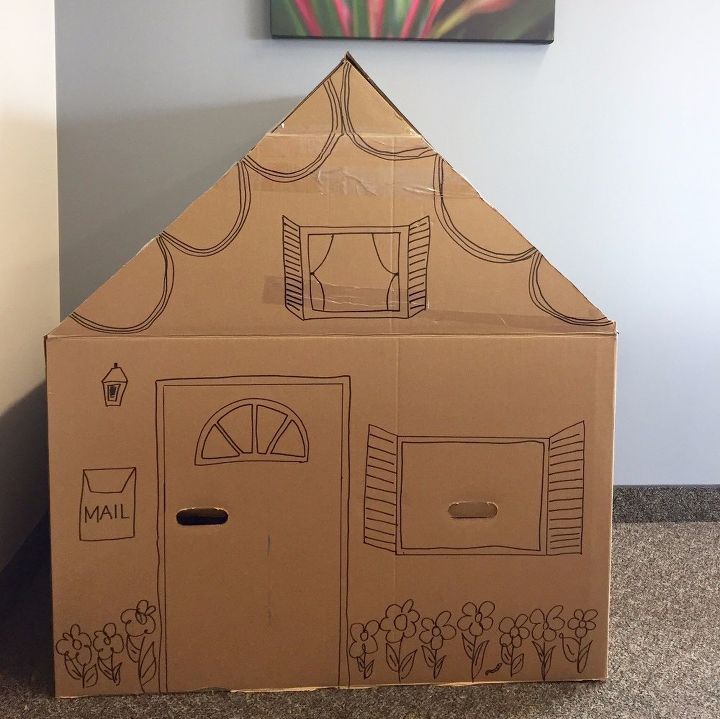
Originally, I was going to cut out the doors and windows on the playhouse then changed my mind. It is easier to color on when there aren't holes all over the place. My plan was for her to color the house (for a month) before cutting out the doors and windows.When I brought home the playhouse, I told Grace about my plan. She colored for a total of 5 minutes and then wanted the doors and windows cut out. After that, she loved playing in her playhouse!! She even has it fully stocked inside.

Want more details about this and other DIY projects? Check out my blog post!
Comments
Join the conversation
2 of 3 comments
-
Cool and creative idea! Five minutes of coloring is a long time!
 She just wanted to get inside.
  Great share and great job!
 -
Super cute!!


Frequently asked questions
Have a question about this project?