


Don’t Hate Your Boring Terra Cotta Pots Do THIS Instead!
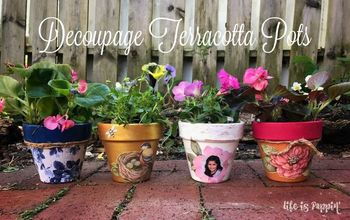
Terra Cotta pots are great for planting those things that you are supposes to keep alive - But I really like to paint mine and use as a container - it's great for holding just about anything!!!
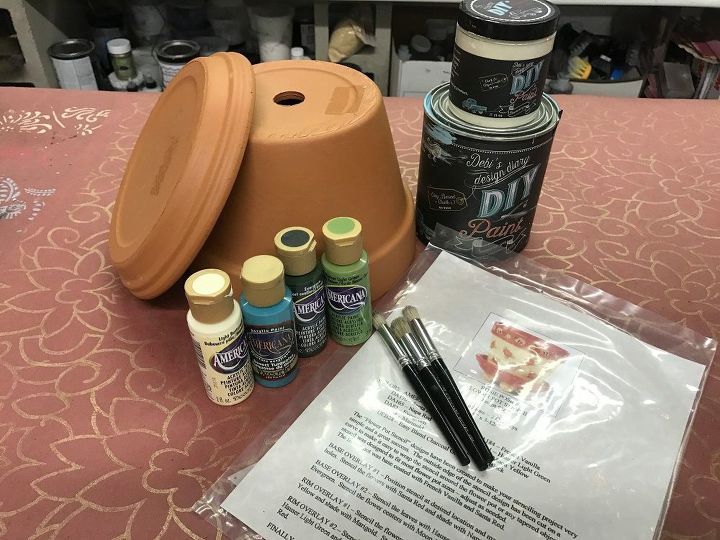
Gather your supplies!
I just start with the good ole gardening terra cotta flower pots - my favorite size is the 8" short fern pots and saucers.
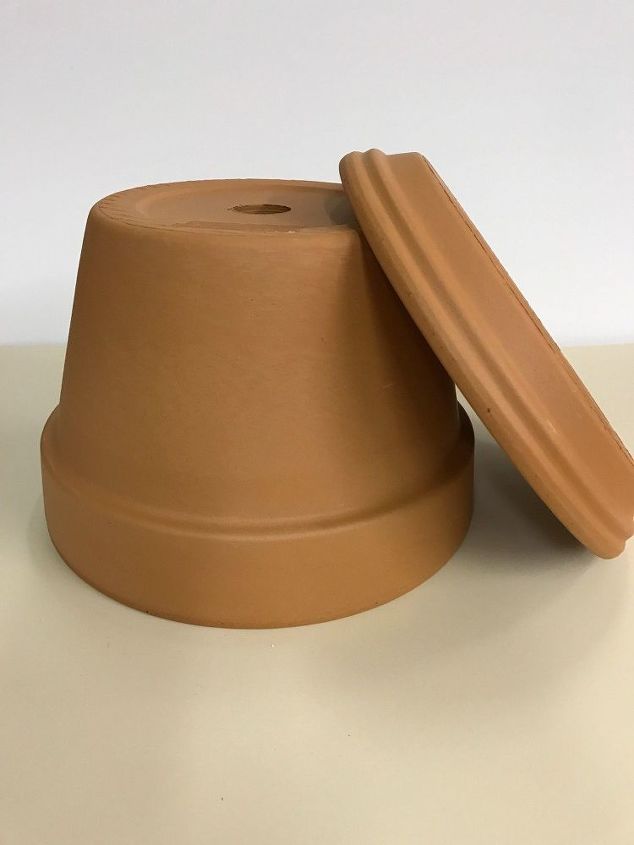
Terra cotta pot and saucer - 8" fern pots
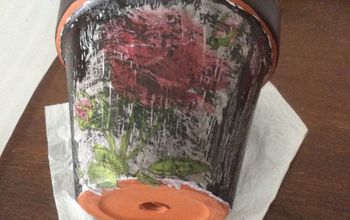
You want to clean the flower pot before you get started - I just use a damp cloth and wipe off any dust. If there were price stickers, make sure to remove these and any residue left behind. Allow the terra cotta to completely dry before you start your painting.
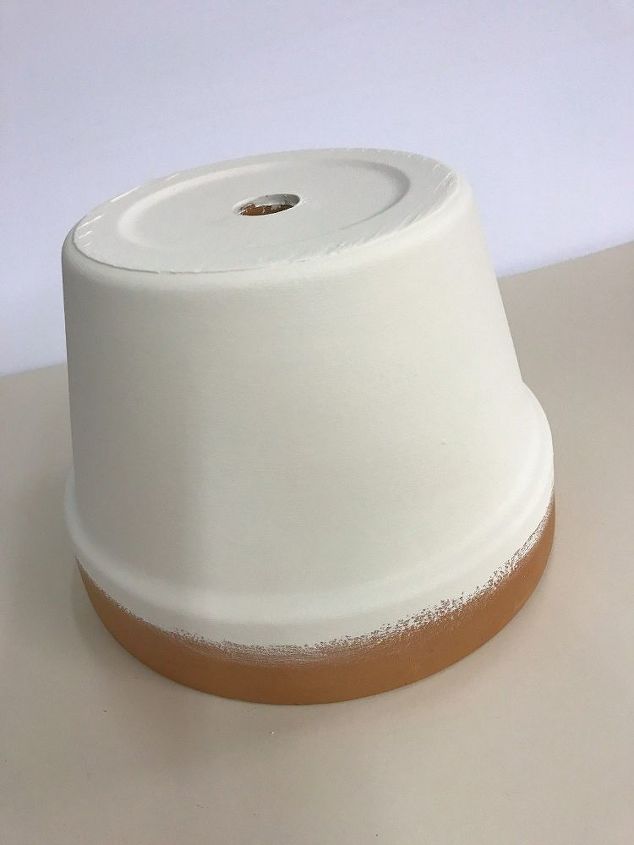
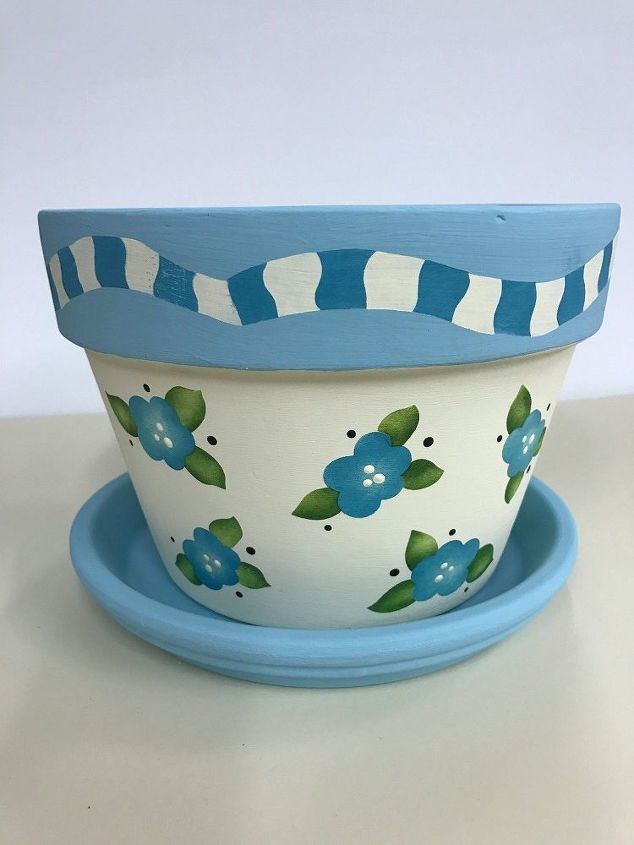
I'm using the Debi's Design Diary DIY Paints - Crinoline for the base section. Because the DIY Paints are clay based, I didn't prime first. You will want to apply two coats and I always paint the bottom section first - allow this to dry and then paint the rim a different color.
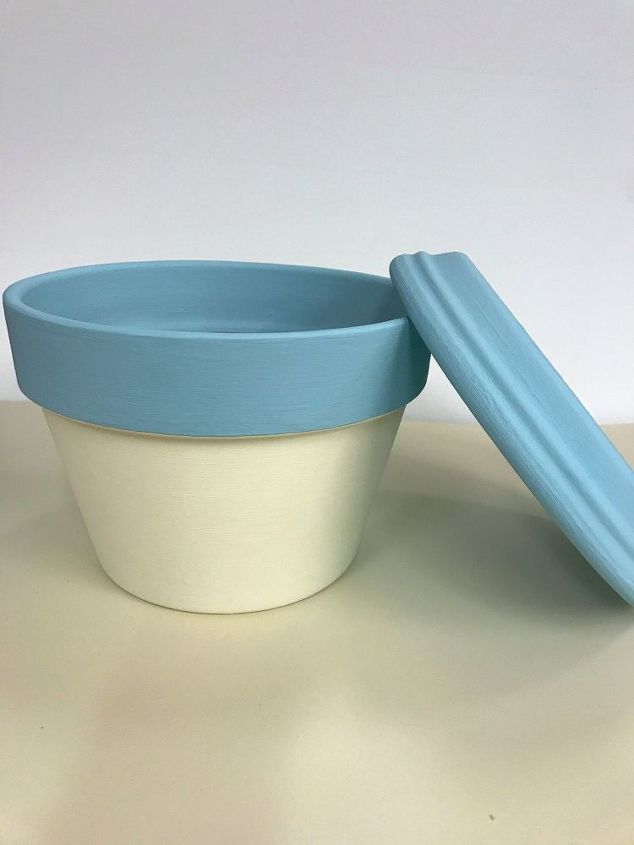
I painted the rim and saucer Seaglass from DIY Paints - again, I applied two coats of paint, allowing dry time in between. Now we are ready to stencil this beautifully painted pot!!!
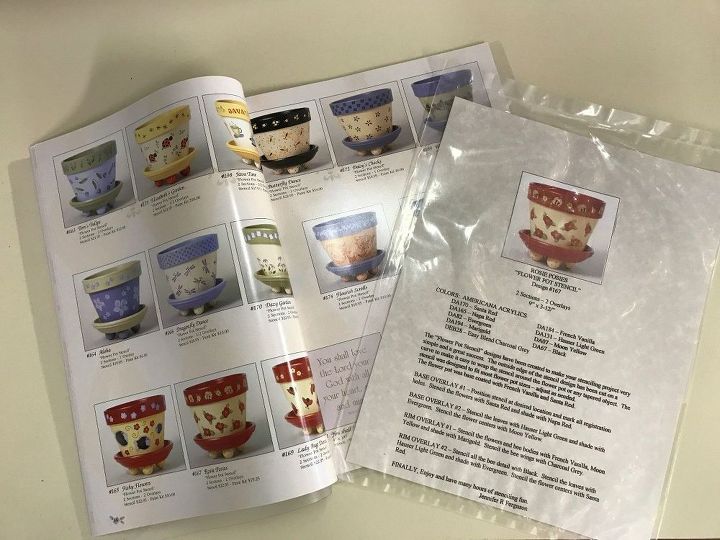
Now it's time to pick a stencil to use on this project - there are 37 different "flower pot" stencils to choose from! These are wonderful to use on the flower pots, the stencil is cut on a curve which allows it to wrap around the tapered shape of the pot!!! Genius idea :)
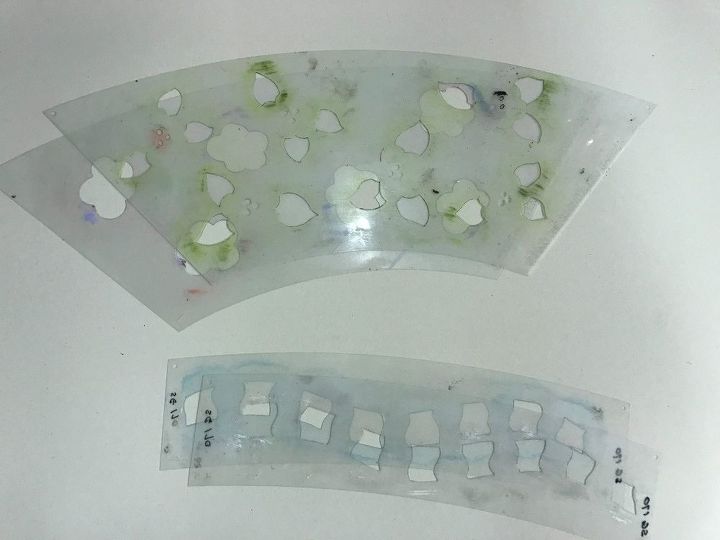
The "flower pot" stencils come with two sections - one for the base and one for the rim!
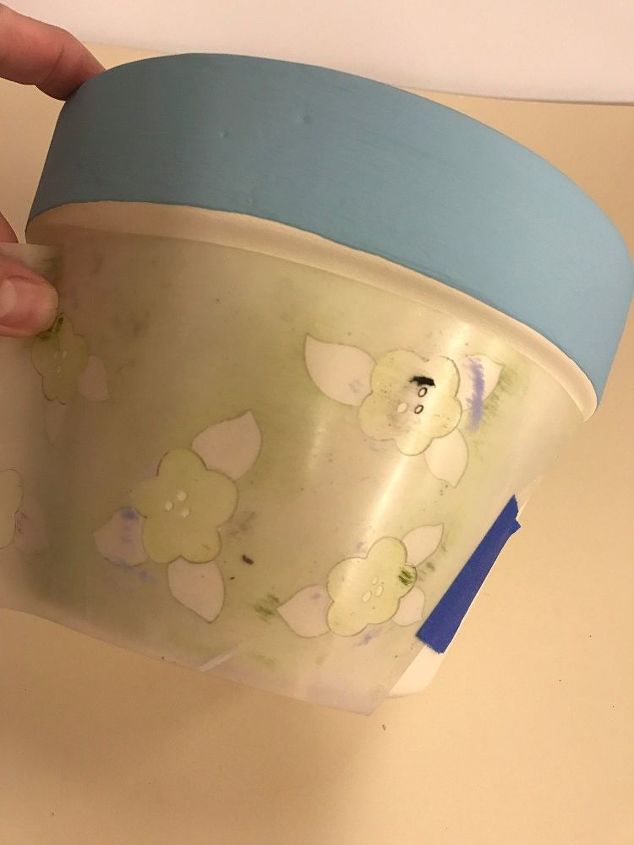
Time to position your stencil and get your stencil brushes out!!! Position overlay number one and tape to secure it in place. Stencil the flowers with American Acrylic Desert Turquoise - shading around the outside edges for a little depth.
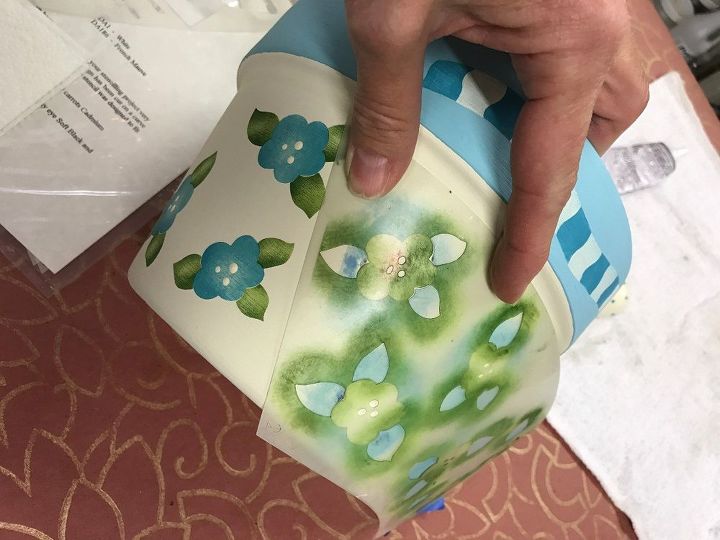
When you are complete with overlay number one - remove that stencil and line up overlay number two. Stencil the leaves with Hauser Light Green and shade with Evergreen. When you are done with both overlays, position the stencil for the next repeat. Stencil both overlays the same as instructed before.
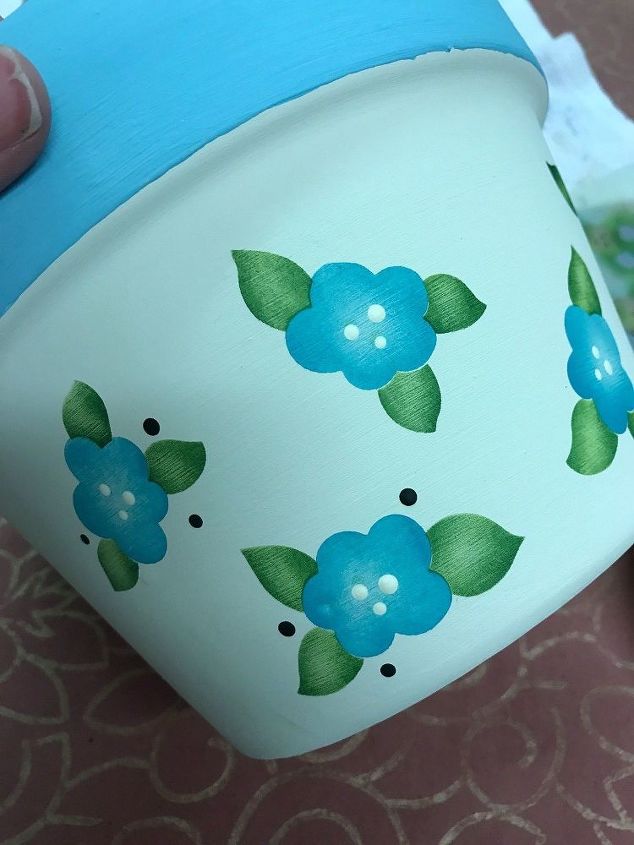
When all the stenciling is complete - you can add my fun La De Da Dot's using an embossing tool - put a small puddle of paint on your palette and pick some up with the large ball end of the embossing tool and create the raised dots. I did the dots for the flower centers with Light Buttermilk and the little black dots around the flower.
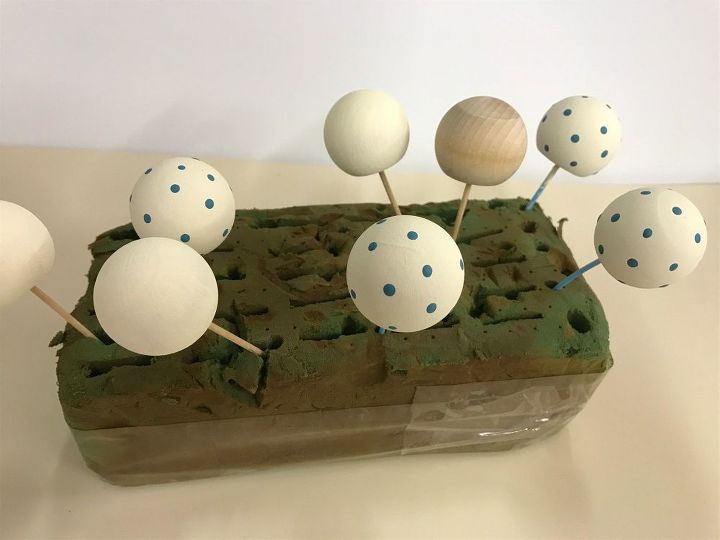
Don't forget to paint the Ball Knobs and all the cute La De Da Dots to them too!!! After everything is varnished/top coated - glue the ball knobs onto the bottom of the saucer.
When all the painting is completely dry - top coat with DIY's Big Top. This is wonderful top coat product to use. If you plan to plant in this pot - seal the entire pot inside/outside - if it absorbs water, it will push the paint off!!!
{
"id": "3790932",
"alt": "Stenciling a Flower Pot",
"title": "Stenciling a Flower Pot",
"video_link": "https://www.youtube.com/embed/JxhbvFhBLfU",
"youtube_video_id": "JxhbvFhBLfU"
}
{
"width": 634,
"height": 357,
"showRelated": true
}
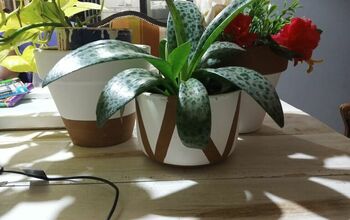
Here is another demo on painting these fun flower pot projects!!!

Want more details about this and other DIY projects? Check out my blog post!
Comments
Join the conversation
4 of 8 comments
-
Cute Idea..... I'll have to try it ;-)
-
Very creative and extra pretty! Thanks for sharing!


Frequently asked questions
Have a question about this project?
Can you tell us where we can buy the stencils you used? Very pretty!