


Up-Cycled Desk With Hardware

by
Sara
8 Materials
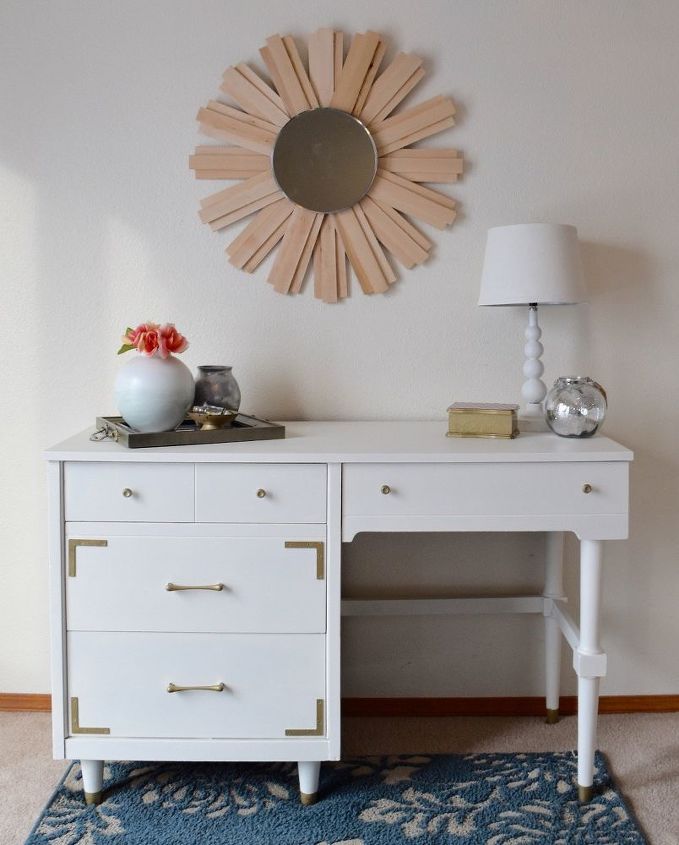
If you have an old desk with dings and scratches, or just doesn't fit the style of your room, don't throw it out! A little sanding and paint can bring new life to furniture that many people would throw out.
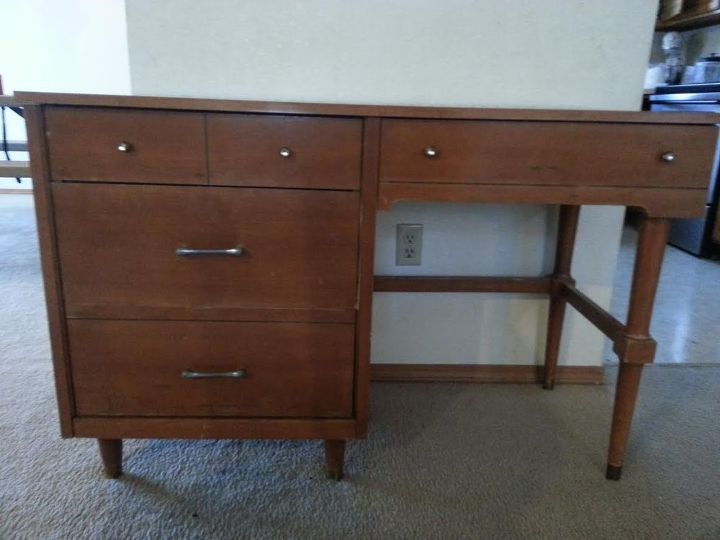
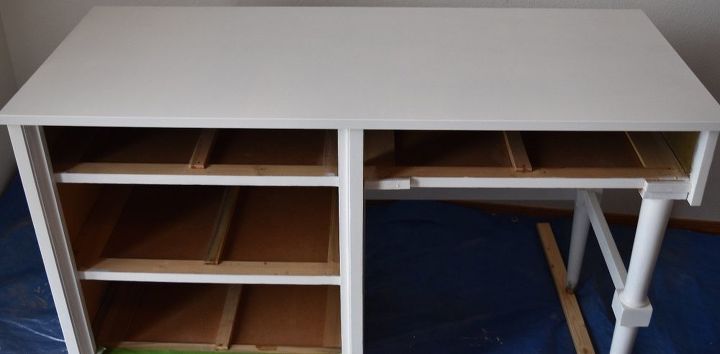
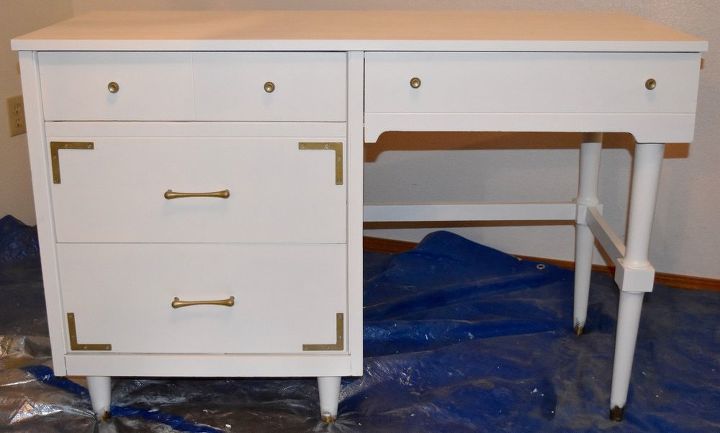
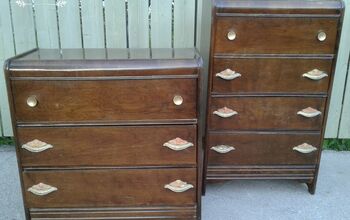
Here's the original desk. It's hard to tell from this picture, but there were dings and scratches in a lot of places.
If you don't like the look of painted furniture, you can use this same process with stain instead of paint. To do this, you'll have to sand down to bare wood, which takes a VERY long time, but it's worth it if that's the look you love!
The legs on this table were also very wobbly, but placing a few extra screws where the legs meet the top fixed that. If a broken drawer is your problem, you can buy new drawer tracks at the hardware store.
First, remove all hardware and sand down thoroughly. If sanding and priming is what's stopping you from trying projects like this, you can make your own chalk paint and skip these two steps. Here's a simple and inexpensive recipe to make your own chalk paint: http://www.finditfixitorbuildit.com/easy-chalk-paint-recipe-tips-for-easier-clean-up/
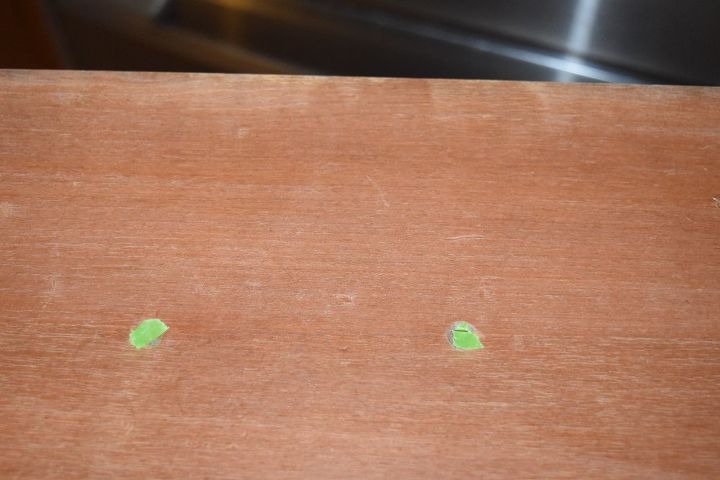
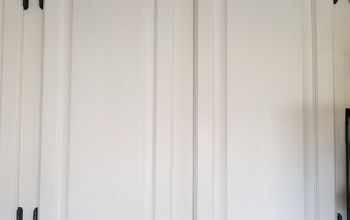
Put a small amount of painter's tape over hardware holes so paint doesn't fill in the holes.
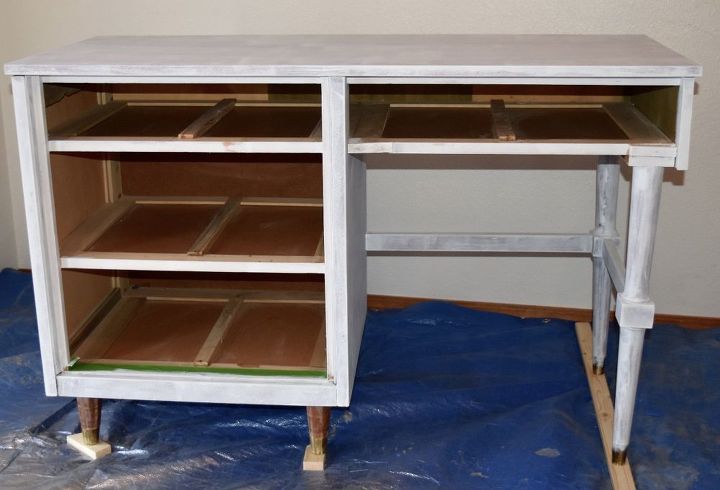
To make painting the base or feet easier, place on top of some scrap wood.
Use painter's tape to protect anywhere you don't want to be painted.
Apply first coat of primer. Make sure it says stain-blocking and bonding on the can. If you need help, talk to an employee at the hardware store and they'll help you find the right primer. If your piece needs it, do the 2nd coat of primer.
If you have a sprayer, awesome. Also, I'm jealous. If not, brushing on the primer, then rolling smooth with a 5" foam roller will get you a nice, smooth finish.
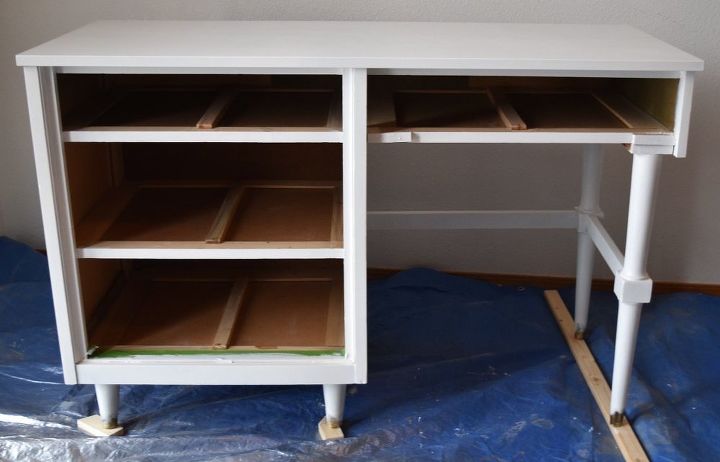
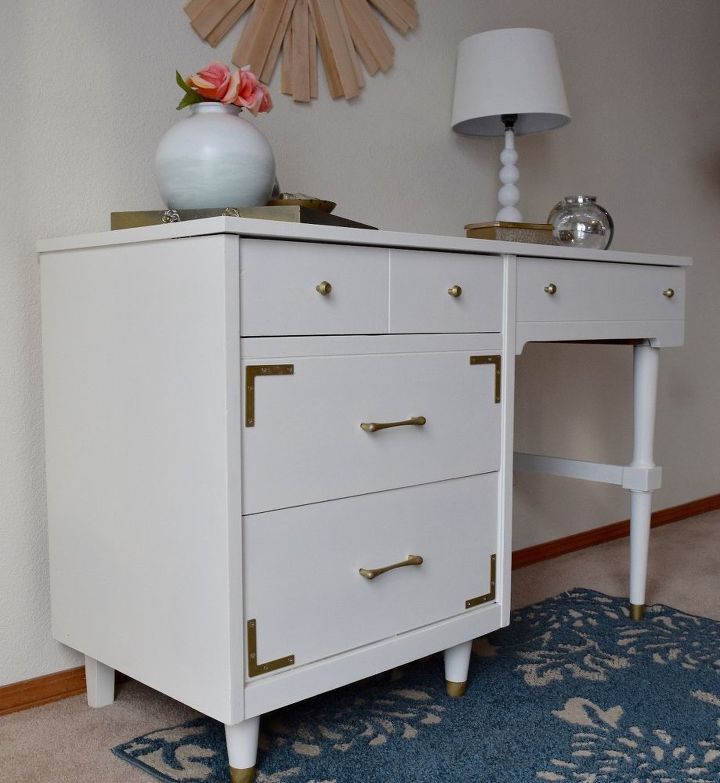
Apply the 1st coat of paint. I just used a basic white paint for this desk, but I just found a white paint color that I absolutely LOVE. It's Rustoleum Heirloom White. It has a bit of shine to it, and it's what I would've used if I'd had it when I painted this desk.
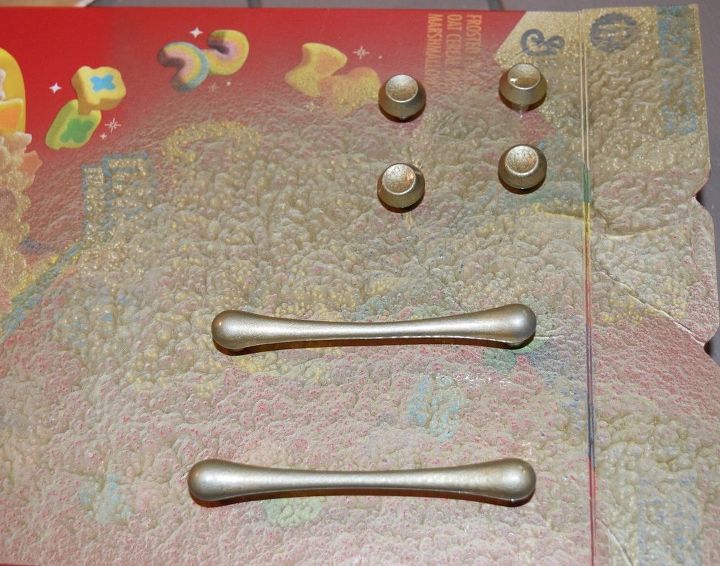
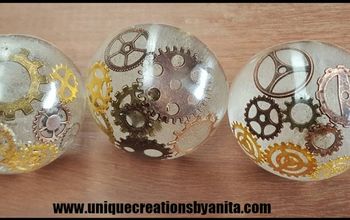
While your waiting for the paint to dry, you can use a cereal box to keep your knobs and handles standing up (I put the screws through the box) while you spray paint them. Any of the Rust-oleum Metallic spray paints will look amazing. This one was their hammered gold.
If you already like the color of your hardware, you can skip this part.
Do the same thing with the screws
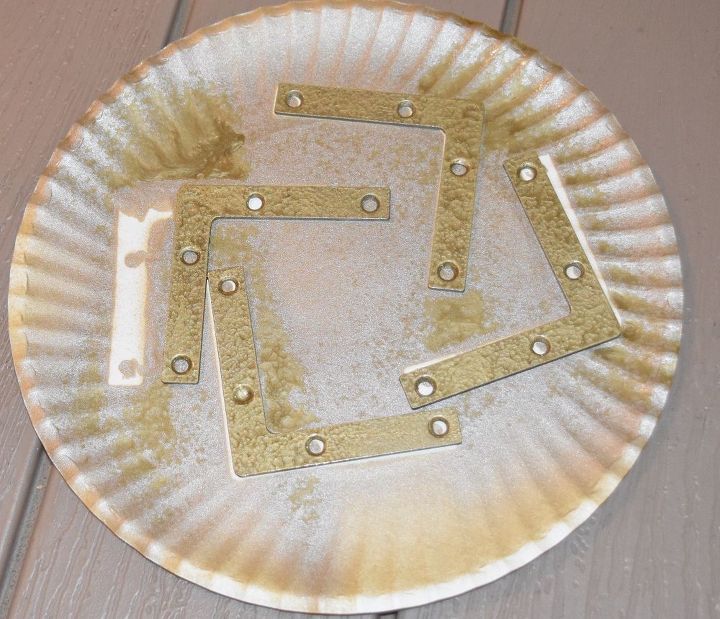
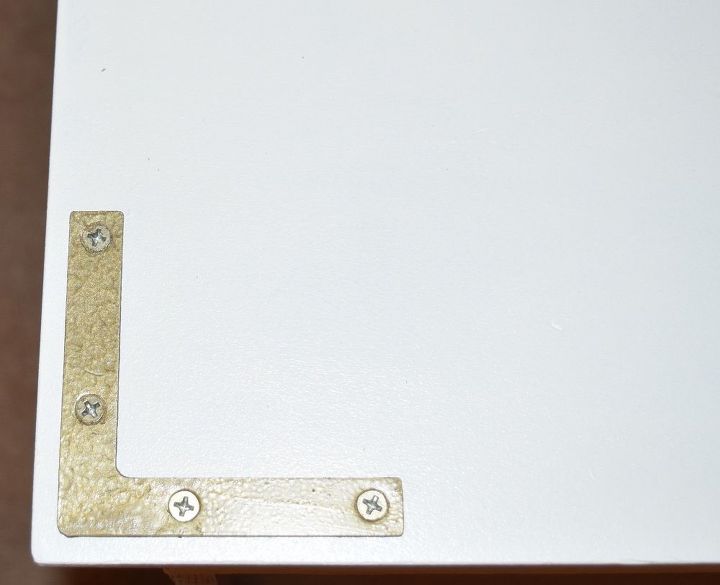
If you'd like to add extra decorative hardware, spray paint that as well. I used these L-shaped corner brackets that only cost a few dollars for all 4.

To spray the tops of the screws for the corner brackets, I stuck them in the cereal box then spray painted.
Apply the 2nd coat of paint and let dry.
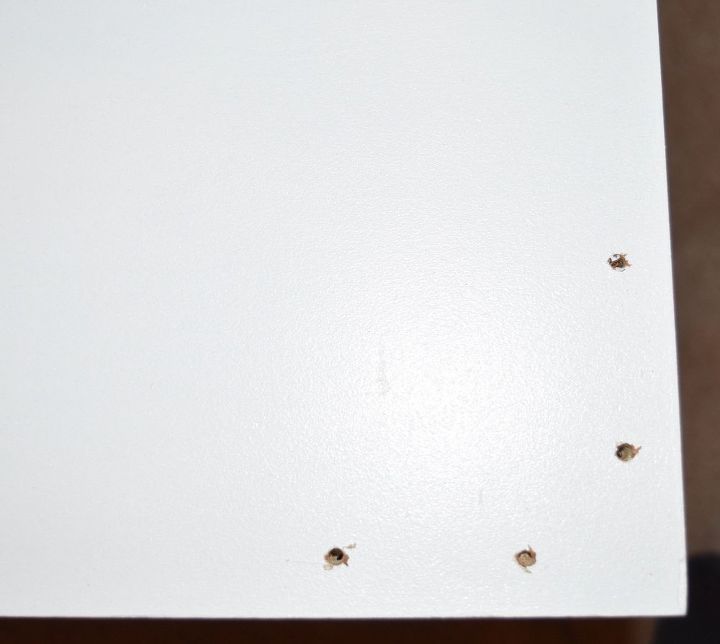
When the desk is completely dry, reattach hardware. Add extra hardware by placing it where you want it, marking the holes with pencil, then drilling the holes.
Add the screws.
Placement of corner brackets will depend on your piece. This is where I put mine.
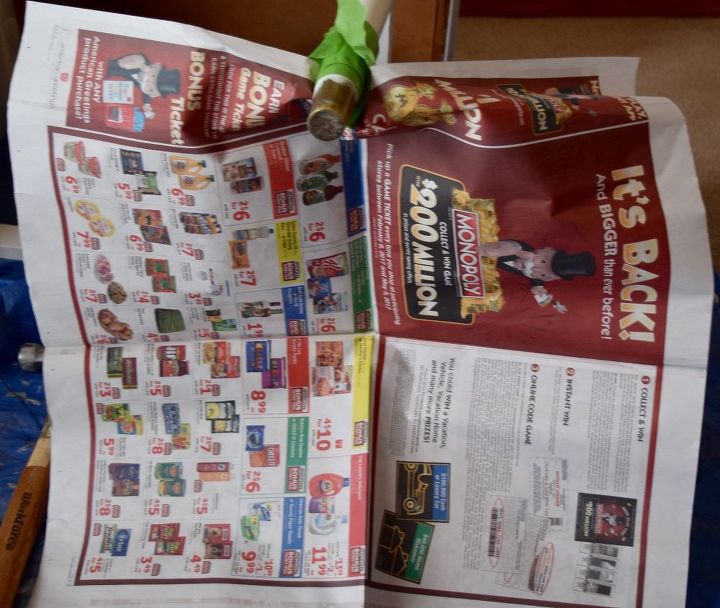
This desk had metal feet. I was able to get 3 of them off to spray paint while off the desk. There was one I just couldn't get off, so I taped a newspaper up for protection, then spray painted it where it was.
If you still have questions, please visit: http://www.finditfixitorbuildit.com/upcycled-desk-with-hardware/
Comments
Join the conversation
2 of 58 comments
-
 Very nice.
 -
Very well written post - Thank you! Never thought of the cereal box idea and love the way you did the legs.


Frequently asked questions
Have a question about this project?
Did you diy the mirror?
My desk is not wood. It's fake wood. How can I paint it