


Using Paint and Mod Podge to Transform an Ugly Cabinet!

4 Materials
Easy
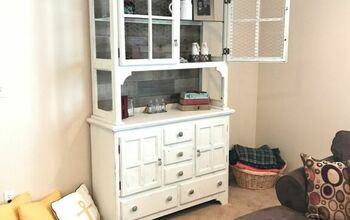
I got this pretty hideous and heavy cabinet from a thrift store for $10. It needed a huge transformation for it to be pretty and sell-able and I was game to give it a try. I did this project almost two years ago and sold it to a woman who just loved it.
Here's how I transformed this big thing. Unfortunately, I don't have very many pictures of the process as I was quite taken with this project and just kept going. It did take me a couple of weeks to finally finish it, with many breaks in between painting, gluing, fixing, etc...
EDITED TO ADD some description on how my husband attached the feet to this piece. Please see under picture of finished cabinet.
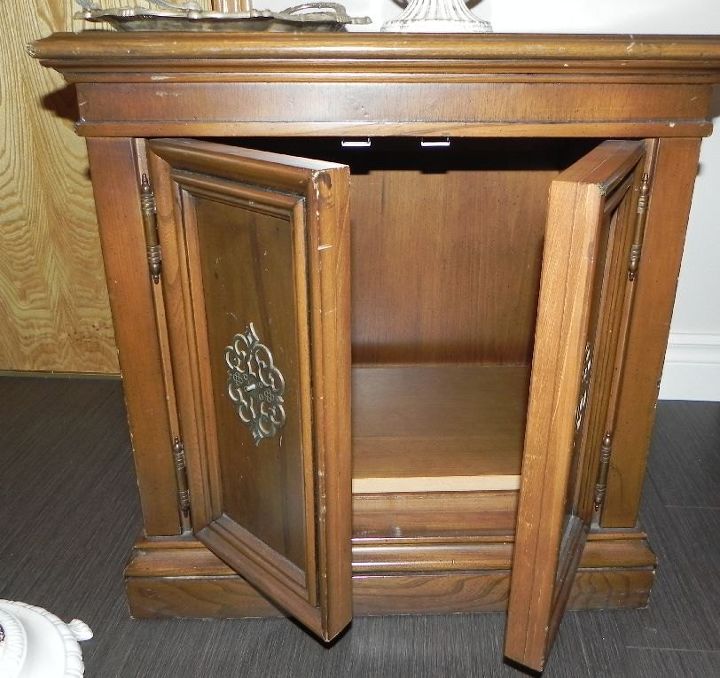
A before pic of the cabinet. It was damaged everywhere and had cheap veneer, along with some solid wood.
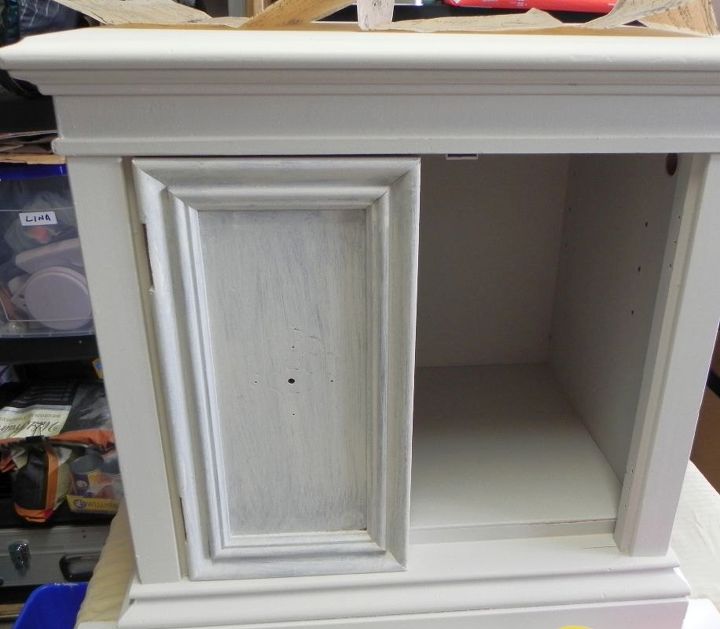
Even when I use chalk paint on furniture, I like to apply a latex primer as my first coat. It is cheaper than bought chalk paint and with dark woods, it gives great coverage. I used Zinsser Bullseye 123 latex primer.
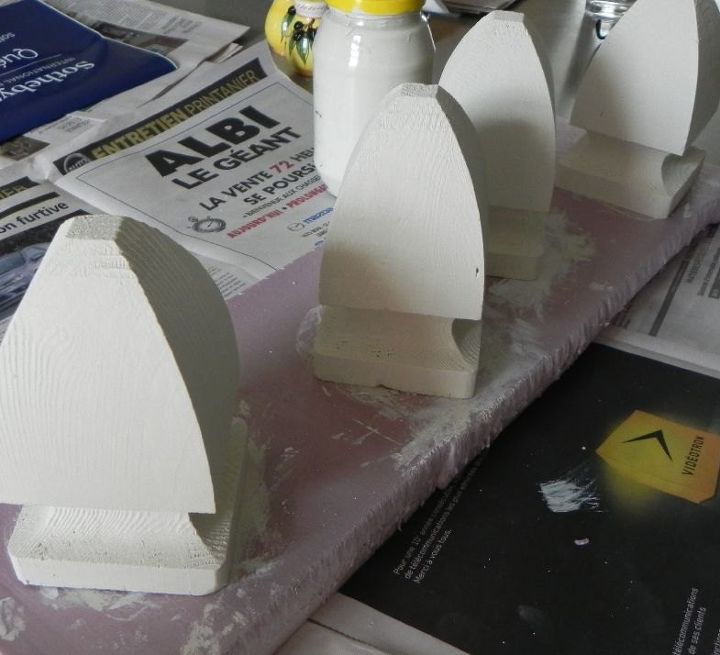
I bought deck post toppers to use as the feet for the cabinet. Because the piece was so heavy, I didn't want it to scrape any floor it would end up on. The feet gave it a nice, finished look and made it easier to move. I primed the treated wood 'feet', then painted a couple of coats of the same homemade chalk paint I used on the cabinet. I followed a recipe that you can find online if you search for "plaster of Paris chalk paint".
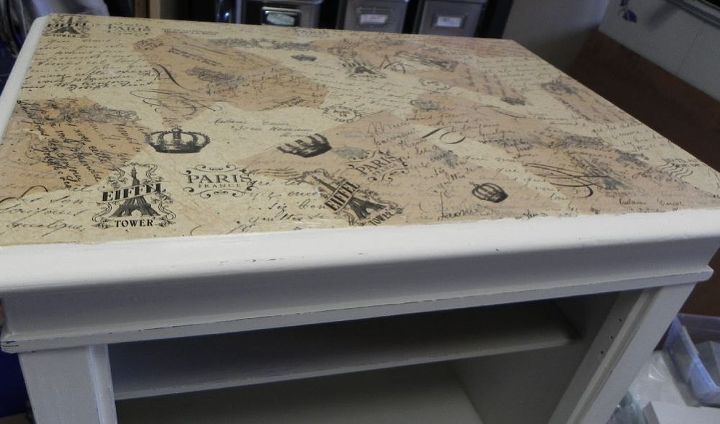
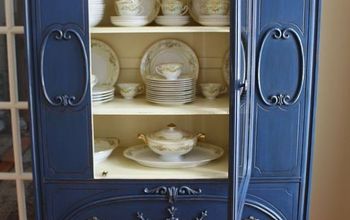
I had to cover the top of the cabinet with tissue paper that I "mod podged" or decoupaged. The top was so damaged with deep scratches that this was the solution I came up with. I used this lovely French-style tissue paper I got at Michaels. I applied Mod Podge (which is like white glue), then the tissue paper. Once dried, I lightly sanded the edges where I didn't want any paper, then applied another several coats of Mod Podge to protect the surface.
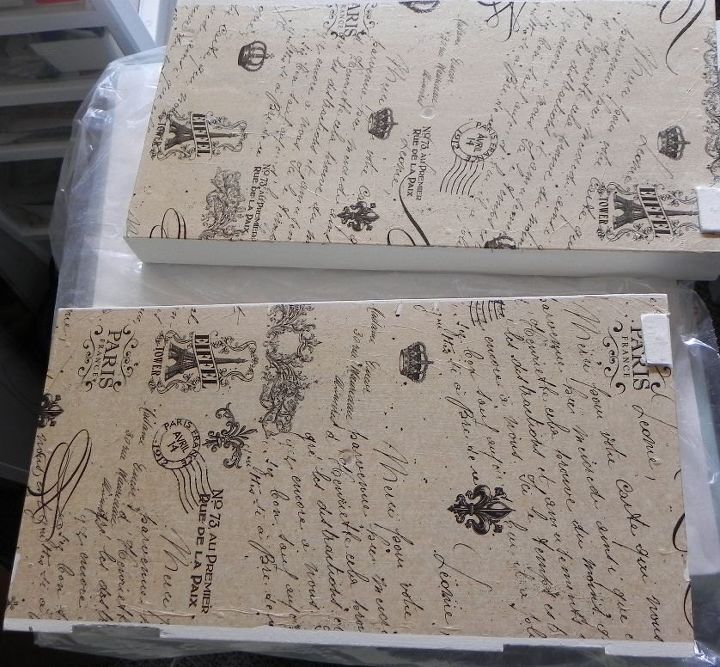
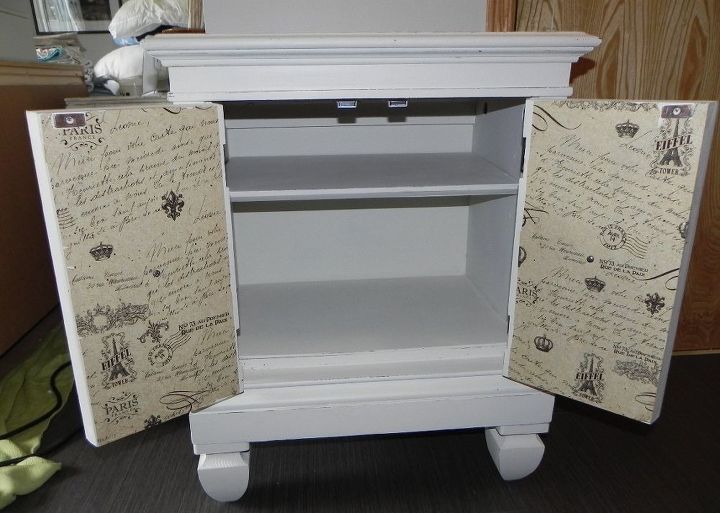
I also applied tissue paper on the insides of the doors.
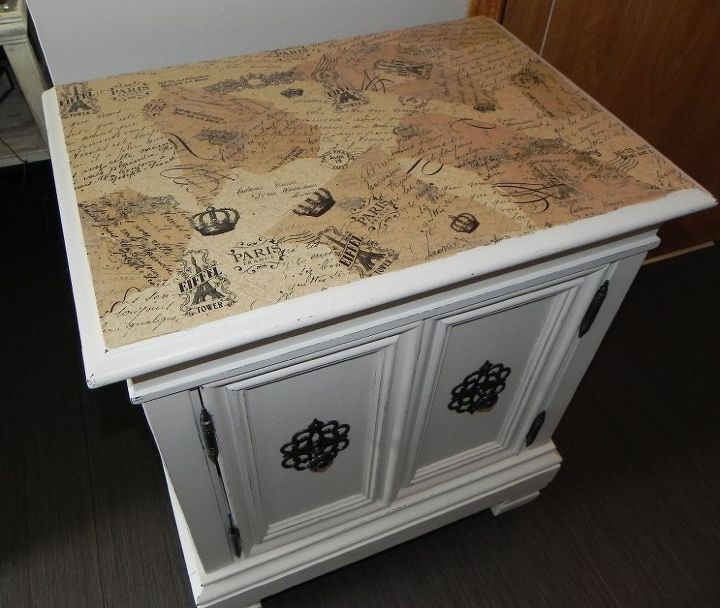
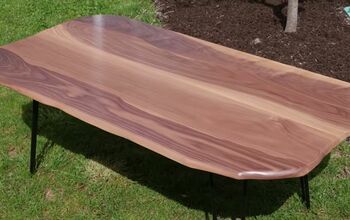
Here is the finished product! I painted the existing hardware with Rustoleum Oil Rubbed Bronze spray paint.
Here's how my husband attached the deck toppers as feet.
They came with a long screw, but we removed that. The bottom of the cabinet was hollow, so hubby screwed a wooden block to the top of each 'foot', then screwed that whole thing, inserting the screw at an angle, into the bottom of the cabinet. I was tricky, but he figured a way. :)
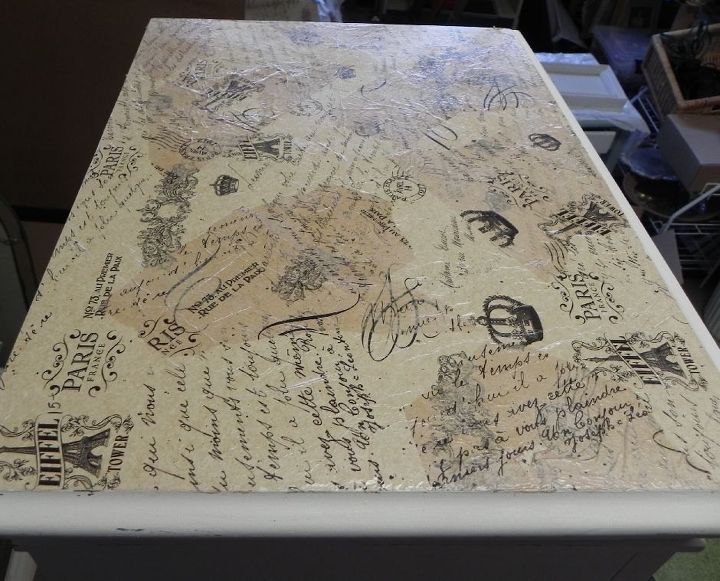
Here's a closer look at the top.
Comments
Join the conversation
4 of 59 comments
-
Your cabinet.was.transformed I.lover the paper you used for the.top you both did a .really.great job
-
Very nice, that came out well.


Frequently asked questions
Have a question about this project?
Why are some areas on the top yellowed?
Did u prep the cabinet or sand it before you painted the primer on it? It turned out very nice. Thank you.
The paper used was the thin tissue paper we use with packaging a gift bags? Would gift wrapping paper work also? Thanks Deborah