


DiY French Country Style Mirror
$00
Medium
A while back, my mom and dad gave Handan an old round mirror that used to hang in my sister’s bedroom back in the days of big hair and small televisions. It had a diameter of 26 inches, and it was fastened to a thick wooden backing. Like most things we collect, it was sentenced to a mandatory minimum six month stay in our maximum security basement while Handan deliberated on its fate.
It had all the attributes of a fine mirror: it was shiny, it reflected the image of a staggeringly handsome devil each time I passed in front of it, and it never once reflected the image of a vampire. A fine mirror, indeed.
A few weeks ago, while I was busy toiling at my computer, a picture file arrived from Handan over Skype. The picture was quickly followed with the following text exchange:
Handan: Hey babes?
Greg:[looking out the window at the snow and wondering how far I’d get trying to escape on foot before succumbing to the elements] Yes?
Handan: Can you make this for me?
Greg:[conclusion: not far enough] Of course I can, my babes.
And so I was roped into making another project for Handan.
Okay, it wasn’t the best picture to go on, but who am I to shy away from a challenge? (to see the picture of the original mirror, please click over to our blog, linked at the end of this post). If my babes wanted a French country mirror, my babes was going to get a French country mirror! But that wood….what the hell was it? Bah! No matter! I’d figure it out later.
I went to the basement to see what I had on hand for lumber. Old warped pine from our Garden Shed Organization last summer? Hmmmm, maybe. But I hate working with warped wood, and this stuff was furry. I’d have to plane it, and that would destroy its “rustic charm.” (I can’t even type those words without rolling my eyes.)
I saw three 8-foot boards of 1 x 6 cedar that were left over from the garden beds Handan and I built the year before. Cedar has awesome knots. The color was pretty reddish/yellowish, but I was confident Handan could do something about that. I grabbed those pieces and set them aside.
I unscrewed the wood backing from the mirror and put the mirror aside. First, I’d need to make a template out of cardboard so I could trace the shape onto the wood. Fortunately, we had some old tri-fold poster board lying around from one of Barish’s 6th grade science projects (Which soda will explode the highest when Mentos are added to the bottle? The winner was Sprite, not Diet Coke as you may have been led to believe) Handan, anticipating my need, had already placed the posterboard on my workbench. Maybe one of these days, she’ll anticipate my need for a dry martini, and one will be waiting for me when I….Oh, who am I kidding? That’ll never happen.
Anyway, I spread the cardboard on my worktable and centered the mirror on it. When it was in position, I traced around it with a pencil.
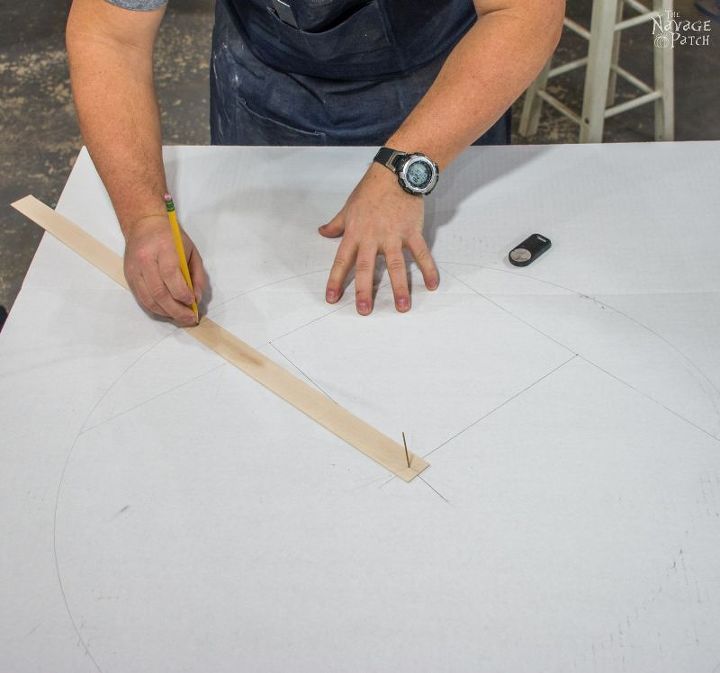
I then used Handan’s super-easy method to find the center of the circle.
There was a 1/2 inch bevel around the mirror, so I decided to scribe a smaller circle with a 25 inch diameter within the larger circle. This would be where I would cut, so only the flat surface of the mirror would show.
I had some thin strips of veneer lying around, so I used one to make a scriber. I drilled a small hole in one end of the strip, then I removed the bit from the drill, pushed it through the hole I’d just drilled and secured it into the center hole in the cardboard.
I then measured 1/2 inch in from the circle I had traced, drilled another small hole and then inserted a sharp pencil into that hole.
And I had my makeshift scribe. I used one hand to keep the drill bit steady in the center hole (not shown in the picture below, since I was working the camera clicker) and the other hand to scribe the circle.
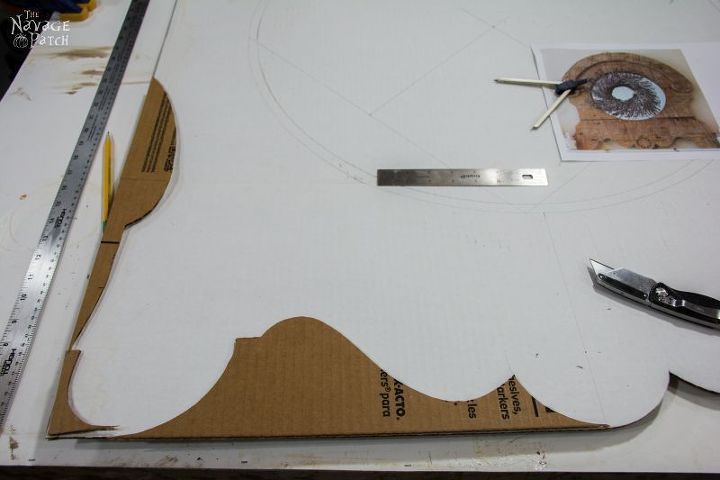
With the mirror circle done, I moved on to drawing the curves of the mirror’s body. This was hard, since I did most of it freehand. I started with a compass to make the initial semicircle in the middle. From there, I worked freehand on the right side. My plan was to draw one side, cut out the shape and then use the trimmings as a template for the left side.
The outer feet looked oblong in the photo I had, so I made them that way as well. When all was drawn, I used a utility blade to cut out my pattern.
I placed the trimmings on the opposite side and traced.
I made pockets holes in the back of two of the cedar boards and secured the boards together with screws and glue. I then traced the bottom part of the design on to the wood.
------------------------------------------------------------------------------------
-----------------------------------------------------------------------------------
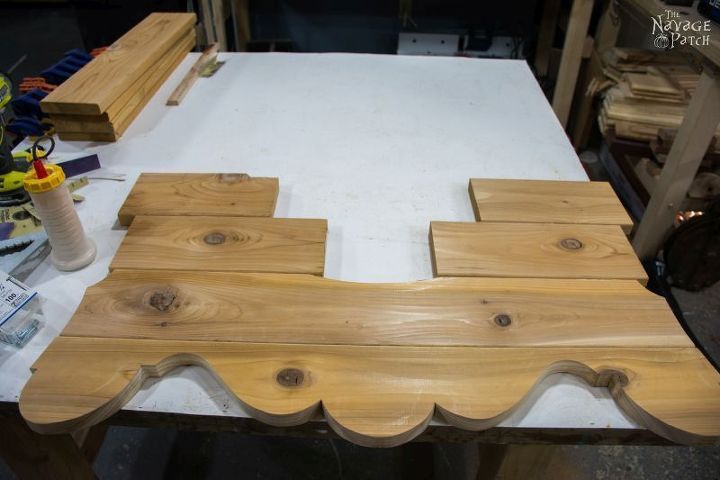
I cut out the pattern with a jigsaw and sanded the curves after that.
I then built up, piece-by-piece, until I had a rough circle made form pieces of cedar. When they were all joined together with screws and glue, I traced out the rest of the pattern.
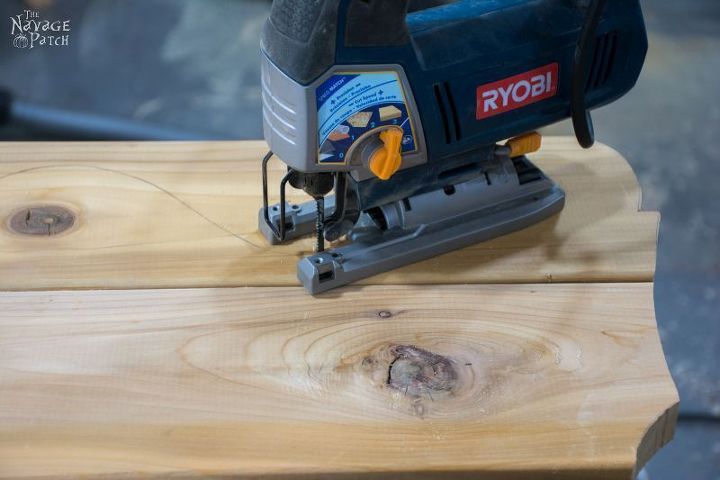
I cut out the rest of the frame with the jigsaw, including the center hole, and then routed a 1/2 inch recess around the hole. The mirror would be mounted in that recess.
I made the "hat" for the mirror in much the same way I made the frame. I glued and clamped it to the frame.
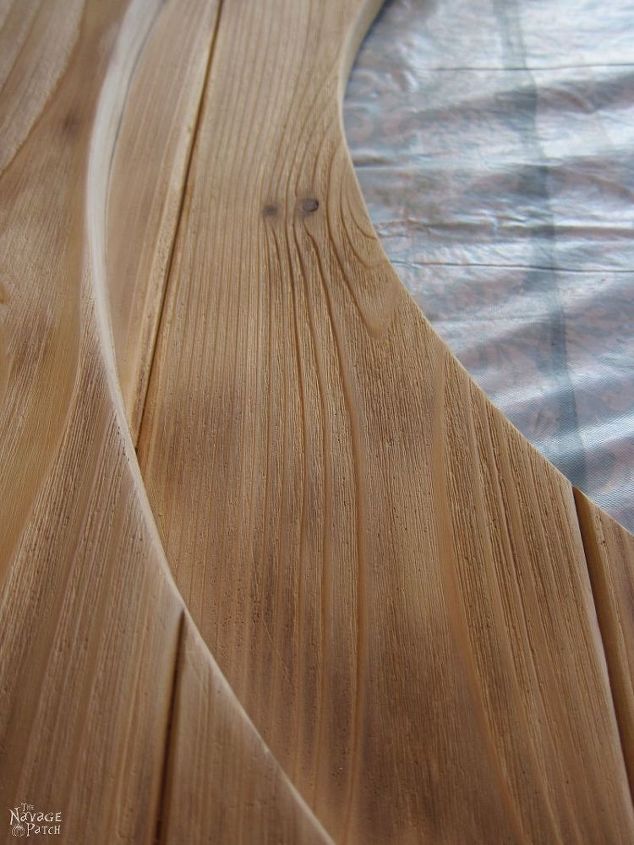
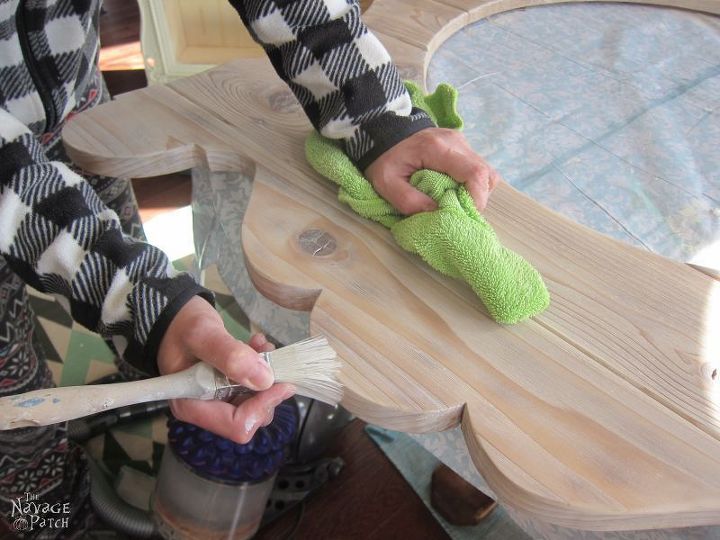
In order to achieve the look we wanted, I had to raise the grain of the cedar. To see how I did that, please head over to the blog post for a full description. Link is at this end of the post.
Handan finished the wood with liming wax.
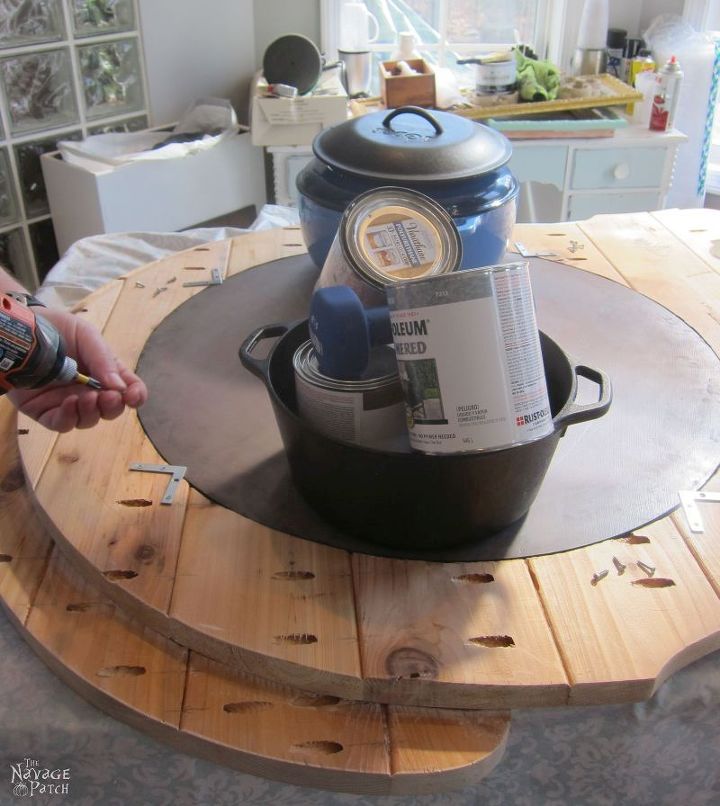
Then we glued the mirror to the frame and secured it with four "L" brackets.
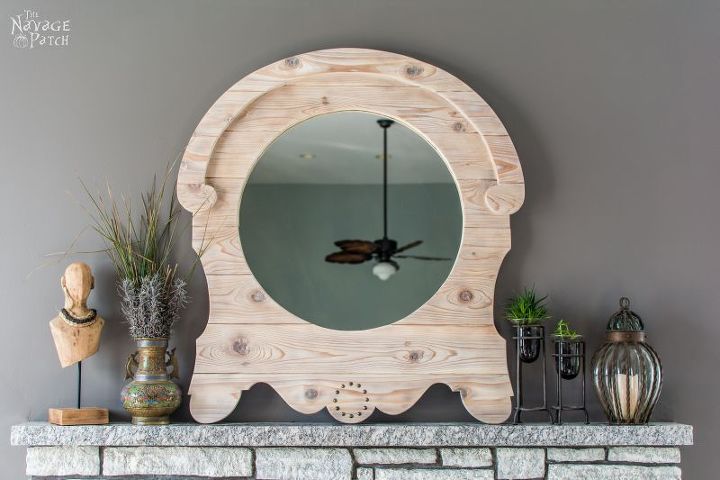
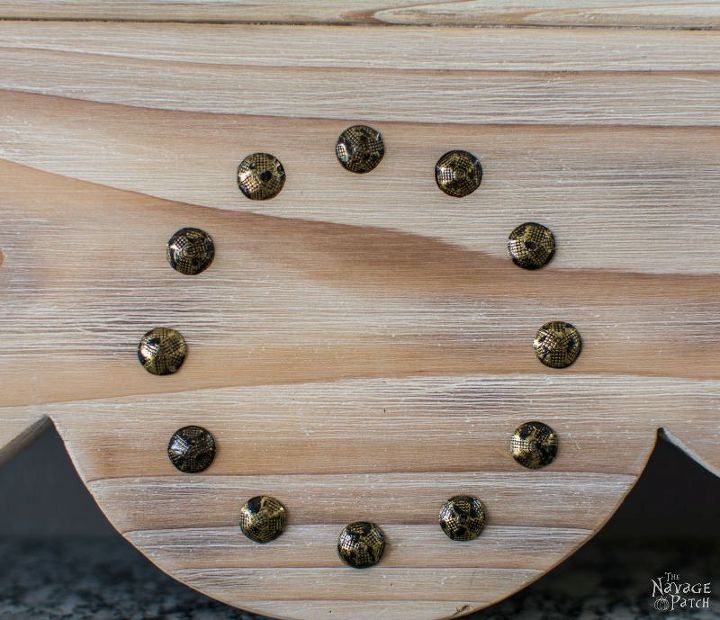
I used upholstery tacks to make the little round design on the bottom. In order to get the tacks evenly spaced, I printed out a small clock face to serve as a template.
And our French Country Style Mirror was done!

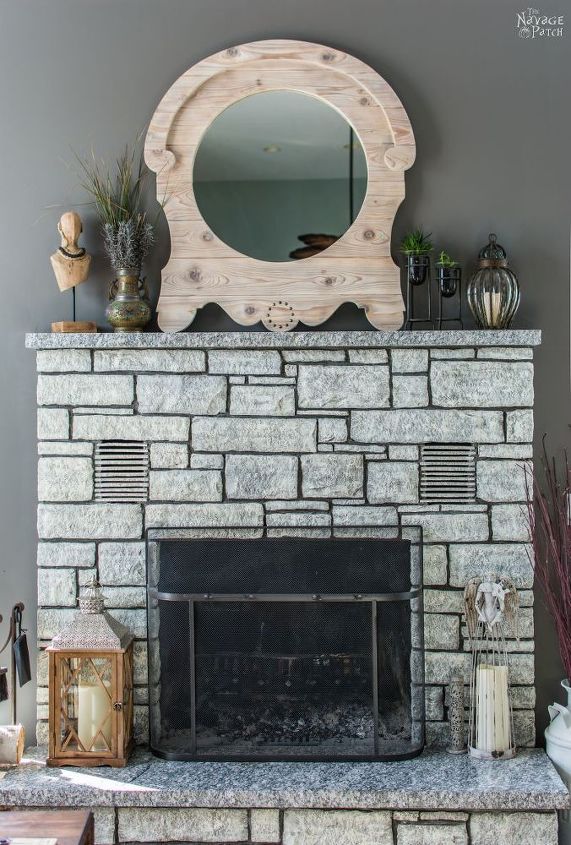

Want more details about this and other DIY projects? Check out my blog post!
Comments
Join the conversation
3 of 62 comments
-
The most important question.... Is Handan happy? We sure are!
-
WOW,it is absolutely beautiful. I don't know what kind of a job you have but doing this kind of work would be great with a nice shop for it,


Frequently asked questions
Have a question about this project?
With your experience working with cedar, does it handle a router well without splitting? I'm thinking of using cedar around our window & door trim and dressing it up a little with a router to engrave a Celtic knot along the length of the horizontal pieces. Does cedar accept a shallow routing without splitting?
I enjoyed your writing and your project. I learn something new every day. Gluing a large mirror to wood is a new idea for me. I thought wood shrinks and swells periodically. Won't the mirror crack? Again, thanks for the time you put into sharing your project.