


This Cross Idea is What Your Home Needs!!!
7 Materials
You can find so many wonderful wooden cut-out's these days and I'm going to share one of my creative fun ideas on how to dress them up!!!
So, I started with a Wooden Cross - you can find something similar at Hobby Lobby or Michael's, I'm sure!
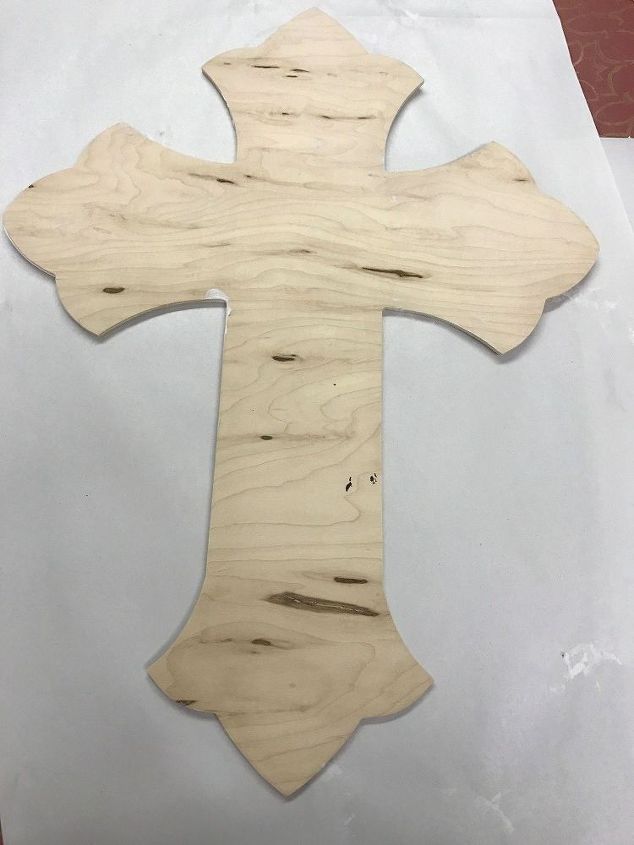
Wooden cross - found at Hobby Lobby
I first decided that I wanted to add some texture and pattern to the cross. I started with my ArtsSyVille Embellishments Texture Medium (which is great to trowel on and easy to roll through). Just trowel on a thin layer - you can use a trowel like I did (small Japanese trowel) or use a spatula or even a hotel room key can work - whatever gets the Texture Medium onto the cross and thin!
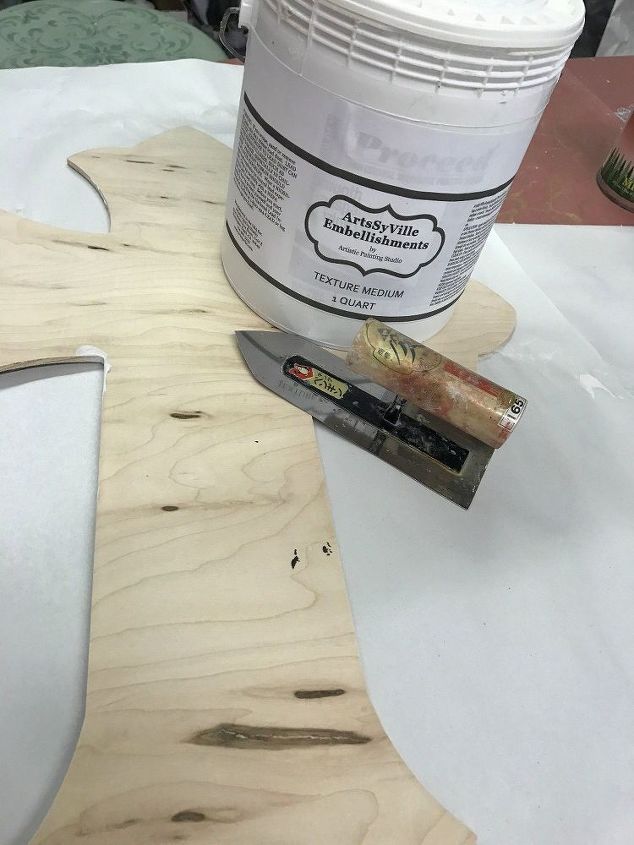
Texture Medium and Japanese Trowel
Once you have the Texture Medium on the surface - it's time to get out the fabulous rollers!!! I choose the Lotus Pattern for this project (there are over 45 different roller patterns to choose from!)
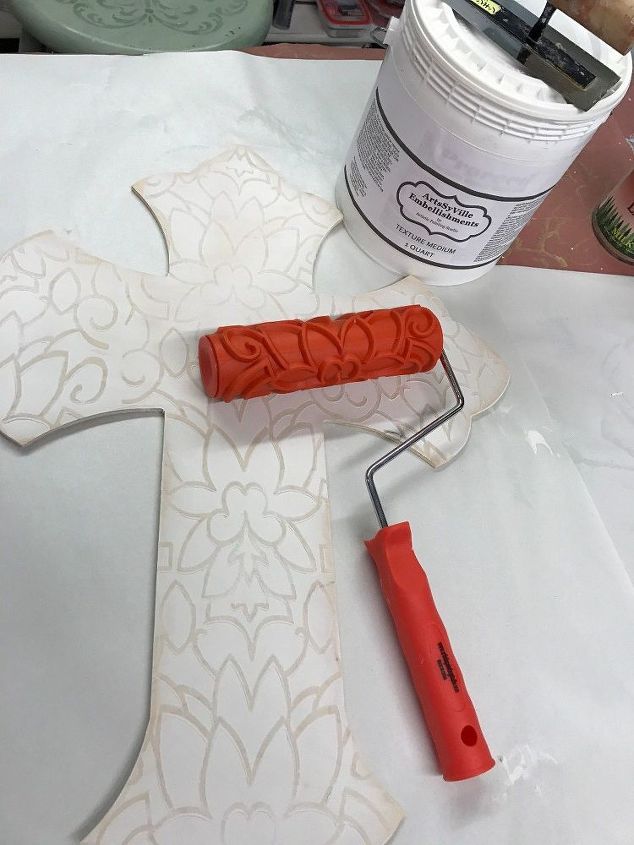
Lotus pattern roller imprinted
I always make sure the roller head is spinning freely and then just roll into the product, you can roll up or down - but only one direction. I feel most of the time it's easiest to roll from top to bottom - but find what works for you!
Once you have used the roller - it's best to soak in water or clean right away. Just using running water and a scrub brush - it's pretty easy!
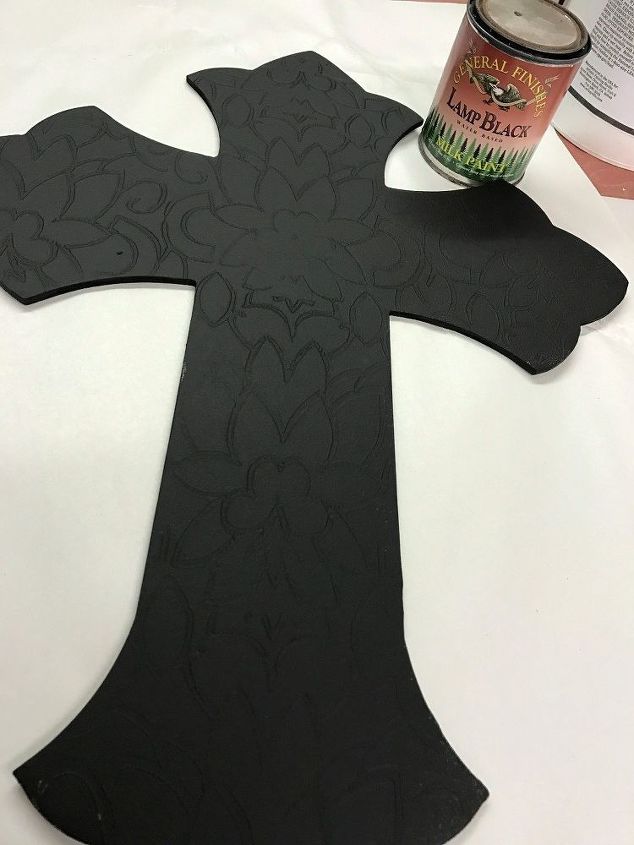
Painted with GF Lamp Black
Once the Texture Medium was dry - I sanded off the "high" areas and dusted it off outside. (I always to my sanding outside).
Then I choose Lamp Black Milk Paint by General Finishes - I used a roller and rolled the sides first and then rolled out the top. I only applied one coat, so I did try to make sure I had 100% coverage. Allow the paint to dry and we will be on to the next layer!!!
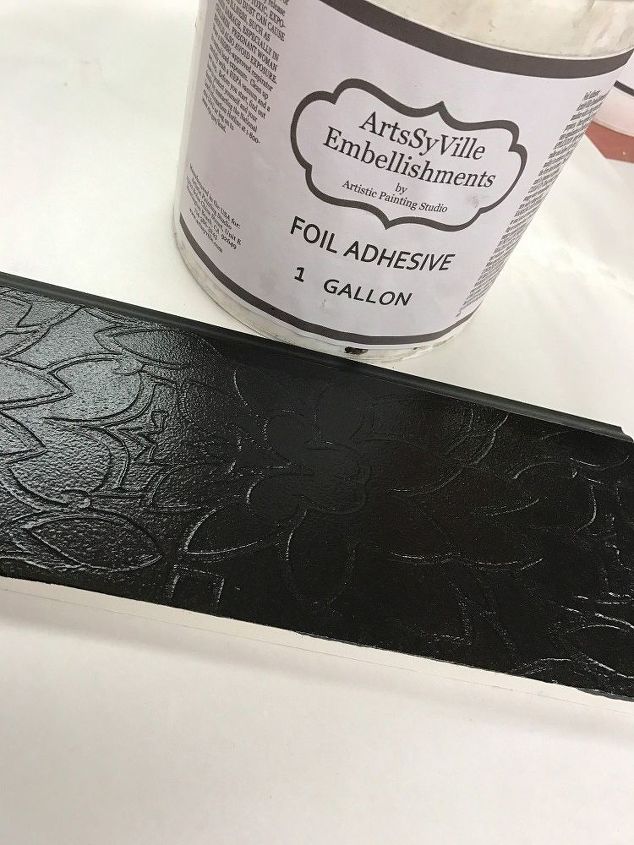
Foil Adhesive applied.
The next part of this project was to create a "Foil" finish - so the first thing that has to be done is apply the Foil Adhesive. This is the product that will transfer the foil to the surface. My Foil Adhesive is very sticky and usually only one coat is needed. Just roll on one coat of the Foil Adhesive to your surface and allow to dry to a firm tack - this can be 30 mins to an hour. You need to wait at least that long, but you can also let it sit for hours and it will be fine.
Now it's time to foil :)
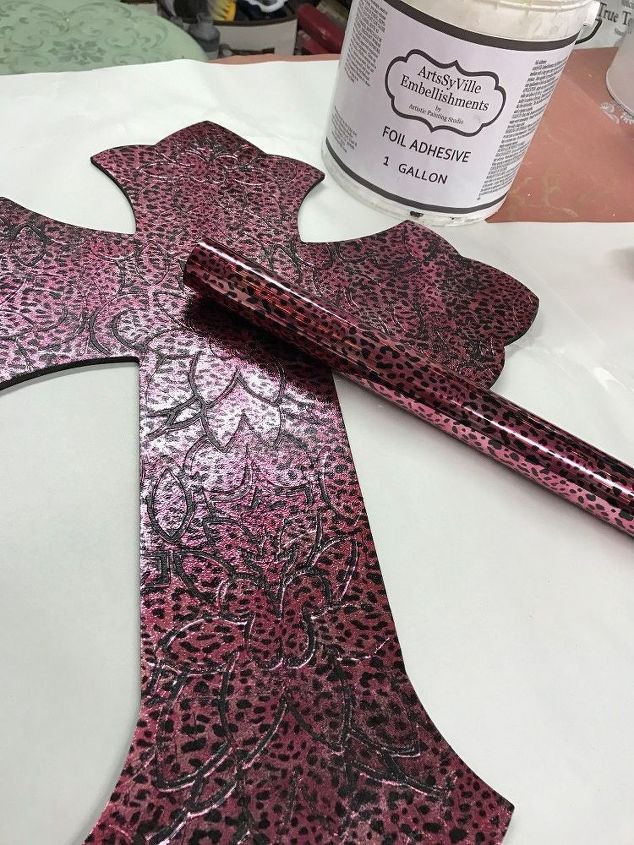
Foiled with Pink Leopard Foil
Yes, I went bold and fun with this project - just couldn't help myself!!! Once the Foil Adhesive was dry to a firm tack - it was time to transfer the Pink Leopard Foil!!!
First, foils are a metalization on the back of clear plastic and it takes a very sticky surface to remove or transfer it to another surface (i.e. ArtsSyVille Foil Adhesive)!!!
Cut off a piece of foil and then crinkle the foil all up in a ball - open it back up and place it with the pretty side facing up. Use a terry rag to smooth out the foil onto the surface and then peak underneath to see if you have achieved the release you wanted. If not, use a scrub brush to scrub the foil surface and more of the foil will transfer. Once you are happy with the transfer of the foil - remove the plastic sheet.
There still may be a little sticky feeling and so it's a good idea to clear coat the surface with a Gloss top coat or Glaze - either one will seal the surface and the stick!!!
Have fun with your project and I sure hope you decide to check out the rollers and foils!!!
{
"id": "3812461",
"alt": "Installing a Foil Finish",
"title": "Installing a Foil Finish",
"video_link": "https://www.youtube.com/embed/NnYbUROINIA",
"youtube_video_id": "NnYbUROINIA"
}
{
"width": 634,
"height": 357,
"showRelated": true
}
{
"id": "3812464",
"alt": "Using the rollers",
"title": "Using the rollers",
"video_link": "https://www.youtube.com/embed/gC_Do-_GERM",
"youtube_video_id": "gC_Do-_GERM"
}
{
"width": 634,
"height": 357,
"showRelated": true
}

Want more details about this and other DIY projects? Check out my blog post!
Comments
Join the conversation
2 of 14 comments
-
So beautiful.
-
I make lots of crosses and I think this project is very expensive. The crosses are relatively cheap $3.99 for 12, but the liquids aren't cheap. Personally, I glue several together to give them weight. Sand and paint, add what I like, varnish or shellac... Still just as pretty, but cost effective...Or one could hot glue a design on the wood for texture, spray paint it in any metallic paint, add black paint over it and wiped off to make it look antique, would still make this project less costly than yours...I'm just saying.


Frequently asked questions
Have a question about this project?
Do You have a pattern for the cross?
Thanks
Paul
Can you send me the link, I can't get it to pull up....I am interested in all the supplies you used. This is awesome....I am a newbie to crafting etc....( not an artistic bone in my body but I love it). Do you also have Facebook tutorial page
Do you make these n sell them?
cindi r