


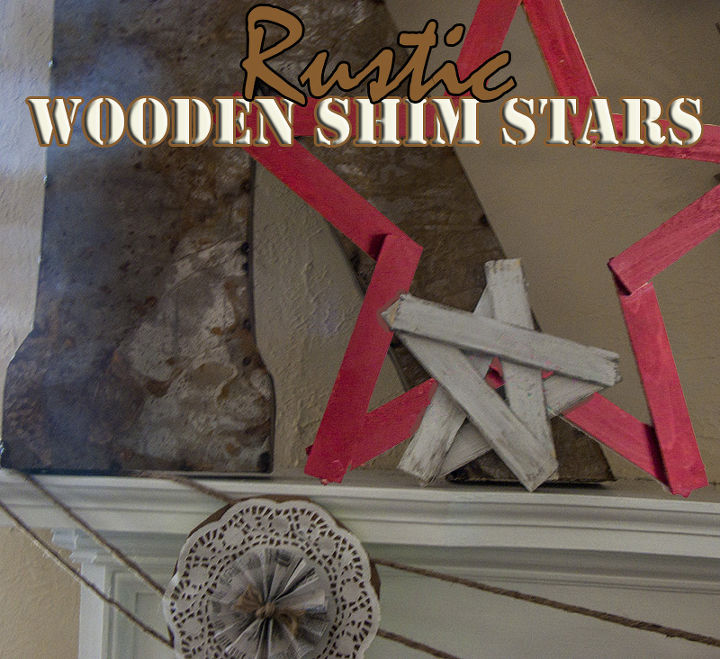
How to Make Stars From Left Over Wooden Shims
Around our house, there is ALWAYS a project going. I hate to admit it...but it just never ends. When you are in constant remodel, the supplies are endless...and you almost surely have left overs of some kind. I won't go into too much detail...but after our sunroom build on...we had a big ole box of these wooden shims left. I didn't take many of them...hubby didn't even notice! :D This is such a cute and easy project. There are two different sized stars...and they take only minutes to assemble. If you love the Texas star...or the five pointed star....you'll love these.
You can make two different sized stars...depending on how many of the shims you have.
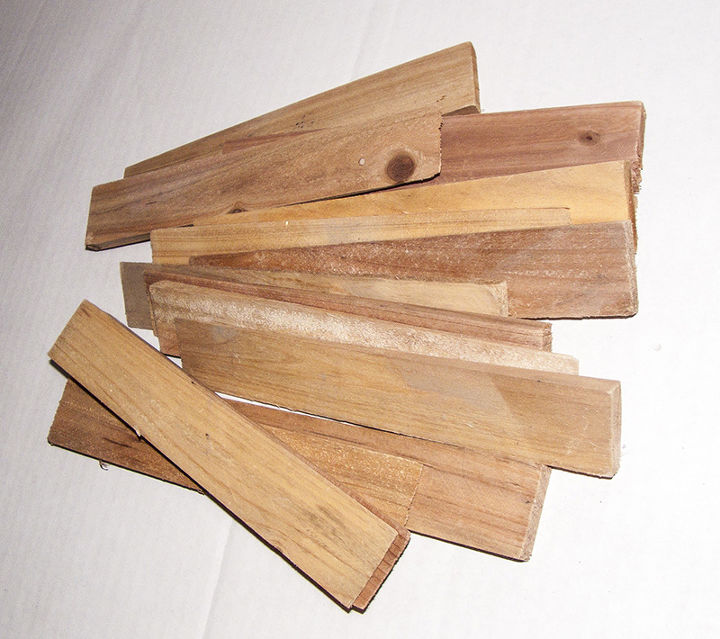
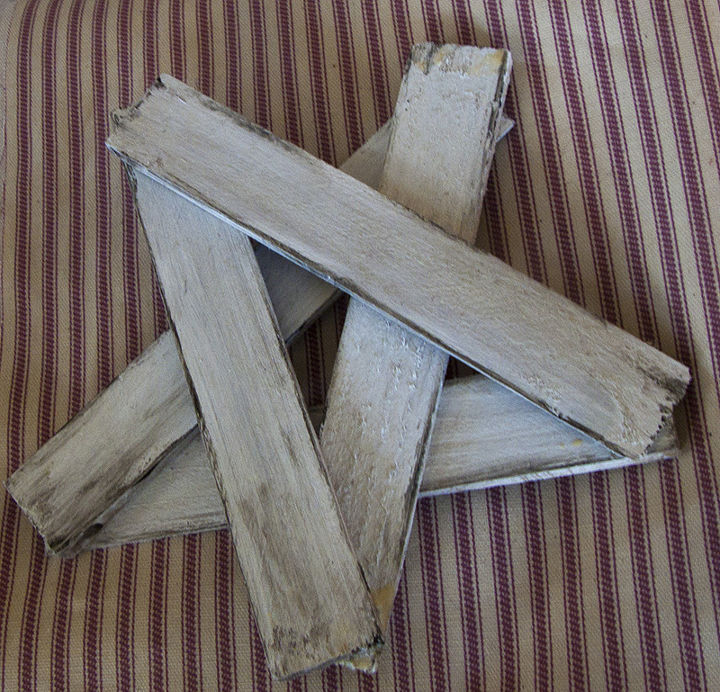
If you'll notice, there is a thicker, and thinner edge to each of them. That's important to keep in mind when assembling the stars.

I always paint mine first.
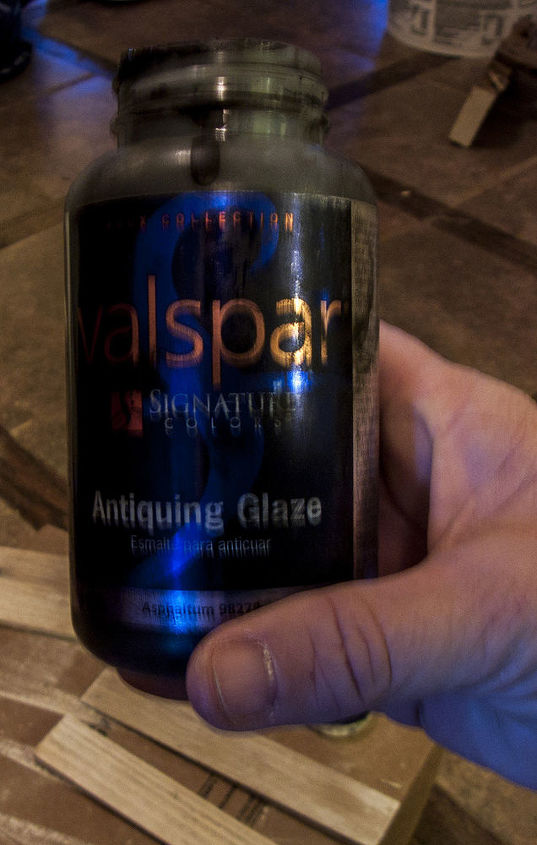
This is a good product for antiquing
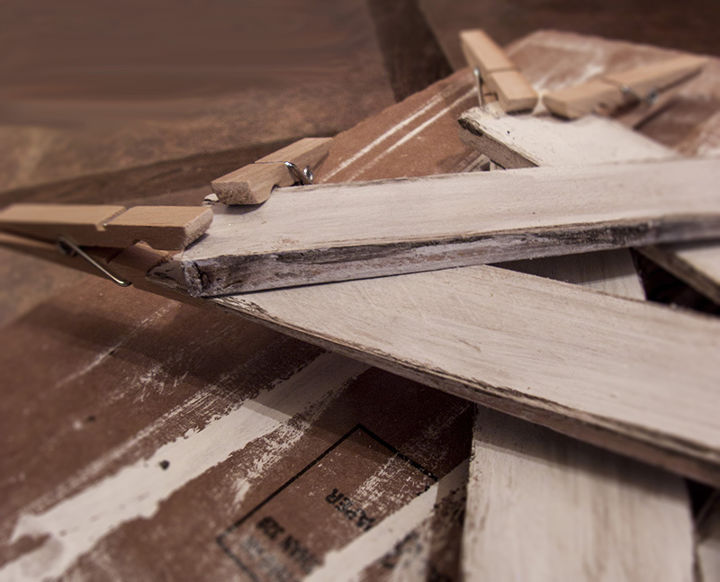
Be sure you place a thick end...with a thin end each time. Once you get your star how you are happy with it...glue and replace the clothes pins. Believe it or not...the smaller star...takes more pins.
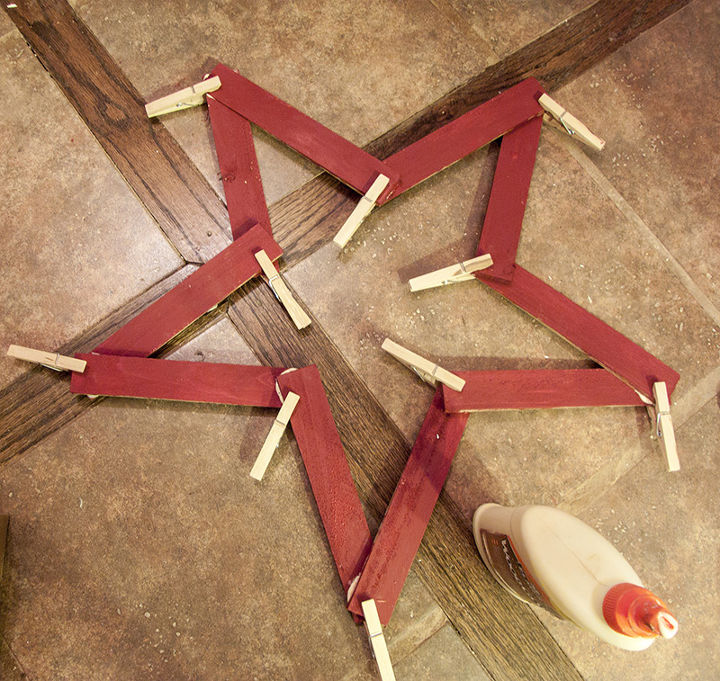
Now start playing and rearranging until you have the general shape. This takes some doing..especially if you don't use clothespins like I do. For the large star, you'll need ten shims...and five for the smaller one.
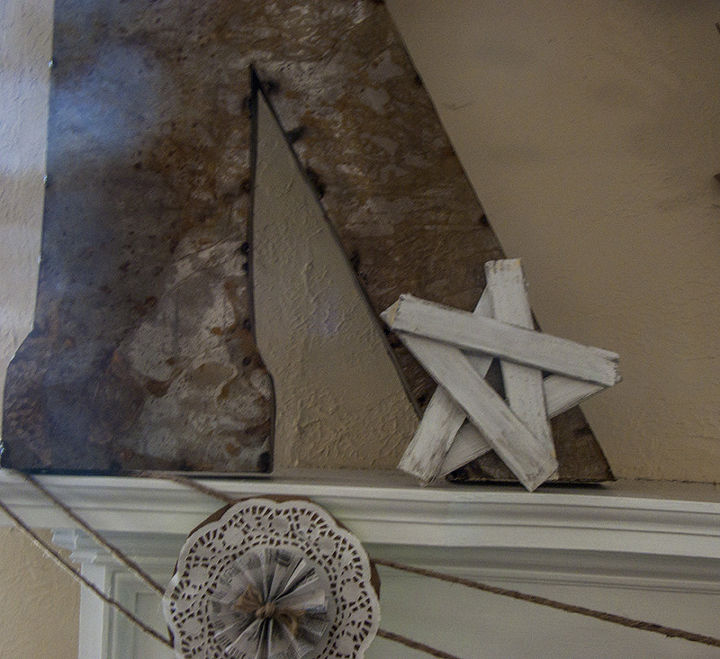
The smaller star is a bit more "childlike"...it, to me...is so fun!
A little more rustic and primitive. Reminds me of the stars we always drew as kids...the ones you had to draw without picking up your pencil!
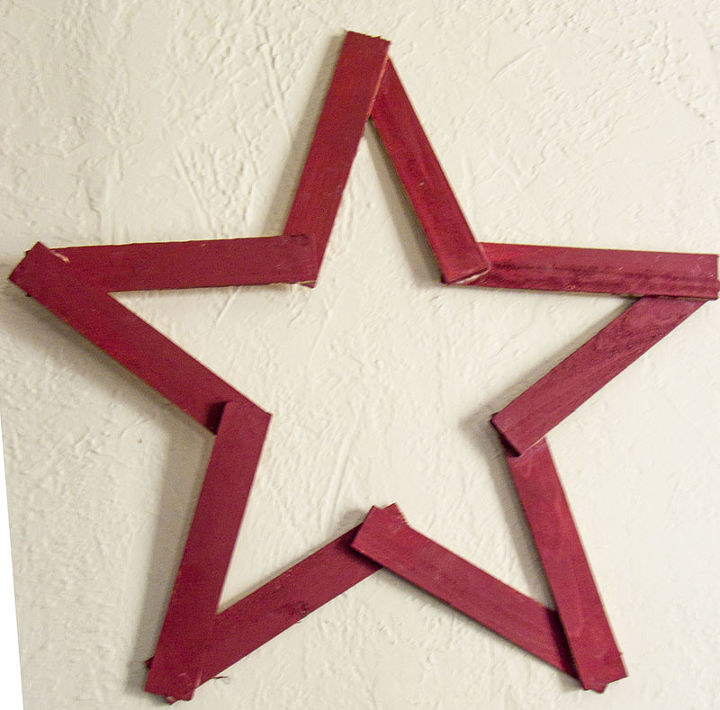
The larger star is a little more refined...but it too keeps a rustic quality.

Want more details about this and other DIY projects? Check out my blog post!


Frequently asked questions
Have a question about this project?