


Winosaurus or Dino Wino

2 Materials
90 Minutes
Medium
I have seen a few Dinosaur themed wine bottle holders on the interwebs, but they retail at $60 - $70 US (plus shipping)I am obviously far too mean to pay that sort of money, so thought I would have a go and make my own.I mean --How hard can it be............................
I have tried about 6 times to add scans of the parts but this stupid post won't let me so if they don't add this time I will add them in the questions!!!!
STOP PRESS have made a second different one too http://www.hometalk.com/diy/organize/storage-ideas/winosaur-2-winosaurus-rex-28841332
Now I thought it would be wise to make a cardboard template first, before I start cutting any wood.
It will be much easier to make adjustments to the cardboard one (location of slots, angles etc)
So for this I needed
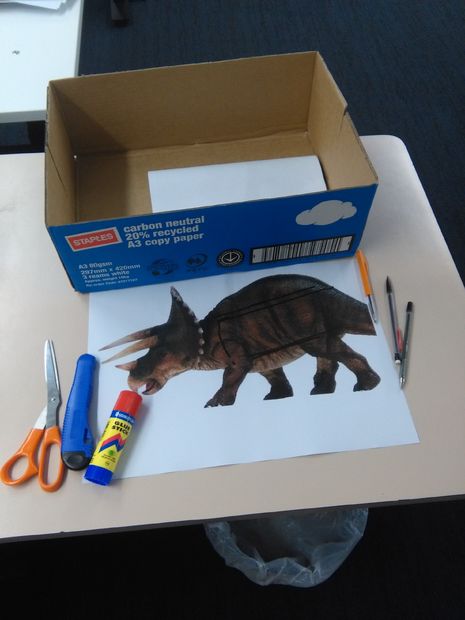
1. A picture of a dinosaur - I found this nice friendly Triceratops side view on Google. Blew it up to an appropriate size and made several A3 copies of it
2. Knife, scissors, glue, pen, compass etc
3. Cardboard (in this case the box for the A3 paper)
I used 3 copies all told, one for the body, one for left legs and one for right legs.
You could get away with one copy if you wanted but I'm using the work copier so .................
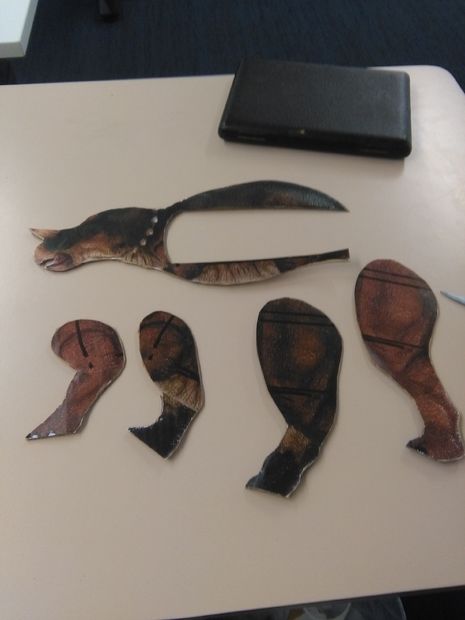
Glue to cardboard and cut all the bits out
The big gap in the body is for the bottle (I drew around a bottle for size)
(there are some more bits to make! like cross braces, horns and ruff
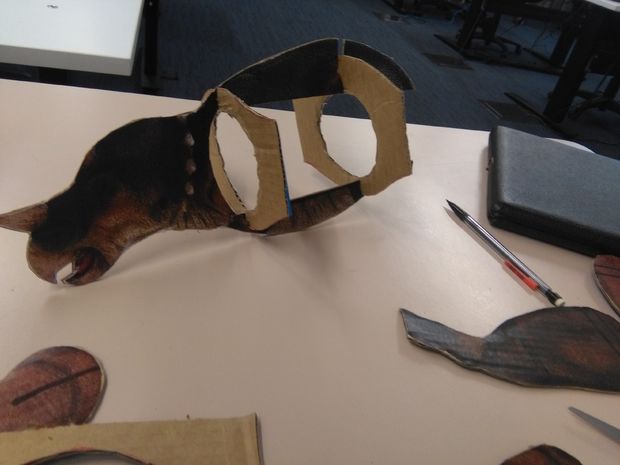
Start assembling
I located the 2 cross braces in position to get a rough guide.
I realised that I probably need to relocate the slots to the other side so the bottle weight won't pull it apart but it will do for now
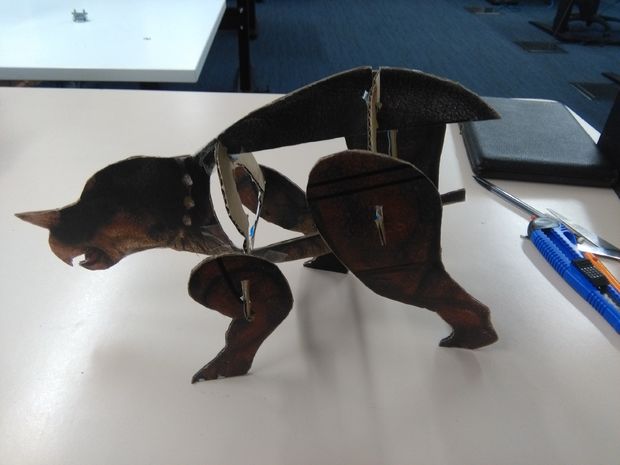
Add Legs
I cut tabs on the ends of the cross braces and slots in the legs and played around until I got all 4 feet level on the ground and roughly the correct stance.
I had to recut a couple of the braces as I misjudged the angle on the first one - but that's why I'm using cardboard - right!!?
And Ruff and Horns
Freehand cut these and fitted in slots as required
Obviously this is all a bit flimsy but I seem to have the angles and dimensions about right
OK so now all ready to take apart and use the cardboard pieces as templates for the wood
YAAY
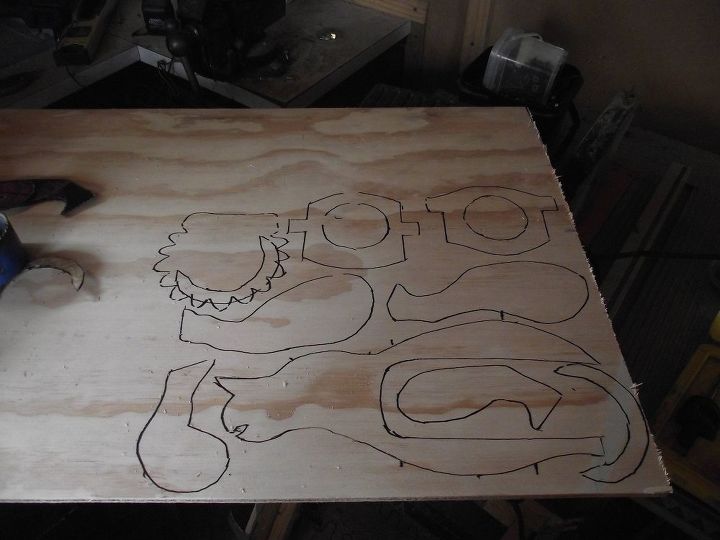
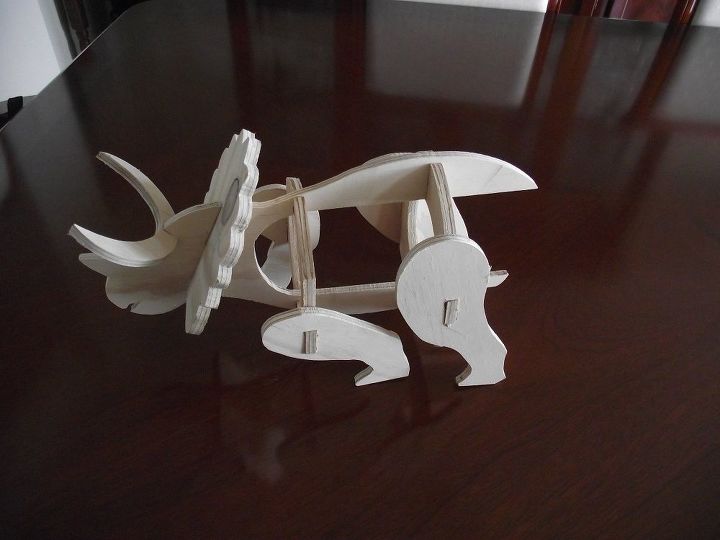
I marked out all the pieces on a piece of 8mm ply and cut them out using a bandsaw and jigsaw.
EDIT I had to reshape the legs later to make everything level, guess that is why you make prototypes!
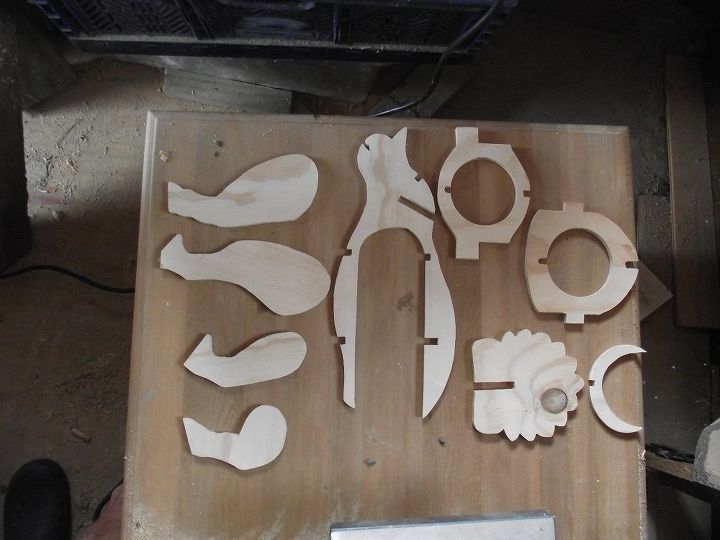
Once cut out they were all sanded
Once cut out I offered up the leg frames to the body and marked the positions of locating slots. Slot width will obviously depend on the thickness of timber you are using.
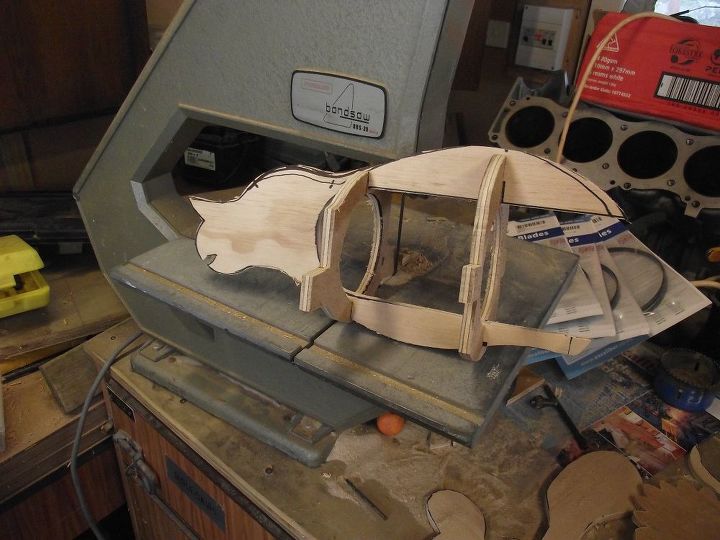
I then assembled the body, at this point I found that the leg frames were a little fragile in a couple of areas so I intend to recut them a little bulkier.
The Body seems about right
Cut All the Location Slots and Assemble, Trim Tabs
All the location slots were cut out either on the bandsaw or by drilling and filing (the ones on the legs)
On first assembly the Dino was very "nose down" so I reshaped the rear legs to give a better stance
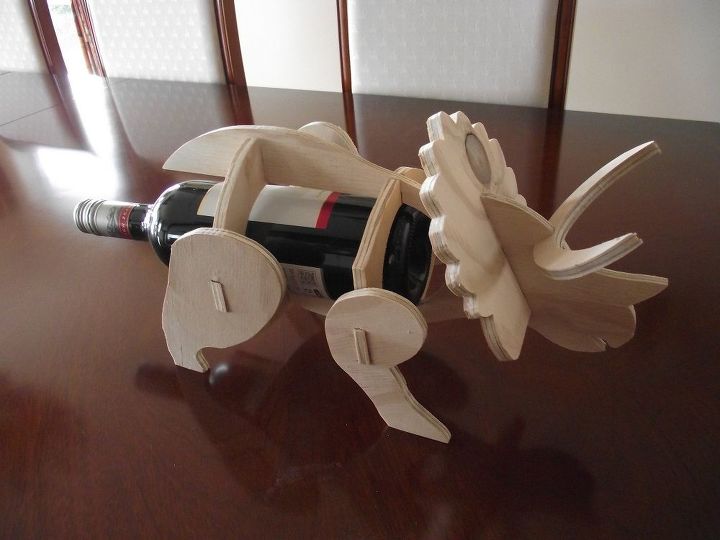

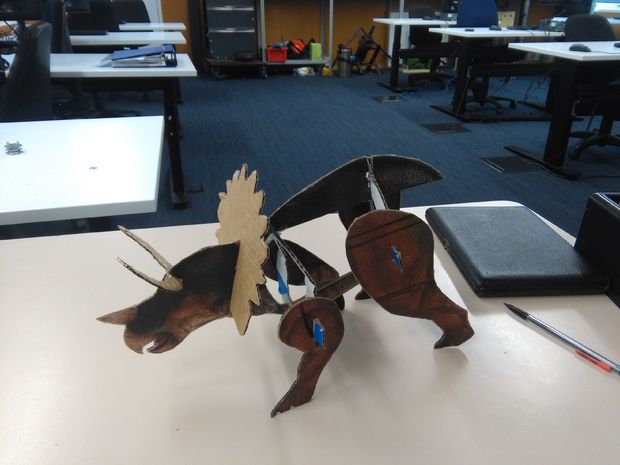
Add the wine bottle
Put in the bottle and it is ready to go on the table.
Now this one is just a prototype to see how everything fits and how it looks,it will be used as a template for the next one(s) I build.
I possibly need a bit more "meat" at the neck for strength, but it works, however there may be a few adjustments on the next one
Obviously they will be finished with varnish and stain as applicable
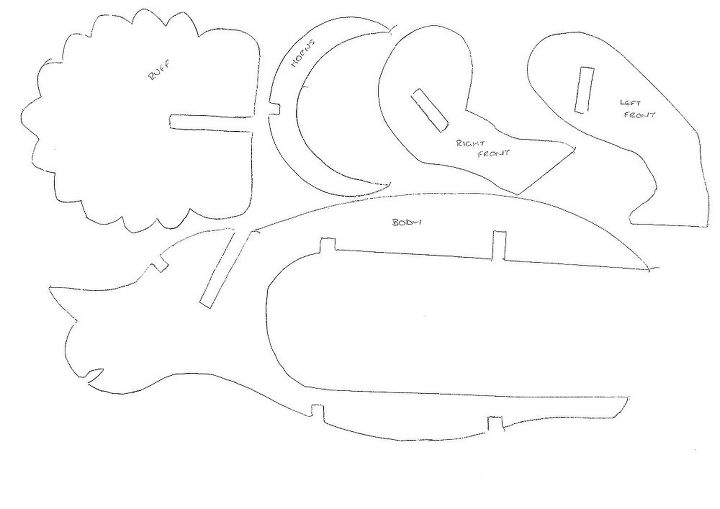
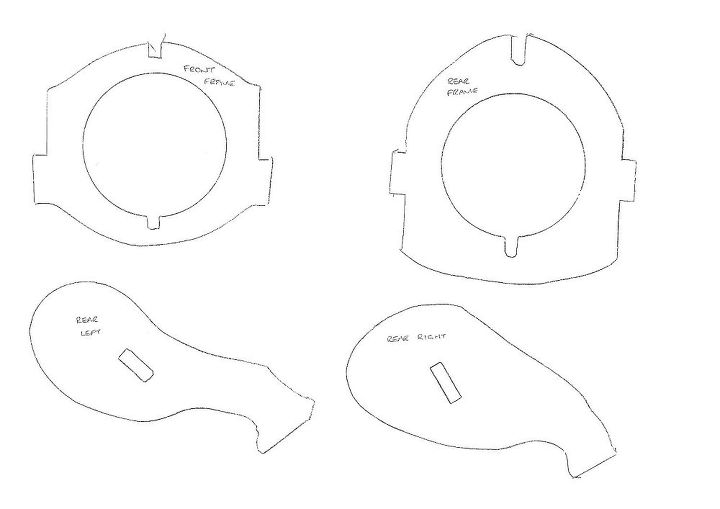
Print on A3
Comments
Join the conversation
4 of 77 comments
-
I at first thought it was too time-consuming, but in hindsight, kudos for all the creative work!
-
Love this.... very original!


Frequently asked questions
Have a question about this project?
Absolutely Awesome. Do you sell these??? Please ( insert whining )