


HOW TO MAKE A LUGGAGE RACK SIDE TABLE
$5.00
30 Minutes
Easy
A couple of years ago I bought a luggage rack at a yard sale for $1, and realized it was the perfect size for a side table. For two years I had a piece of scrap wood on top of it, covered by a table cloth. Not any more!
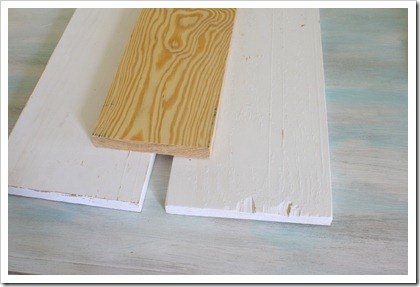
I found a couple of boards I had already painted (for a long abandoned project), and a piece of scrap wood.
I put the two painted pieces together, good side down, then put the scrap piece on top. Mark around it first, before you start drilling. You can peep to see if your drill went all the way through. If it didn’t all your other holes will still line up.

I put the two painted pieces together, good side down, then put the scrap piece on top. Mark around it first, before you start drilling. You can peep to see if your drill went all the way through. If it didn’t all your other holes will still line up.
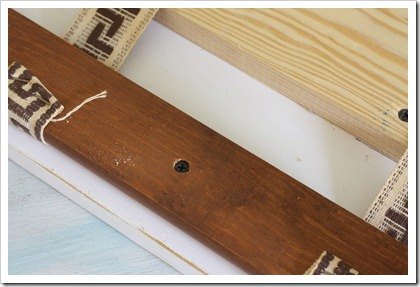
Predrilling the holes means that you won’t worry about splitting the wood, k? I attached the boards with six screws, three attached to each side. After it was all attached together, I put the luggage rack on top (which I guess is technically the bottom), and attached the luggage rack.
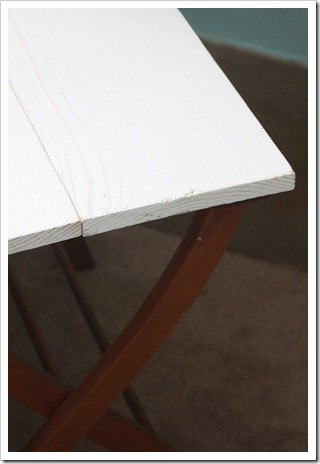
Flip ‘er over and she’s done.
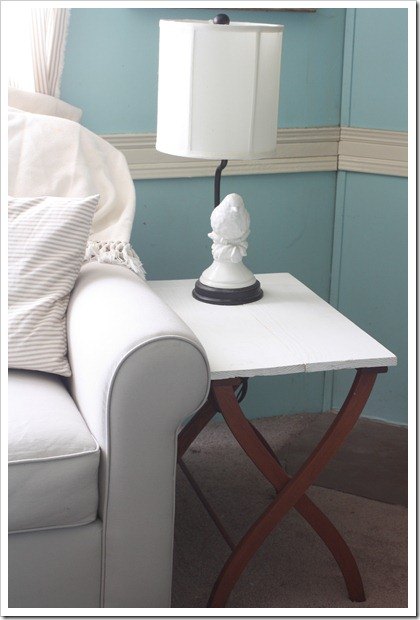
Easy peasy!

Want more details about this and other DIY projects? Check out my blog post!
Comments
Join the conversation
4 of 8 comments
-
So pretty!
-
Great job, love it !


Frequently asked questions
Have a question about this project?