


DIY Tablet Stand

by
Virginia B
7 Materials
$20
1 Hour
Easy
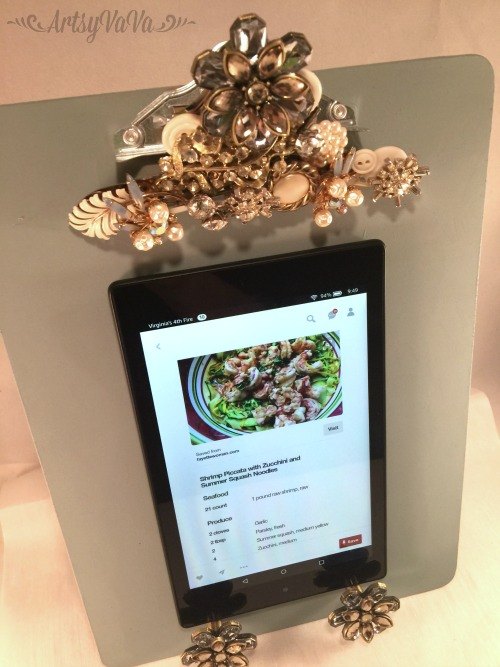
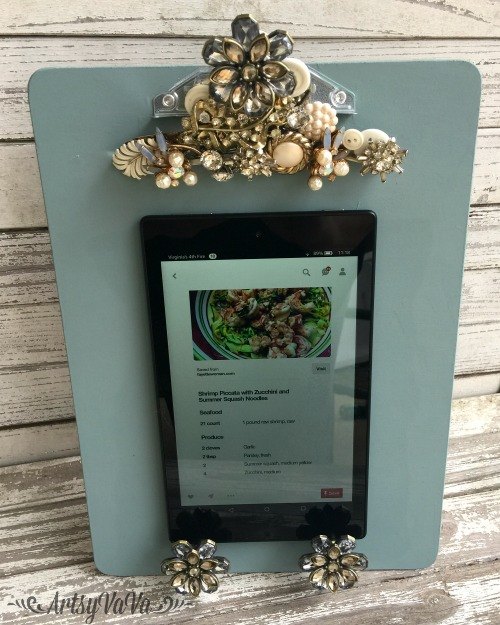
Many of us have replaced our cookbooks with our tablet. After all, most of our recipes seem to be pinned in cyberspace! Get your tablet off the counter where it faces the possibility of meeting its demise with spills, by creating a beautiful stand.

Supplies:
Clipboard
8 X 10 Tabletop Frame Back
Vintage Jewelry & Buttons
Drawer Pulls
Paint
Paintbrush
E6000 Glue
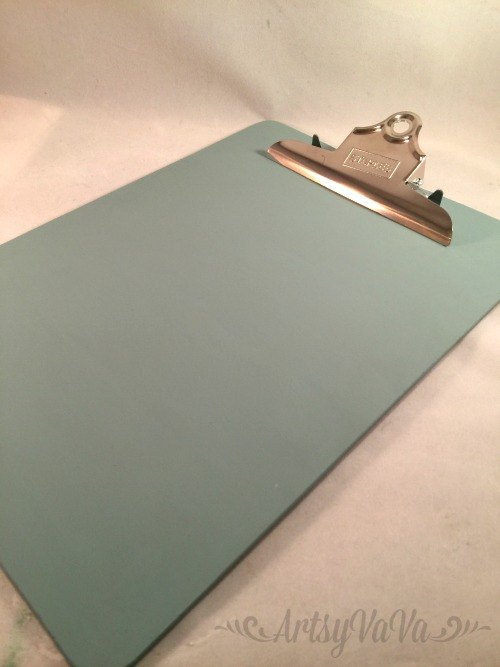
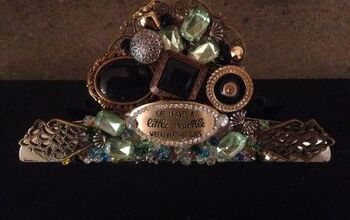
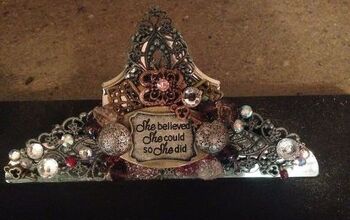
I painted the clipboard with 2 coats of the color Vintage Duck Egg fromThe Dixie Belle Paint Company.
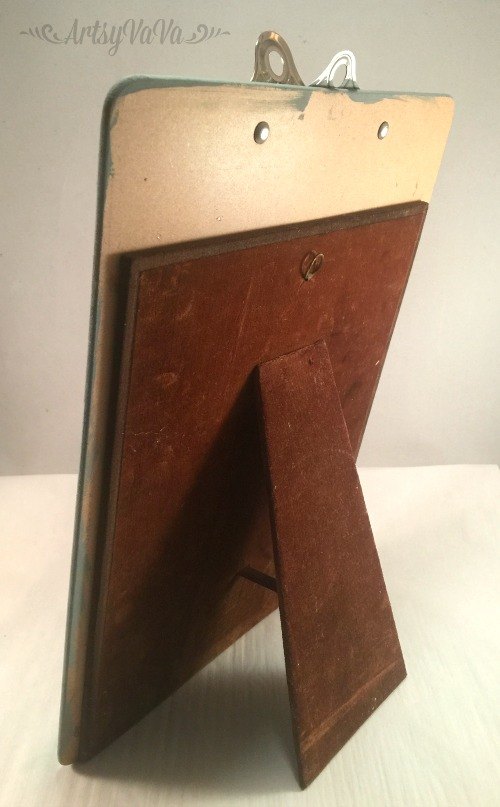
To make the clipboard stand up, I glued the back of a tabletop frame to the back of the clipboard using E6000.
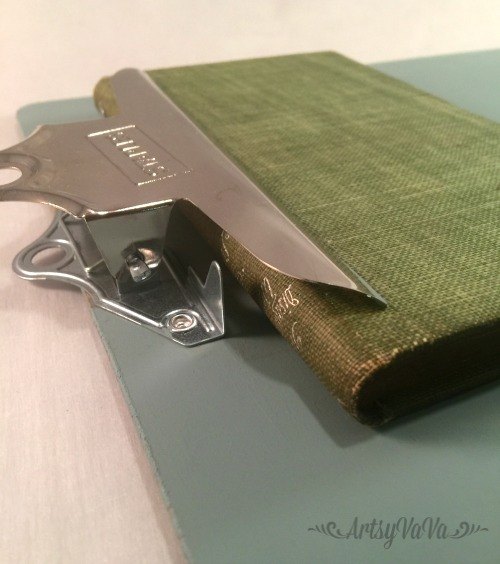
I placed a book under the clip to make it lay flat. This will ensure that the jewelry and buttons don’t slide off while the glue dries.
I used E6000 to attach the jewelry and buttons to the clip. . It’s best to work in stages, gluing a few pieces on at a time, and allowing them to dry before adding more.
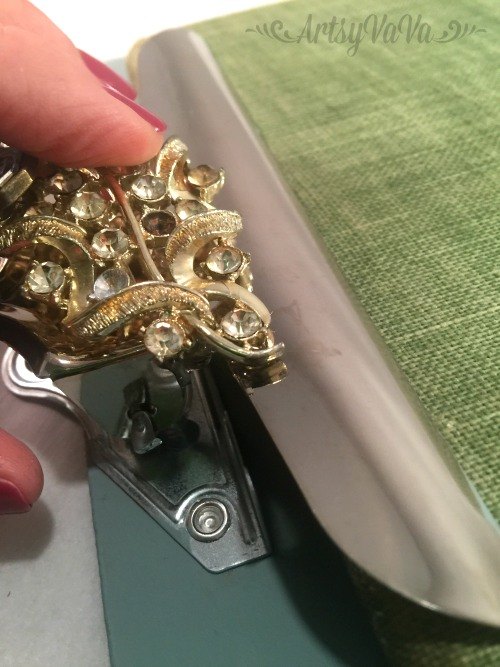
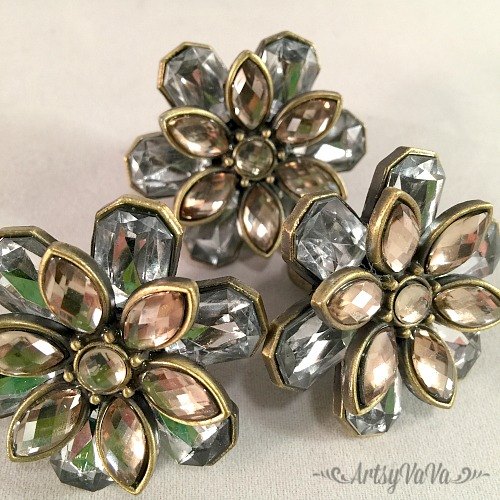
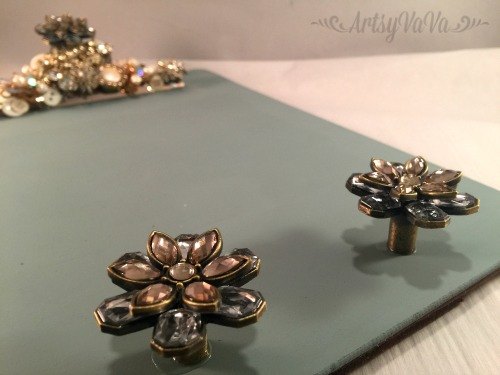
I also added one of the drawer pulls to the clip since it had a vintage jewelry feel.
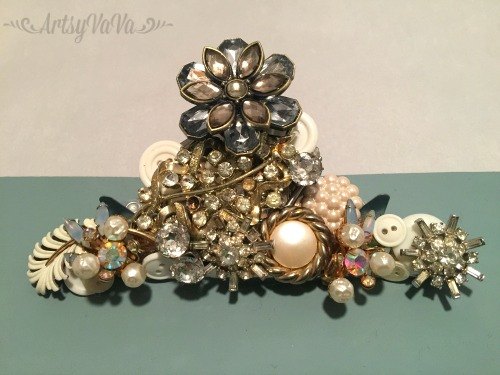
I picked drawer pulls that reminded me of vintage jewelry.
I removed the screws from the back of the drawer pulls & glued them along the bottom of the clipboard.
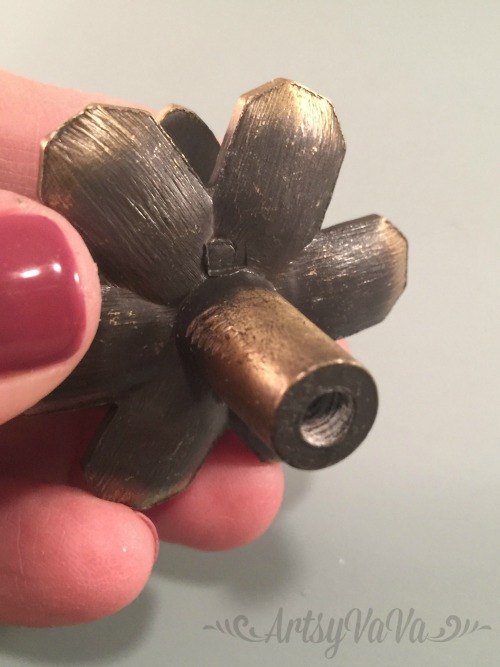
I used my tablet as a guide to see how low they should be placed, then glued them onto the clipboard with E6000.
The clipboard is perfect for holding a tablet.
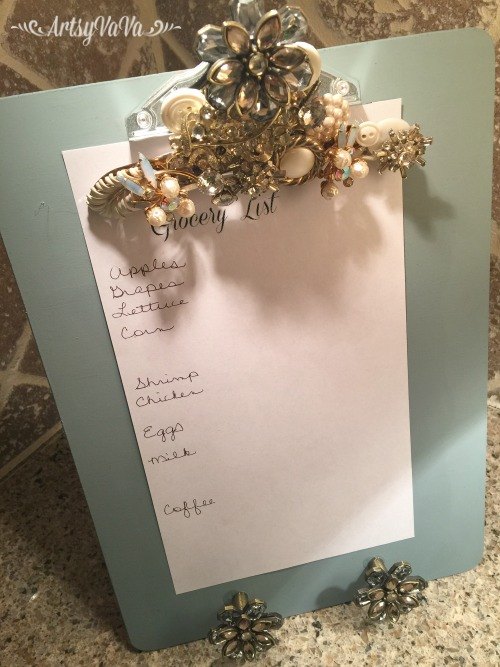
When not holding a tablet, use the clipboard for a grocery list or photo.
HOLD EVERYTHING!
It's time to get busy making this fun, versatile, project!

Want more details about this and other DIY projects? Check out my blog post!
Comments
Join the conversation
3 of 38 comments
-
I am having so much fun making these! Personalizing these for special people is my new obsession
 I am making one for each of my 4 sisters, and adding a couple of charms from my late Mom's charm bracelet to each. I drilled holes to attach the knobs for strength/permanence. So many cute knobs to choose from on Amazon!
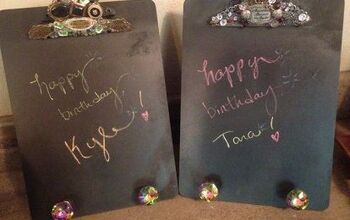
-
Oh boy, I love the look of the vintage jewelry on the clip. This is a great idea because some clip boards can hang and I can see making one for a kid's room to hold their drawings and gluing little cars, etc. for a boy and keeping with the jewels for a girl. Love that keepsakes can be used.


Frequently asked questions
Have a question about this project?
Can you use hot glue gun instead? Thank you
love this. But we're did you find these pull for the bottom?
Adorable and bedazzled.