


The Credenza

I am sure as long as I am painting furniture my favourite piece will always be "The Credenza" A very good friend of mine knew I was starting my own refinishing/restyling furniture business and offered me an old dresser she had. My husband and her husband just happen to be best friends and they hauled this beast of a dresser out and into our SUV and then over to our house and into our garage cursing all the time. I did not see it until it arrived and good thing because I probably wouldn't have taken it. Oh my it was ugly!!!
Unfortunately the before pictures I had taken somehow got deleted so you will have to use your imagination. The dresser was stained a very very dark brown, six feet long and solid oak. It must have weighed 250lbs.
This project started before I discovered Annie Sloan ChalkPaint ™ and I think that is a good thing. It taught me a lot about"restyling" furniture. Oh the mistakes and the time spent on this dresser were unbelievable. I originally wanted to give the piece a south west look buy stripping it, varathane it and get new hardware but man the stain was stubborn. Months went by and I admit it I gave up. I decided paint it!!!!
I primed the entire piece in white primer (I will never do that again) and painted the body in a cream melamine and the top black latex.
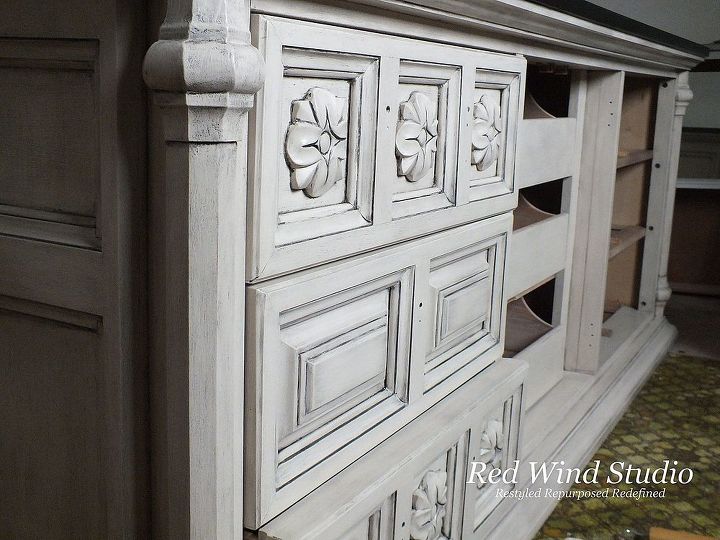
I really had no idea how a professional would do the effect I wanted but hey I just do what I think will work. I am an artist by heart so we try until we get what we want. That being said I wanted an old but not distressed look and oak is very porous so I had an idea and I got a bucket of water, a rag and a sponge with a scrubby on one side and went to work. Keep in mind I have already painted the body cream and the top black. I took my paint brush and started painting the black over the cream in fairly large areas at a time. Before it could completely dry I would wipe it off with the damp sponge and if too much stuck I would use the scrubby side. The paint sat beautifully in all the pores, grooves and crevices. By using the scrubby side over the entire body once the paint was dry it gave a nice smooth finish and took any burrs off. I then did two coats of a satin varathane just for added protection.
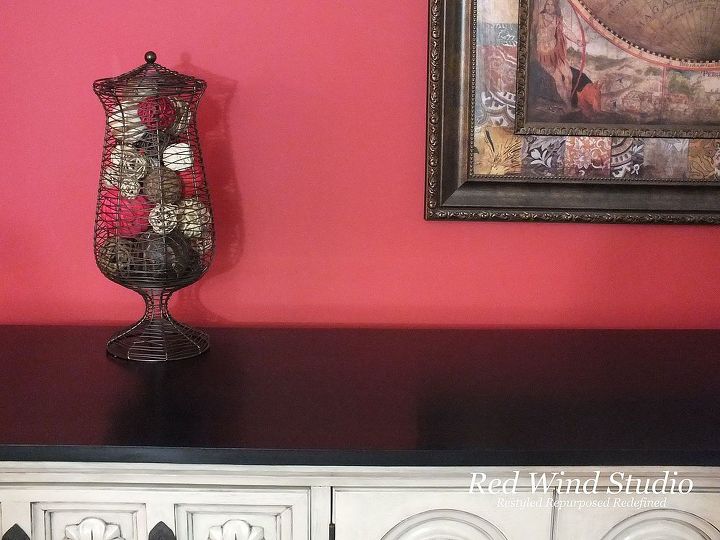
The top has several coats of paint which was carefully wet sanded with 600 grit paper. I varathaned and wet sanded it again to give a smooth satin finish. Ok now that just makes it sound like finishing the top was a breeze. Well let me tell you it was not I am not even sure how many times I redid that top. I was starting to say the dresser was cursed. I would be so careful wet sanding and oops I would go too far and hit the white primer (exactly why I would use paint with the primer in it from now on). Another time for no apparent reason small areas started to bubble up after drying. But I finally did it and the top was finished or so I thought.
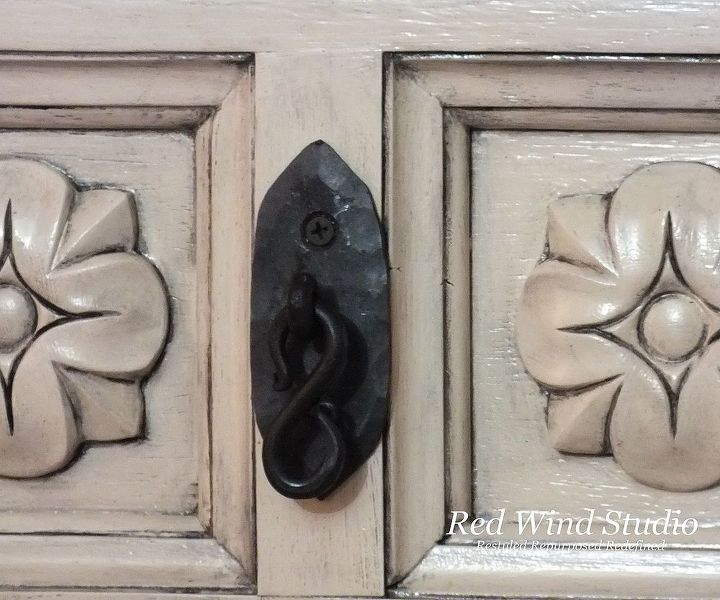
Although I love the effect of the black on the cream body I think the handles are what make this an exceptional piece of furniture. The original handles were brass tear drops and in my opinion just too small for such a grandiose unit. I started looking on line to see if I could find a style of pull that I liked but nothing caught my fancy. I was chatting with a friend about the dresser handles and she said she knew of a local black smith so she sent me his info. He was busy so I had to wait a couple months but finally I got the handles I wanted.

After many months of learning and waiting and then redoing the top due to vandalism while it was on display (told you it was cursed) it was finally finished and sits proudly in a dining room in Kingston Ontario along with a custom table I did to match it for my customer.
So when you have a project that is frustrating the heck out of you, don't give up. Remember why you started it in the first place. I am doing this to create unique beautiful hand painted furniture for people's homes so be creative do something different and don't always get the same old. Use other artists to help your piece be special like I did with the handles on the credenza. No matter what this will always be a one of a kind.
http://redwindstudio.ca/store/2014/01/10/the-credenza/
Comments
Join the conversation
2 of 4 comments
-
I agree very stunning
-
Wow! I love the contrast of colors and the handles give it that something special. It's awesome!


Frequently asked questions
Have a question about this project?