


Turn $1 Picture Frames Gorgeous!

4 Materials
$1
1 Day
Easy
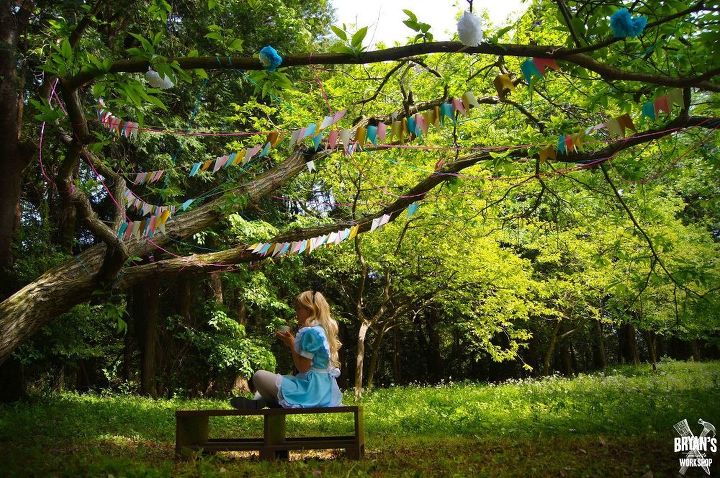
My wife and I threw a huge Alice in Wonderland party for our daughter and her friends. I'm telling you, this Alice theme is so much fun to play with. We found all kinds of Alice art we wanted to frame for the party, so we hit up the dollar store to find some picture frames to upscale.
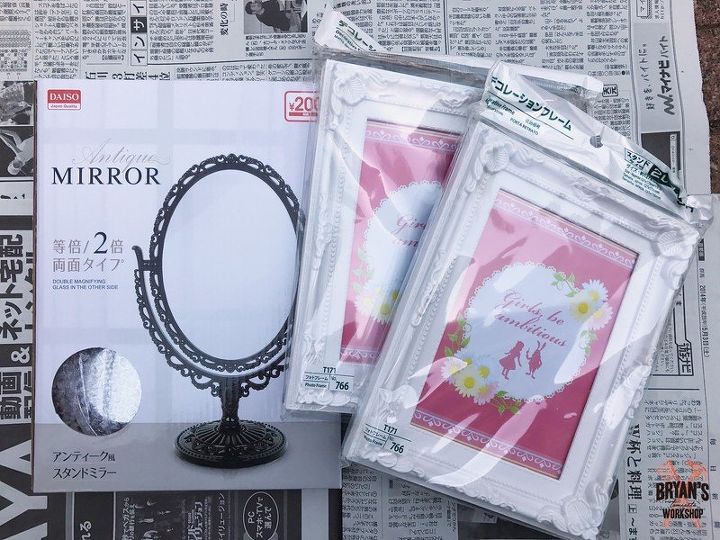
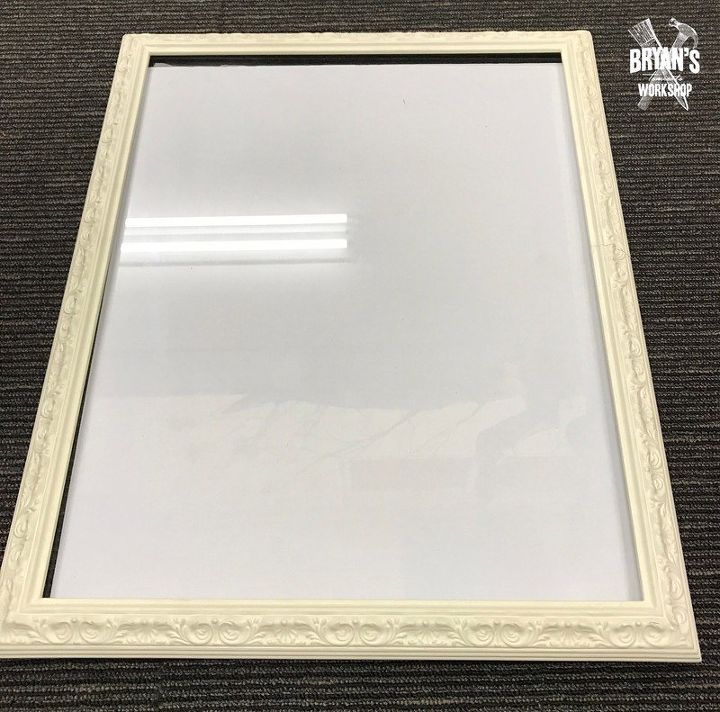
We bought a bunch of these $1 frames and even found this mirror in the dollar store.
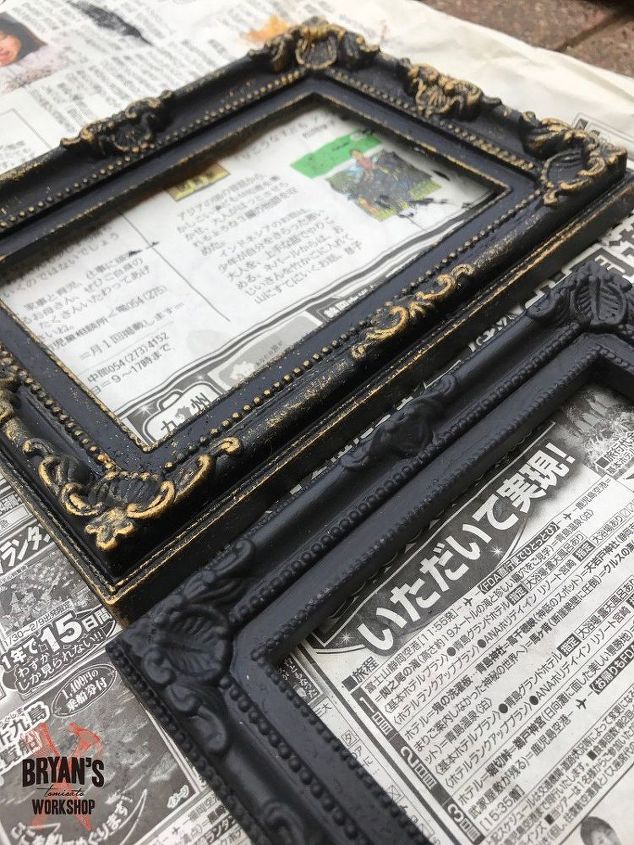
First we primed the plastic frames with a plastic primer and painted them with matte black milk paint.
The frames took about a day to make. We primed them in the morning, applied two coats of black paint before lunch (let the first coat dry) and sponge painted in the evening. We already had the paint and primer, so we only needed to buy the frames.
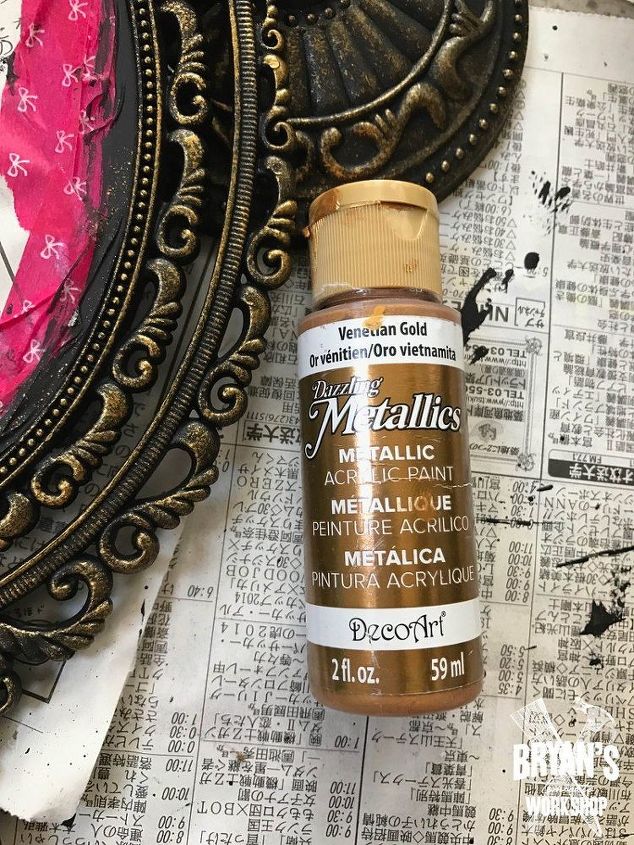
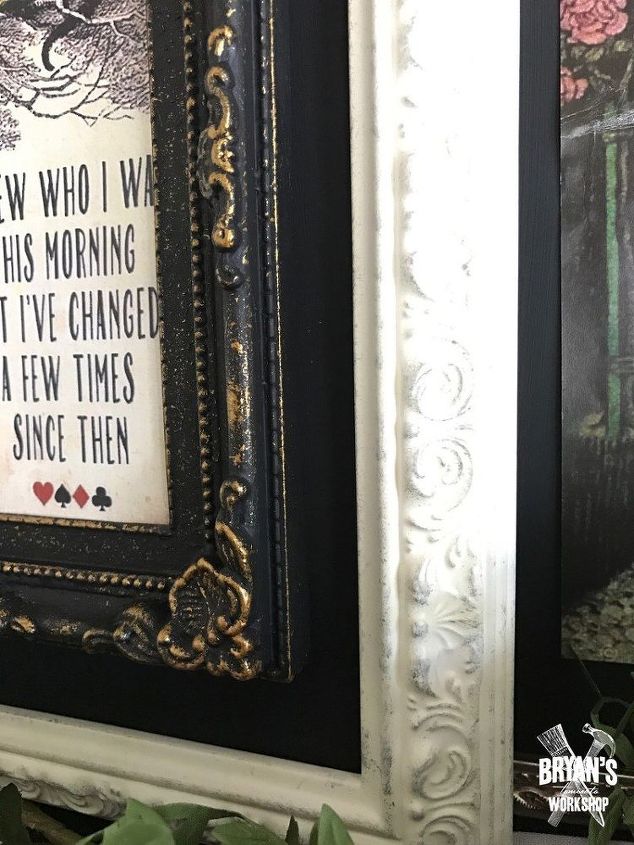
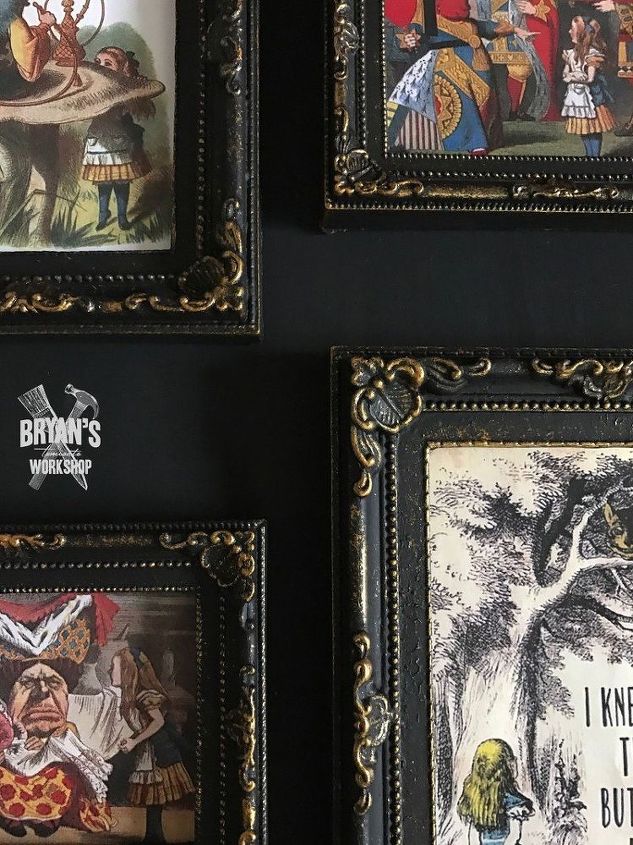
We achieved the awesome gold accent by simply sponge painting with metallic acrylic gold paint. Cut the sponge into pinch sized squares. This makes it easier to paint.
You can see the mirror in this pic. We taped the glass and primed and painted just like the frames.
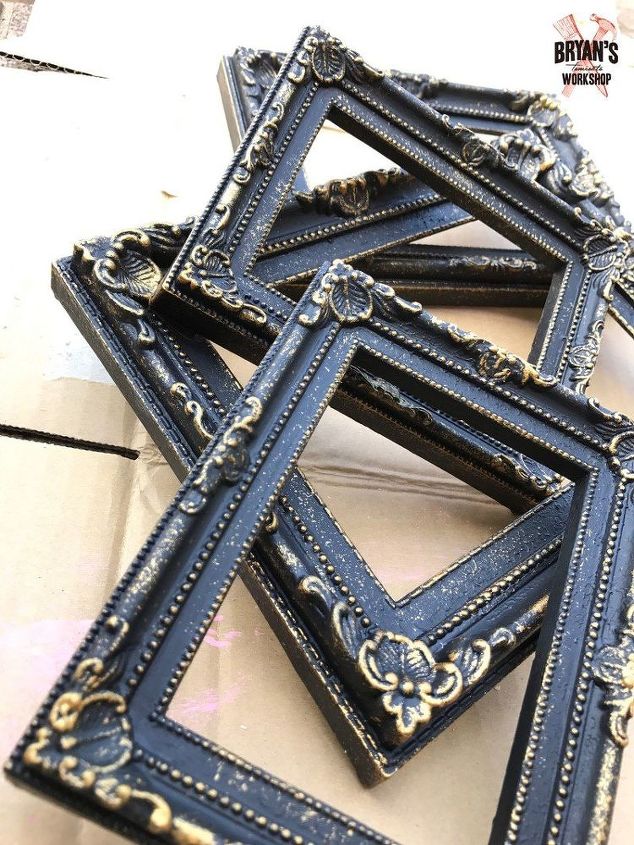
The frames are finished!
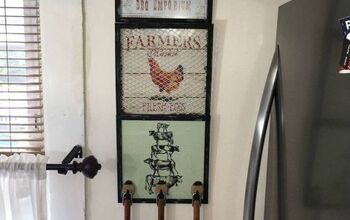
We found this monster frame on sale at a picture frame store, because the side was cracked "YES!" This was one of those collage frames that hold a bunch of different pictures behind cardboard...is that what they're called? We said bye-bye to the cardboard.

After some super glue and sanding, we used metallic silver acrylic paint and a sponge to accent the details in this frame.
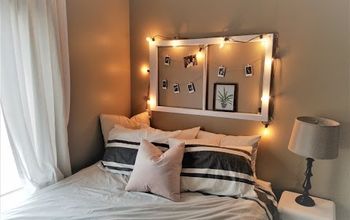
We cut a piece of cardboard and painted it black to put in the white picture frame.
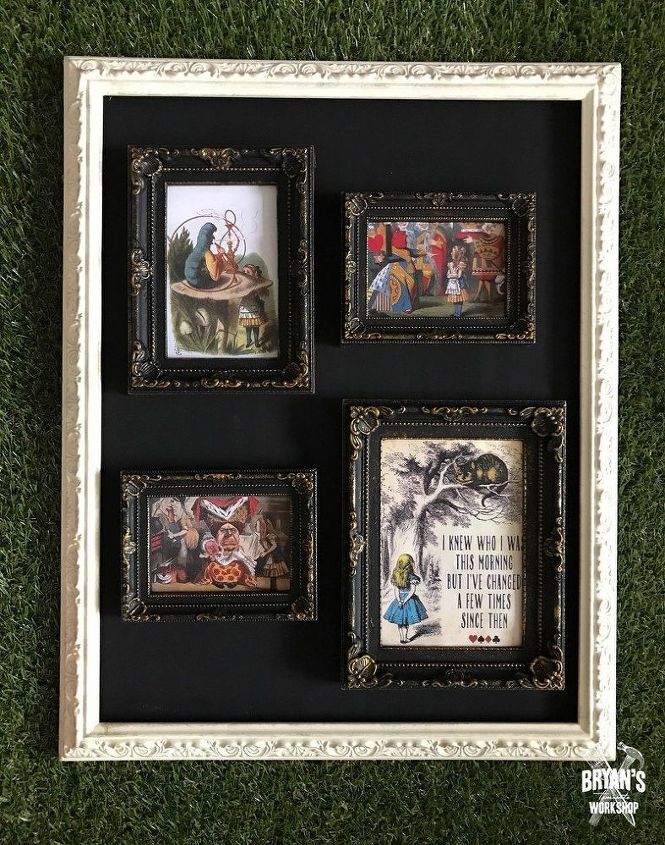
These dollar store frames are a really light weight plastic, so we used heavy-duty double sided tape to hold them on the cardboard. Check out the art!
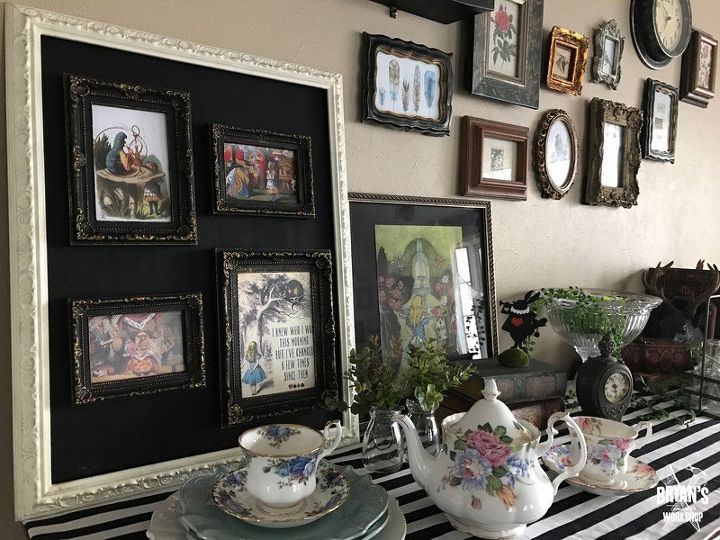
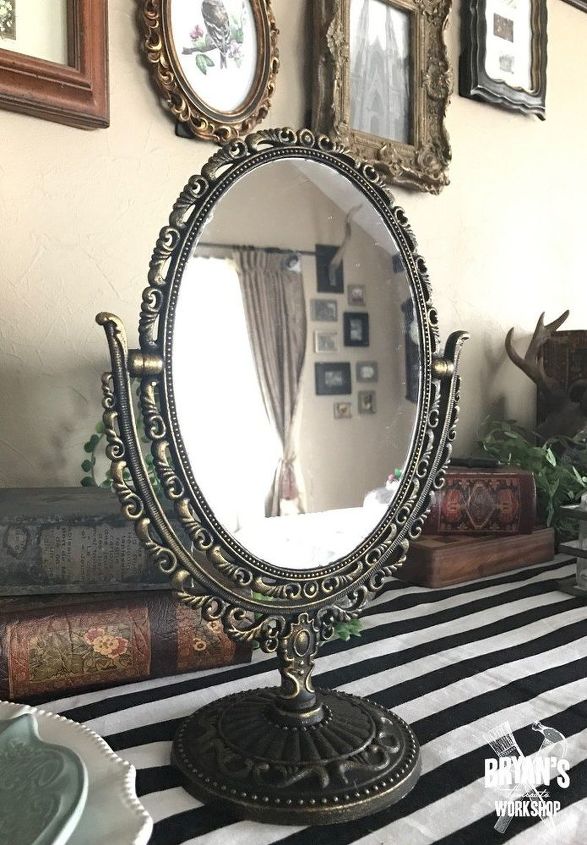
Here is the finished mirror!
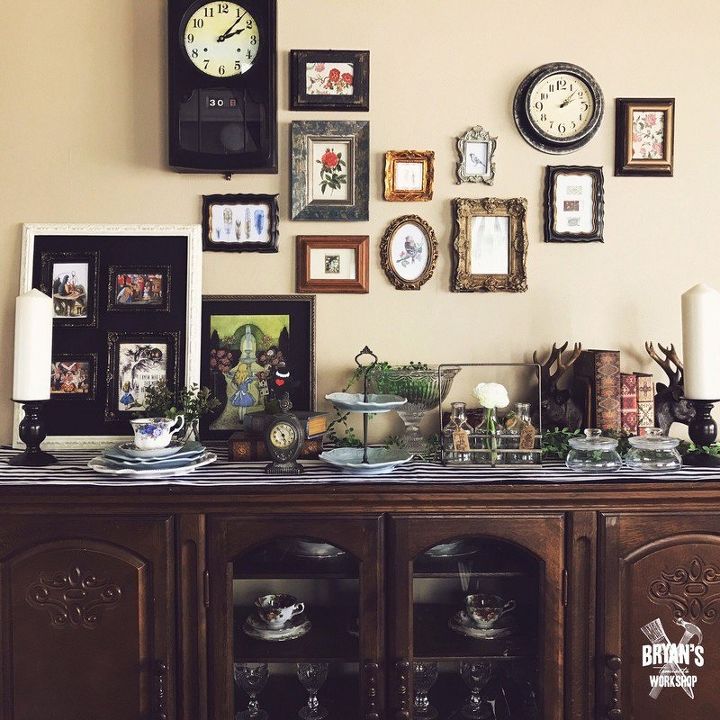
Our picture wall! There are two fake antiques on this wall...can you spot them? You can check out how I made them here: http://www.hometalk.com/diy/decorate/rooms/turning-cheapo-1-frames-into-chunky-vintage-keepers-27793867
That's my daughter! 
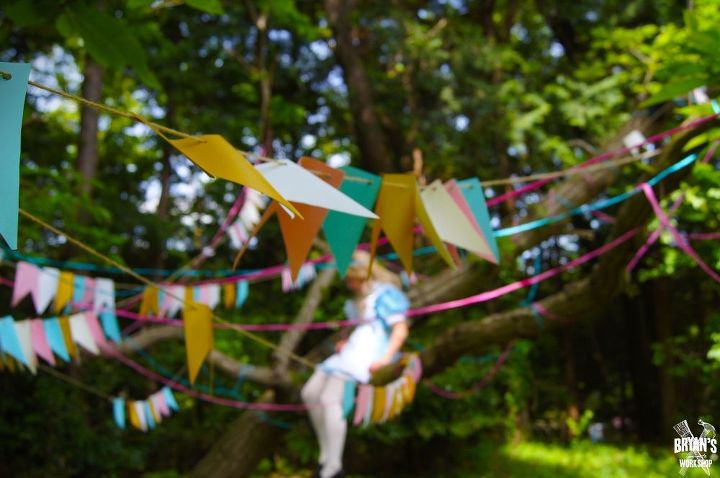
Check out the easy to make banners!
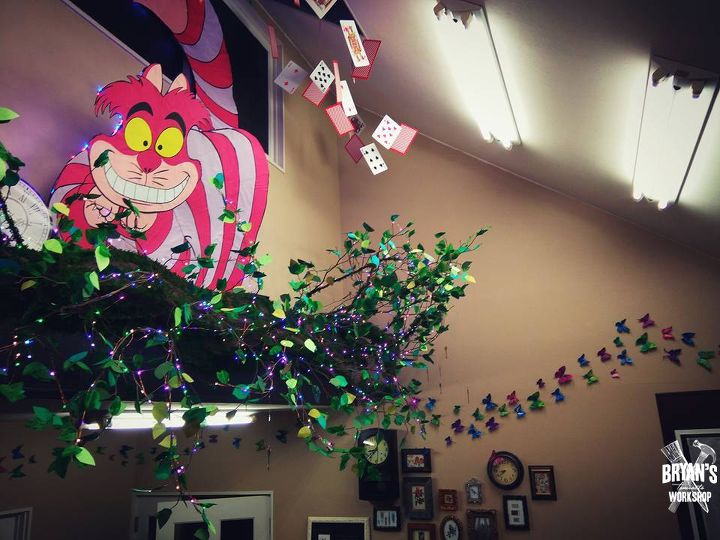
I made a gigantic Cheshire Cat for the party! You can check out more pictures at:
https://www.facebook.com/bryansworkshop/
Resources for this project:
See all materials


Any price and availability information displayed on [relevant Amazon Site(s), as applicable] at the time of purchase will apply to the purchase of this product.
Hometalk may collect a small share of sales from the links on this page.More info
Comments
Join the conversation
3 of 98 comments
-
Outstanding.
-
Lucky girl!


Frequently asked questions
Have a question about this project?
Beautiful! Where did you get the "Alice" artwork?
I love it! Did it take much practice adding the gold accent?
Where did you get the butterflies?