


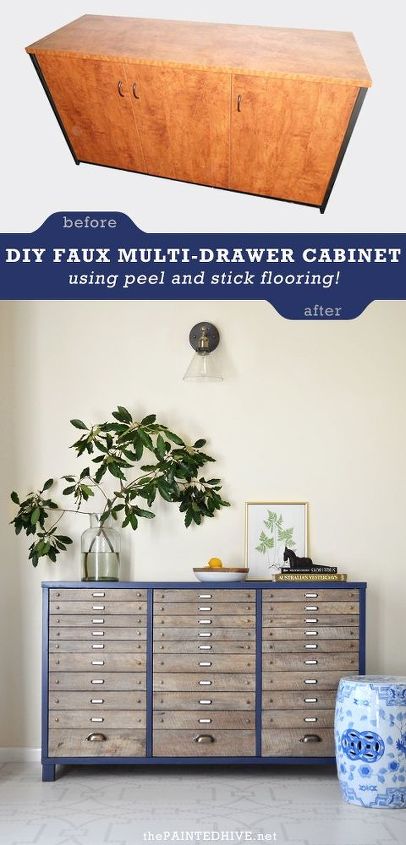
Furniture Flip: Easy DIY Faux Flat File (No Power Tools Required!)
4 Materials
If you're anything like me then the sight of a glorious flat file cabinet can make you weak at the knees.
I don't know what it is about all those little drawers with all their little handles though my eyeballs can't get enough!
Sadly however, far too often the price of said glorious flat file cabinet also makes me weak at the knees - in a less pleasant kinda way.
Luckily, there's an easy way to get that multi-drawer look for less!
I've summarised this tutorial slightly for Home Talk. You can find the full how-to here on my blog.
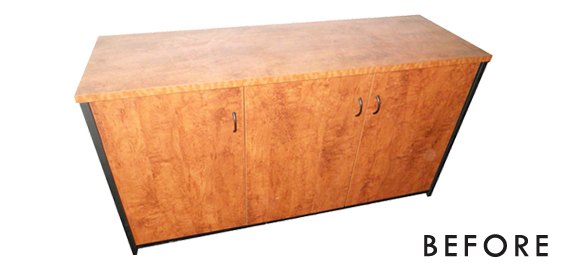
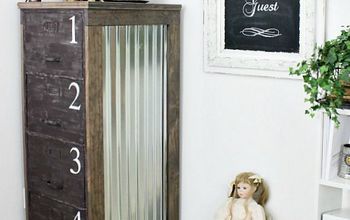
I bought this ugly old office sideboard from eBay for just $35.
It had great proportions and was solid and sturdy...let's just not mention the fluro orange laminate!
I was always planning to add faux drawer fronts to the doors though just as I was about to trim down some plywood into strips, I had an epiphany..."hey, peel and stick floorboards are about the same thickness as this plywood”, I thought. “Why don’t I try using them instead? They can be trimmed with a utility knife so I can share a cool ‘power tool free’ method anyone can have a go at!”.
Yay!
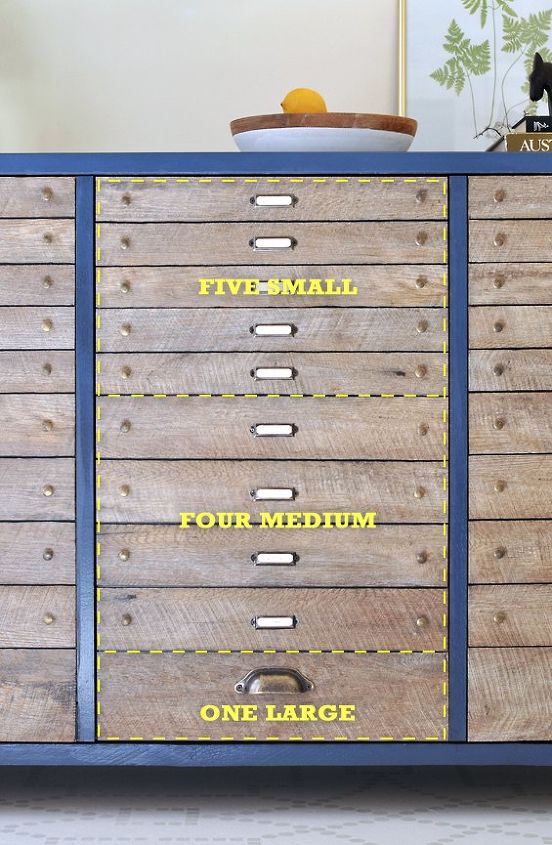
The first thing I did was measure the doors and work out how I wanted my drawers to look.
I decided to go with a graduated formation with five small drawers at the top, four medium drawers in the center and one large drawer at the base. The large drawer not only works to add interest, though also covers the toe-kick.
Note: I also added some vertical dividers though this is entirely optional.
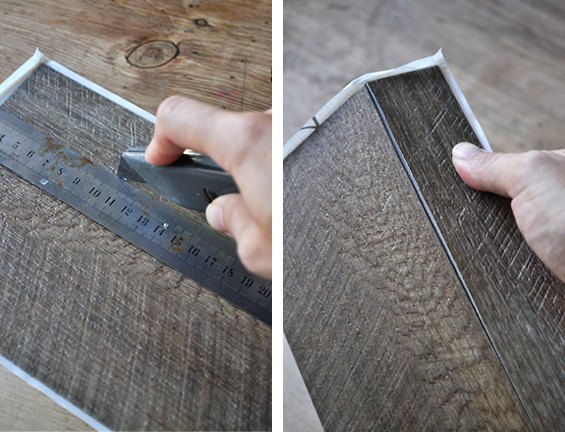
Next I cut down my planks.
This is really easy. I simply created a score line by running a sharp utility (stanley) knife along a steel ruler. Once the score line was deep enough the plank simply snapped apart.
Once all of my faux drawer fronts were cut, I started attaching them to the cabinet doors.
I was keen to simply peel and stick them straight to the doors though I found there just wasn’t enough grip for them to adhere properly. They seemed to attach nicely to begin with though after a little while some areas began to wave and bow out. This may be because my piece of furniture was slippery laminate, or simply because the boards are designed to be adhered to a horizontal surface. Regardless, I decided to add a few dobs of liquid nails to each faux drawer to ensure a firm bond.
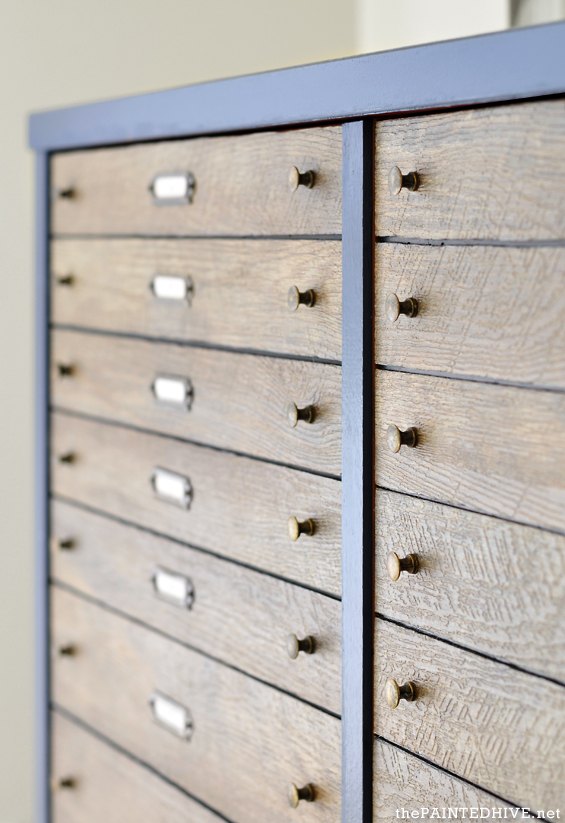
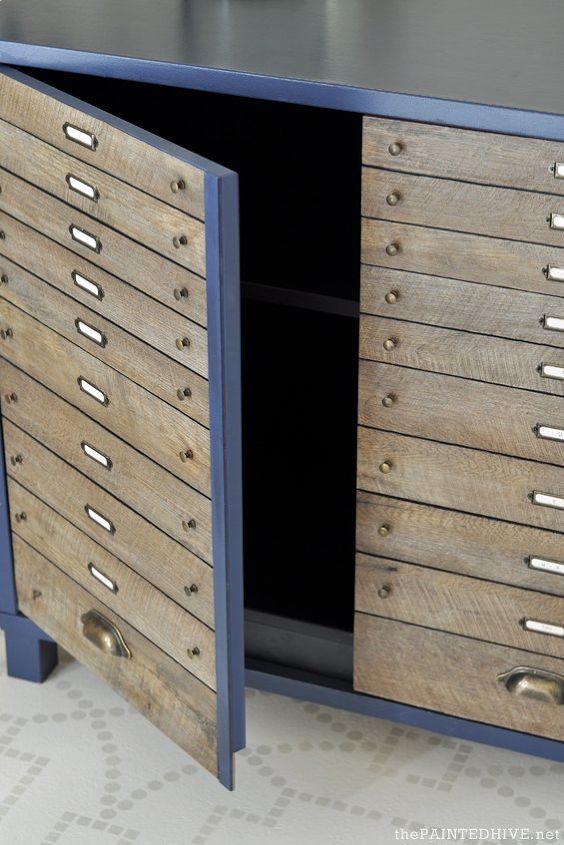
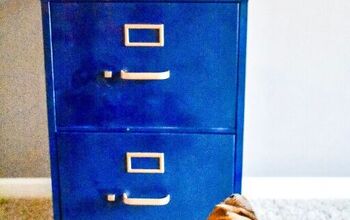
To finish the doors and complete the faux drawer look I added some cute brass knobs and little label holders.
I also used a long tipped marker to colour the gaps between the drawers black.
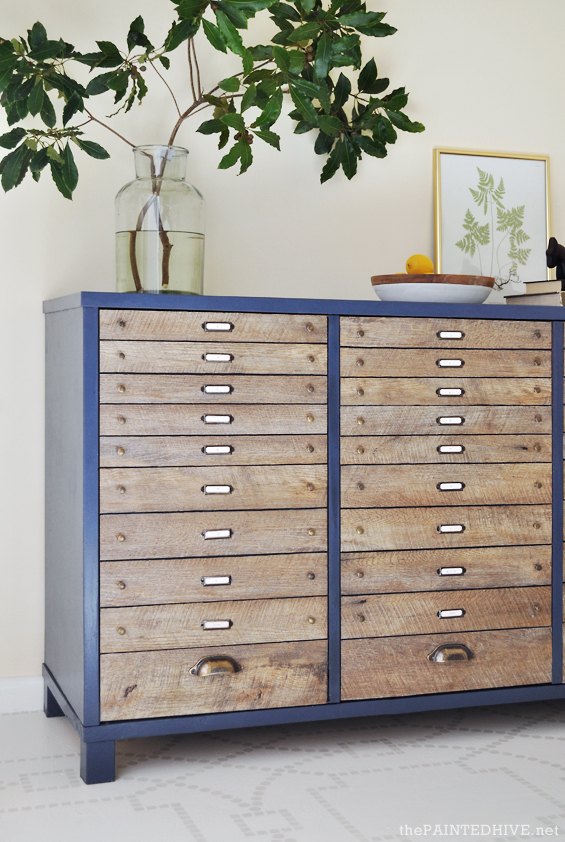
The body of the cabinet got a fresh coat of navy paint and voila!
Note: I also added a new base though this is entirely optional.
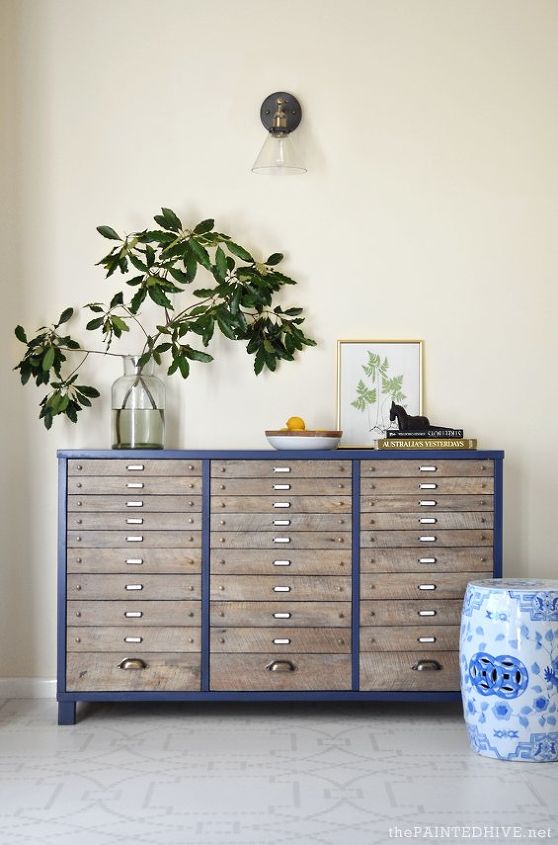
I am so thrilled with the way this came together and absolutely love that anyone with a basic utility knife can give it a go!
I hope you like it and that it helps inspire!
Visit my blog post here for the full how to, further photos and all of the product source info.

Want more details about this and other DIY projects? Check out my blog post!
Comments
Join the conversation
2 of 130 comments
-
This is so creative! And, very impressive cutting work on those tiles!!!
-
Wow, gorgeous....and such an inspired idea to use peel & stick wooden flooring.....I will file that idea away for a future piece of furniture, Thank you.


Frequently asked questions
Have a question about this project?
Are you sure that is the same cabinet????
This looks fabulous!!!
Could you do this with a tool chest.