Popcorn ceiling is pretty easy if you tape a scraper to a shop vac. We have done this and it works well. Heavier texture can be done as well. We had a 70's house that had a "whip cream" ceiling. We scraped it down to a minimal texture.
We simply filled a one gallon garden pump sprayer with water, misted it onto a 3x3 area at a time...let it sit for about 45 seconds, then scraped. The light misting of water helps to loosen the "popcorn" and makes it easier to remove. It also keep the dust down.....Be warned though, this is a MESSY job ! Remove everything from the room, cover your hair and eyes, etc.
Depending on the quality of paint job in the home, when I went to prime the popcorn ceilings, the popcorn actually came off and wrapped around the roller. We wanted to maintain the looks so I had to "unroll" it by going backwards with the roller, and then smooth it down. You might try misting it as advised above and use a gritty paint roller to see if it will roll off.
How to Remove a Popcorn Textured or Acoustic Ceiling
Check for Asbestos
Take a small sample of the ceiling material and send it to an EPA certified testing lab before you begin. If your ceiling contains Asbestos, you will need to have a certified asbestos removal contractor do the job for you.
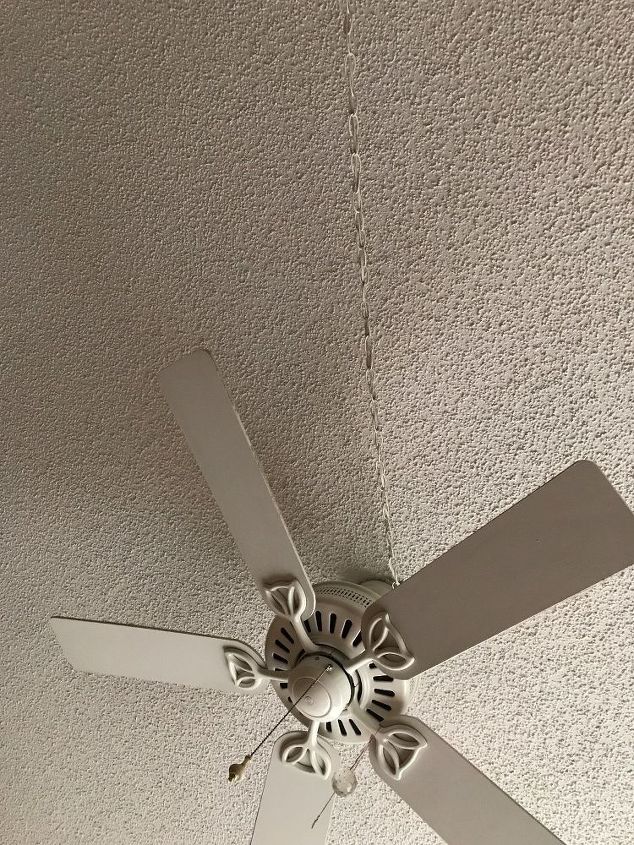
Turn Electricity Off and Remove Light Fitting/s
Since you’ll be using a lot of water in this project, first be sure to turn of the electricity and check it with a circuit tester. Remove all furniture and ceiling light fittings.
Cover the Floor with Plastic Sheeting
Tape small pieces of plastic over each electrical outlet and cover the floor with heavy duty plastic floor sheeting, extending it up the walls a foot or so.
Cover the Walls with Plastic Sheeting
Run painter’s tape along the upper edge of the walls then cover the entire wall with plastic sheeting, taping the top edge to the tape already there. Roll out a layer of resin paper on the floor.
Wet the Ceiling
Using a garden sprayer, wet the ceiling, working in 4 to 5 square feet areas at a time, wetting the ceiling thoroughly, but being careful not to over-wet it.
Scrape the Popcorn Material off the Ceiling
Round off the corners of a joint knife (to prevent gouges) and use it to scrape off the popcorn ceiling. If you run into any hard scraping areas, apply a little more water, wait and then try again.
Unroll Second Layer of Resin Paper and Finish Scraping
Unroll another layer of resin paper directly on top of ceiling debris and continue scraping ceiling. When all material has been scraped off, take down plastic sheeting from walls, roll up wet paper and plastic on floor and place all into a large garbage bag.
Re-cover any Bare Joints Using Joint Compound and Joint Tape
Mix joint compound in a tray and apply along the joint lines. Dip joint tape into water, squeeze of excess and use a putty knife to press the tape into the joint compound. Smooth off excess.
Fill any Eroded Nail Holes
Use two thin applications of joint compound to bring holes flush with the wallboard.
Sand the Ceiling
Use a sanding pad on the end of a long pole to sand off any high ridges.
Finish Your Ceiling
Fill any low spots with another coat or two of joint compound, sanding in between coats. Prime the ceiling using a primer that says “for wallboard”. Your ceiling is then ready for you to paint or texture as you like.
I have three rooms with vaulted ceilings and I am trying to decide if I want to remove the popcorn ceiling or cover with tiles, with a texture board. I need some guid...
See more
We built our large, screened, back porch about 5 years ago and the ceiling is tongue and groove knotty pine. Last year we added a hot tub and have used it a lot. Now ...
See more


http://www.doityourself.com/stry/how-to-remove-stipple-ceiling
You got this! just make sure to use the necessary precautions.
Popcorn ceiling is pretty easy if you tape a scraper to a shop vac. We have done this and it works well. Heavier texture can be done as well. We had a 70's house that had a "whip cream" ceiling. We scraped it down to a minimal texture.
We simply filled a one gallon garden pump sprayer with water, misted it onto a 3x3 area at a time...let it sit for about 45 seconds, then scraped. The light misting of water helps to loosen the "popcorn" and makes it easier to remove. It also keep the dust down.....Be warned though, this is a MESSY job ! Remove everything from the room, cover your hair and eyes, etc.
Depending on the quality of paint job in the home, when I went to prime the popcorn ceilings, the popcorn actually came off and wrapped around the roller. We wanted to maintain the looks so I had to "unroll" it by going backwards with the roller, and then smooth it down. You might try misting it as advised above and use a gritty paint roller to see if it will roll off.
William Burbank, ILYesterday
How to Remove a Popcorn Textured or Acoustic Ceiling
Check for Asbestos
Take a small sample of the ceiling material and send it to an EPA certified testing lab before you begin. If your ceiling contains Asbestos, you will need to have a certified asbestos removal contractor do the job for you.
Turn Electricity Off and Remove Light Fitting/s
Since you’ll be using a lot of water in this project, first be sure to turn of the electricity and check it with a circuit tester. Remove all furniture and ceiling light fittings.
Cover the Floor with Plastic Sheeting
Tape small pieces of plastic over each electrical outlet and cover the floor with heavy duty plastic floor sheeting, extending it up the walls a foot or so.
Cover the Walls with Plastic Sheeting
Run painter’s tape along the upper edge of the walls then cover the entire wall with plastic sheeting, taping the top edge to the tape already there. Roll out a layer of resin paper on the floor.
Wet the Ceiling
Using a garden sprayer, wet the ceiling, working in 4 to 5 square feet areas at a time, wetting the ceiling thoroughly, but being careful not to over-wet it.
Scrape the Popcorn Material off the Ceiling
Round off the corners of a joint knife (to prevent gouges) and use it to scrape off the popcorn ceiling. If you run into any hard scraping areas, apply a little more water, wait and then try again.
Unroll Second Layer of Resin Paper and Finish Scraping
Unroll another layer of resin paper directly on top of ceiling debris and continue scraping ceiling. When all material has been scraped off, take down plastic sheeting from walls, roll up wet paper and plastic on floor and place all into a large garbage bag.
Re-cover any Bare Joints Using Joint Compound and Joint Tape
Mix joint compound in a tray and apply along the joint lines. Dip joint tape into water, squeeze of excess and use a putty knife to press the tape into the joint compound. Smooth off excess.
Fill any Eroded Nail Holes
Use two thin applications of joint compound to bring holes flush with the wallboard.
Sand the Ceiling
Use a sanding pad on the end of a long pole to sand off any high ridges.
Finish Your Ceiling
Fill any low spots with another coat or two of joint compound, sanding in between coats. Prime the ceiling using a primer that says “for wallboard”. Your ceiling is then ready for you to paint or texture as you like.