


Old Door to Fabulous Headboard
by
Cindy
6 Materials
$85
5 Days
Easy
I had been wanting to try this project after seeing all the fabulous door to headboard posts but I wanted to see what would happen if I stripped the paint from the door and refinished the door without repainting . The bedroom already had several painted pieces and I was hoping to add some warmth to the room with a finished wood headboard.
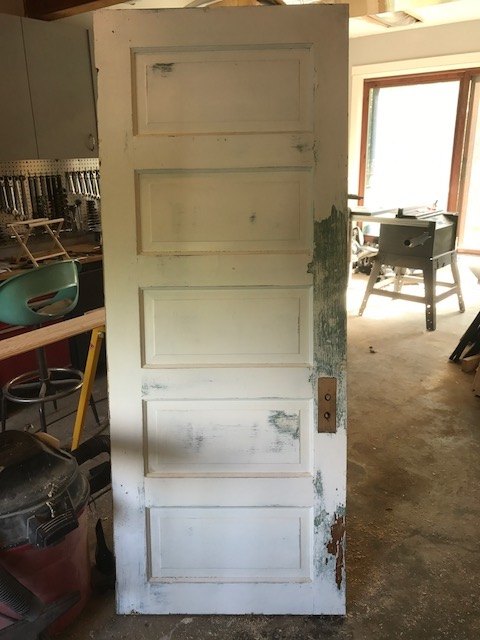
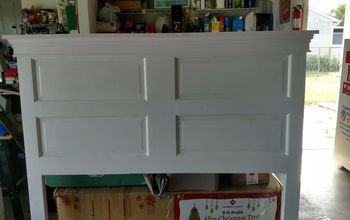
The perfect door!
It took me about a year to find a door with the right dimensions and evenly spaced panels. I found this beauty on an online yard sale and was convinced that under that chipped and scratched paint, there was a beautiful wood headboard! Before I remembered to take a photo, we took 3 inches off the bottom of the door to center the panels. Luckily the door was about 5 inches longer than the width of the bed where we wanted to use it.
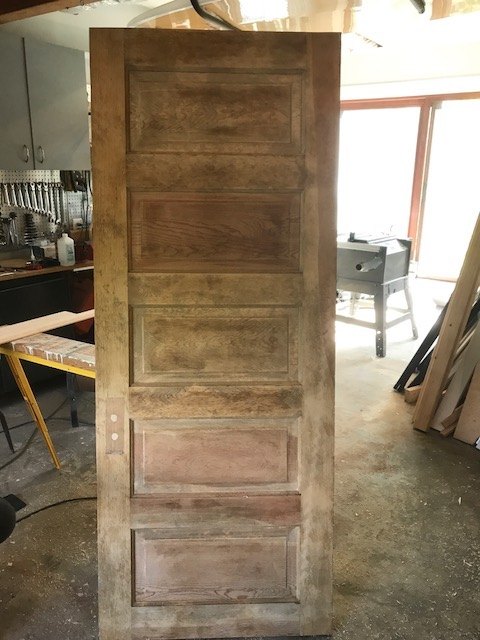
After stripping the paint
I filled the holes created when the door hardware was removed and then stripped and sanded the door to remove most of the paint and old lacquer. I used Zip-Strip to loosen the paint and then a putty knife to remove the old paint. The Zip-Strip only removed one coat of paint at a time so it required multiple applications of the stripper to take off all of the layers but it was so much fun seeing the wood reappear under the paint! I had never worked with a paint stripper - be sure that you have a well ventilated workplace when using a paint stripper and wear gloves - it's powerful stuff.
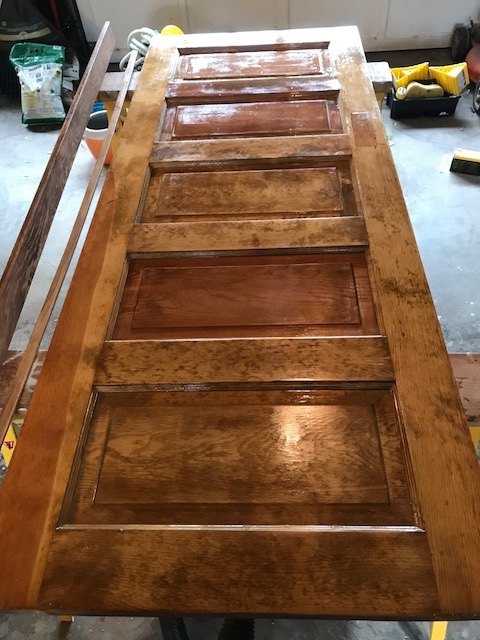
Looking better
I stained the door with a MinWax light pine stain to even the wood tone. The 2 extra wood pieces on the left of the door are a 3/4" x 4" piece of pine for the top ledge and a smaller piece that my wonderful husband routed along the edge to act a transition piece between the top ledge and the finished headboard. The trim pieces were added to the long edge of the door after I finished staining.
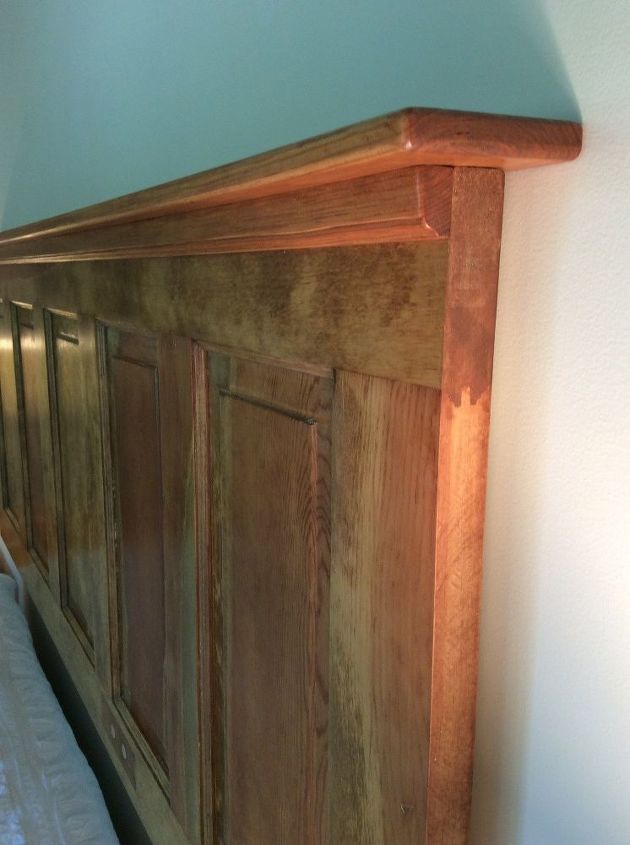
The finished headboard showing the trim piece
After the stain dried, I started to apply a clear wood finish to the door. I used 3 coats of the finish and used steel wool in between coats to take off any little imperfections. I lightly used the steel wool after the last coat to give the door a smooth satin finish. I could hardly wait to bring it into the house and put it up over the bed. The headboard is over a king size bed so it's quite large!
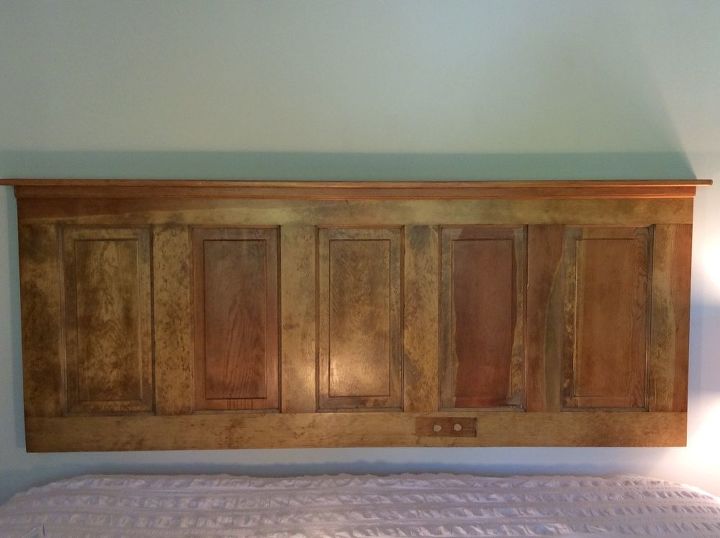
So happy with the finished project!
My husband used a French cleat to attach the door to the wall above the bed but there are lots of other options for attaching it. I am thrilled with the way the headboard looks and it adds just the right amount of warmth to the room.
Comments
Join the conversation
2 of 35 comments
-
Thank you!
-
I absolutely love this headboard idea... We are moving in Feb to a new house and I have so many ideas I wanna do in the new house and this will definitely be one of them, I am also going to shiplap some of the walls!


Frequently asked questions
Have a question about this project?
Sorry but what's a french cleat? It must be strong to take the weight of that door. But I absolutely love what tou've done.