


Knife Block Redoux

4 Materials
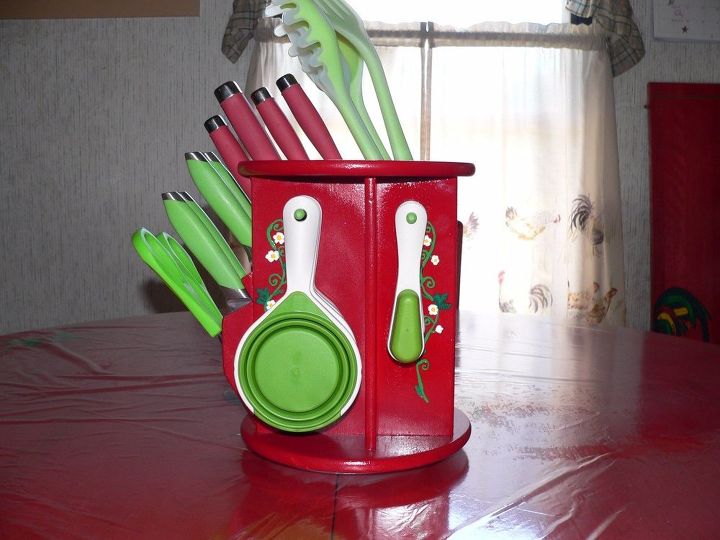
So I've had this knife block for well over 15 years. It's still in great "working" shape - but it's looks were leaving much to be desired. Extreme Makeover - Knife Block Edition! LOLI have a strawberry/chicken, red/green themed kitchen and dining room. I decided to paint the block red and accent it with strawberry vines.
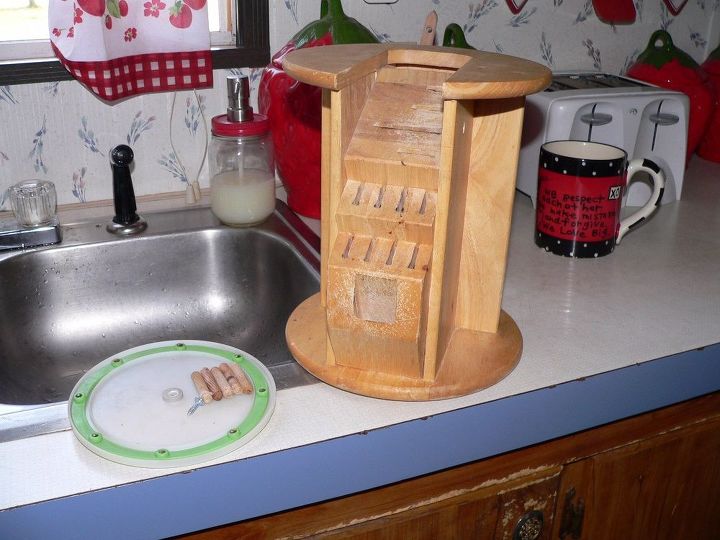
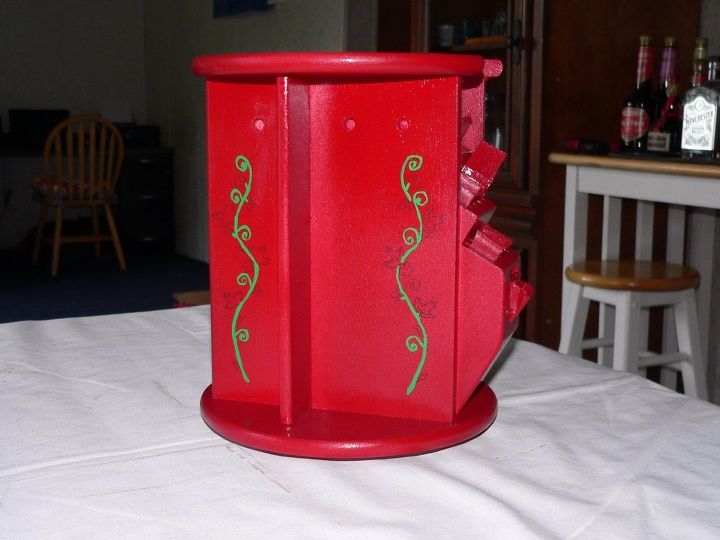
This has seen much better days. I took it apart and cleaned it thoroughly. Taking all the dowels out and removing the "lazy susan" base (for now). Look at that - the base has a green ring, it's kismet!
Then I lightly sanded the entire block to insure paint adhesion.
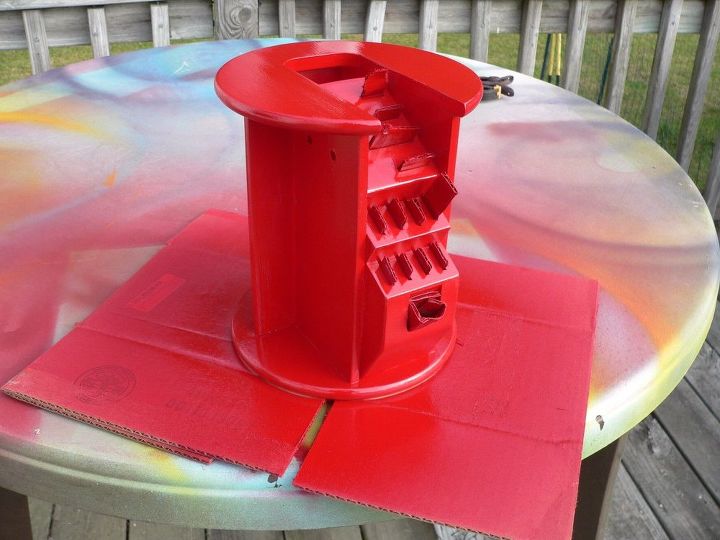
I cut cardboard to insert into the knife holes. Then I sprayed it with a couple of coats of "Cut Ruby" spray paint from Valspar. One coat with the knife block upside down - then one coat with it right side up. (it's easier and looks MUCH cleaner than trying to force the paint to the undersides. )
*TIP* - do NOT fill your scissor hole (bottom center) like I did (as shown above) with cardboard. The original "look" will show through (bare wood). I had to touch this up - bare wood was EXTREMELY noticeable .
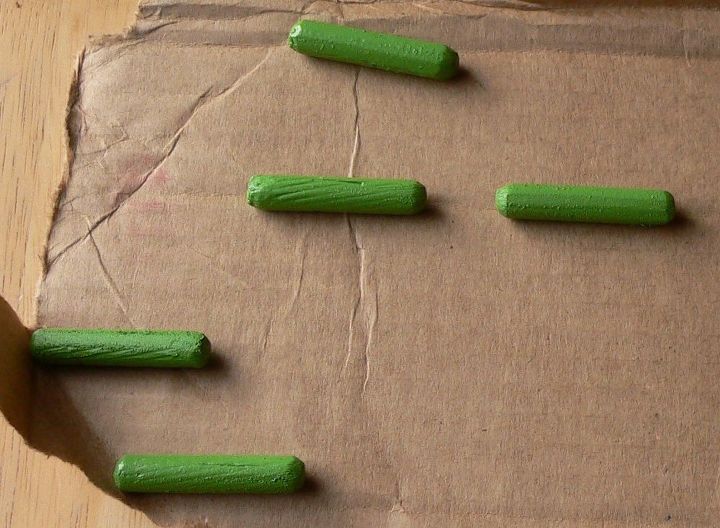
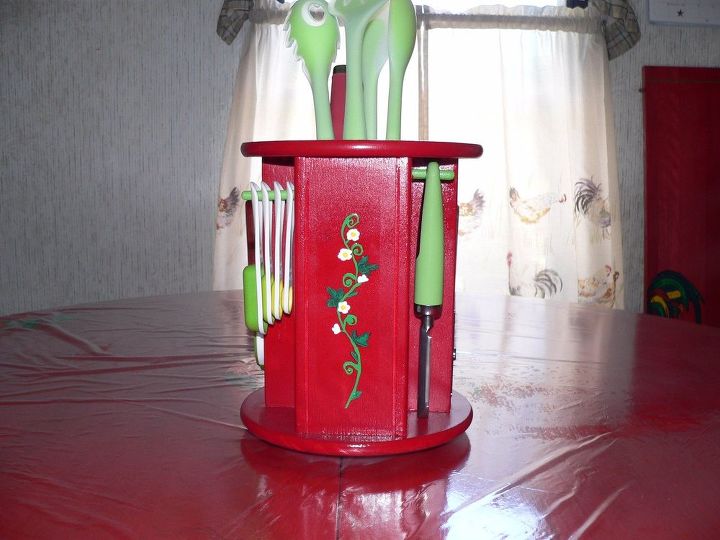
I painted the dowels green. I thought that would really accentuate the "viney" look.
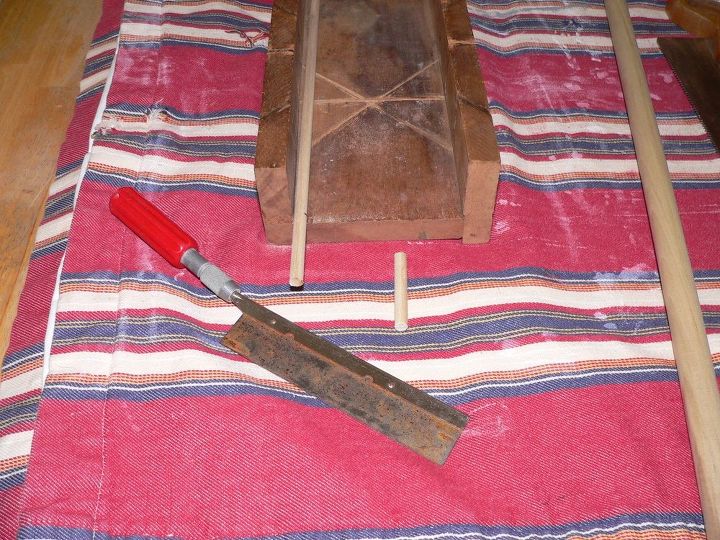
*TIP* - think about the "new look" before painting. My original knife block had all black utensils. Only AFTER painting did I think about the new look on my old utensils. I got brand new utensils in various shades of green (so nothing has to "exactly" match. However, the new can opener needed SEVERELY smaller dowels (the old ones were way too big), the cups/spoons need longer ones, and the new peeler and new can opener were TALLER than my old ones....so they did not fit. New dowel holes had to be drilled AFTER I had already started the detail work. Lesson learned - think it COMPLETELY through! Buy your new stuff FIRST and make sure it all fits!

I bought dowel rods as I could not find dowels that were "just right". No biggie - a few slices and voila! Double good news - they're very cheap. I think the one rod was $0.58!
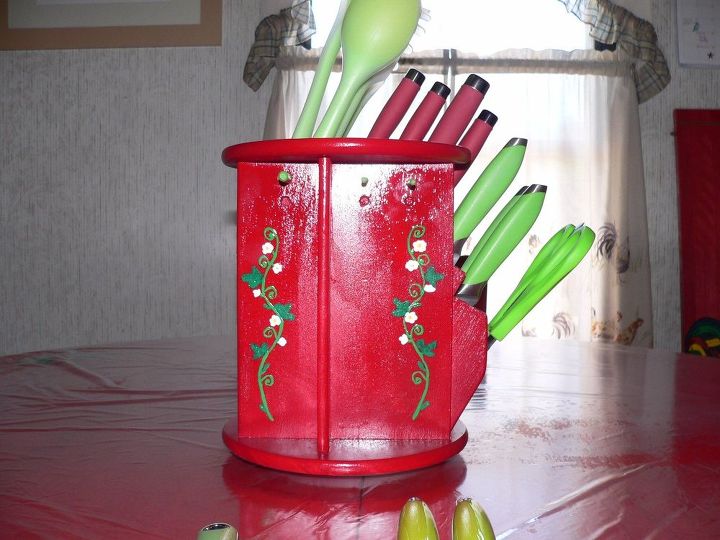
Stenciled then painted the strawberry vines, then finished it off with a nice coat of Valspar's Project Perfect Topcoat (in gloss). Drill new dowel holes and glue the dowels back in and.....
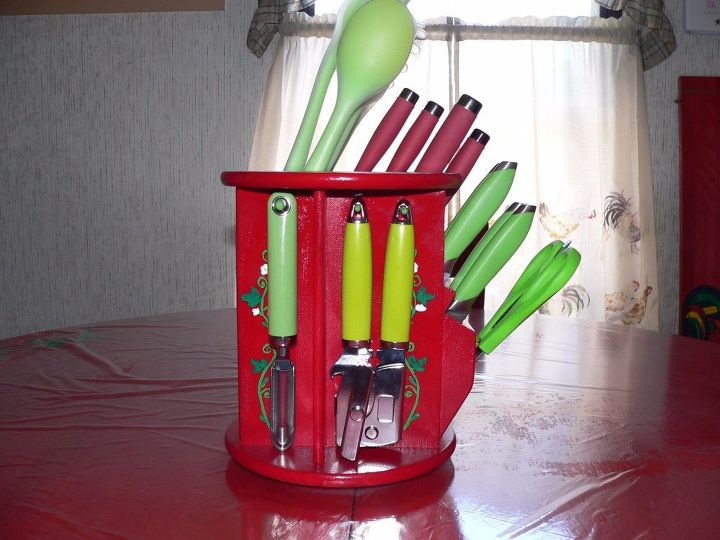
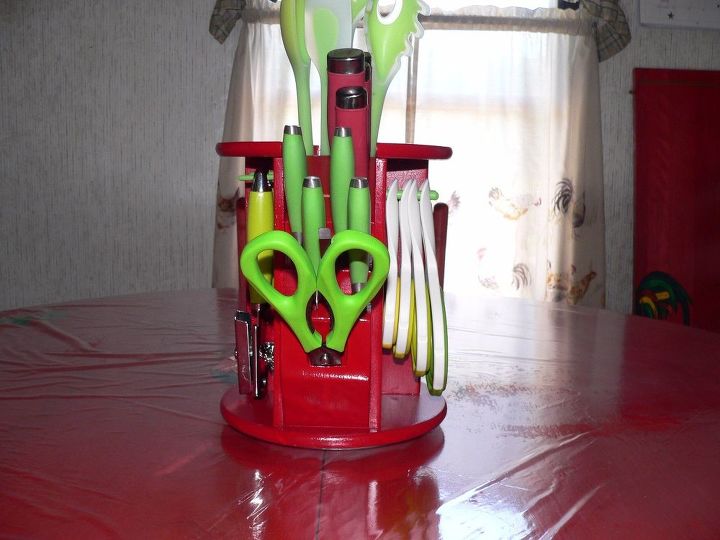
Here's the new look - with the new dowels and the new utensils.
Here's a good pic of the old dowel holes - just slightly too short. You can't even SEE them when the peeler/can opener are hanging and even now - only if you look closely!
The front.
The longer dowels are on this side for the cups/spoons.
The back.
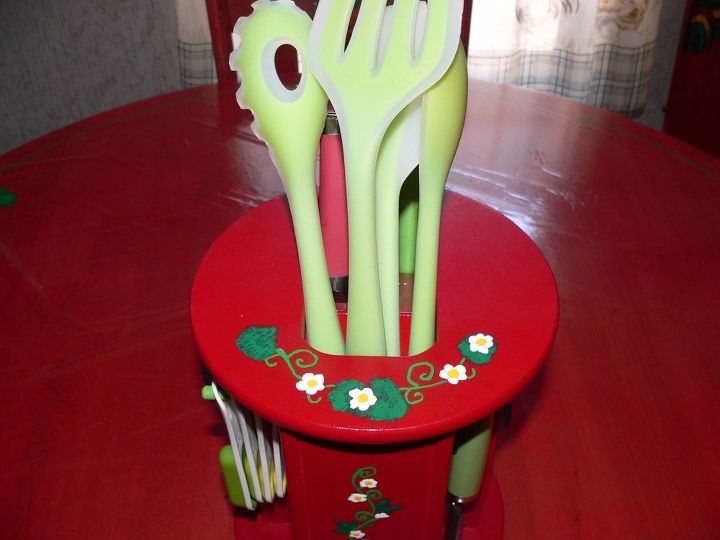
The top.
Comments
Join the conversation
4 of 10 comments
-
Best idea I have seen on the site so far! So cute!! I have never seen a knife block like that before. I will be keeping my eye out for one like that !
-
When I used to have a red and yellow kitchen this would have been epic!! Very nice job!


Frequently asked questions
Have a question about this project?