


DIY Repurposed Cabinet Doors
Hey friends! I’ve amassed quite the collection of old cabinet door from the Habitat For Humanity ReStore, so it’s time for me to start doing stuff with them.
Here’s my first project of sure to many to come: DIY repurposed cabinet doors.
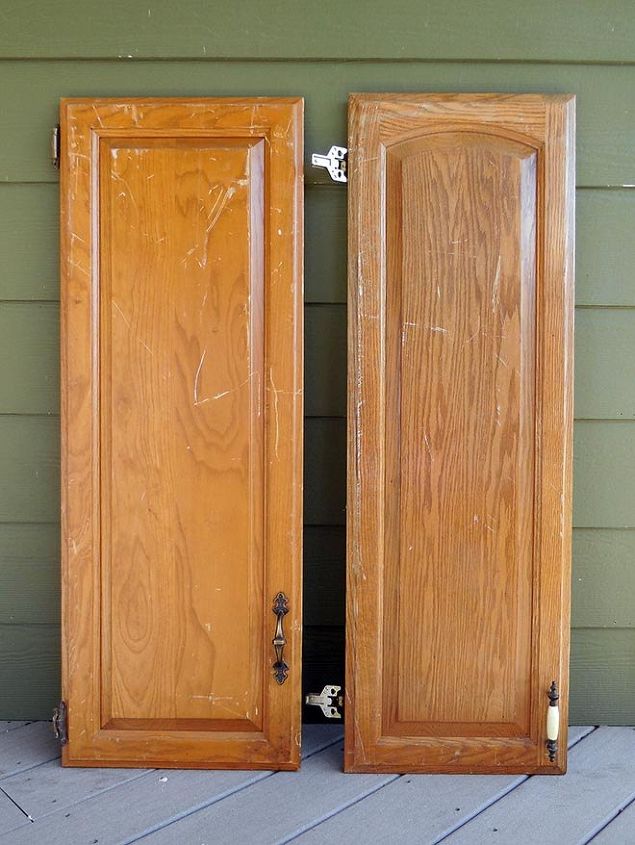
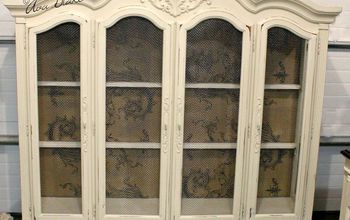
Here’s how these two particular doors looked when I bought them. They still had their hardware and were in pretty grubby condition.
For a complete list of the materials I used for this project, please visit my blog HERE.
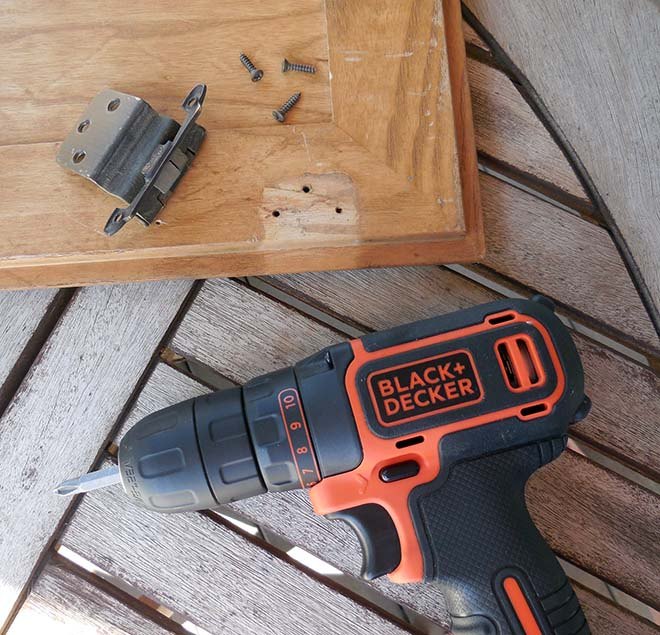
First order of business was to remove the hardware. I’ll keep all of it for a future project, but for now it goes into my hardware stash. I love my Black + Decker drill for jobs like this – it makes it so much easier than doing it “manually” and no sore wrists from fighting the screws!
Next it was time to clean the crud off the cabinets. Krud Kutter Prepaint Degreaser to the rescue! I originally bought this for when we paint our kitchen cabinets, but I decided to try it out on this project to see how well it worked. I was really impressed – it cut through all the dirt and grime with ease, and left the cabinet doors almost looking brand new!
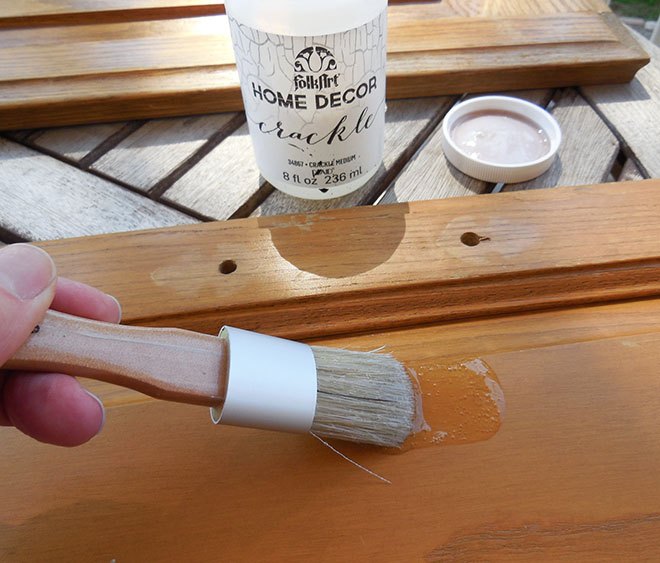
I wanted the paint to crackle here and there on the doors, so I spot applied FolkArt Home Decor Crackle Medium in random spots on the doors. I let it dry thoroughly before applying the paint.
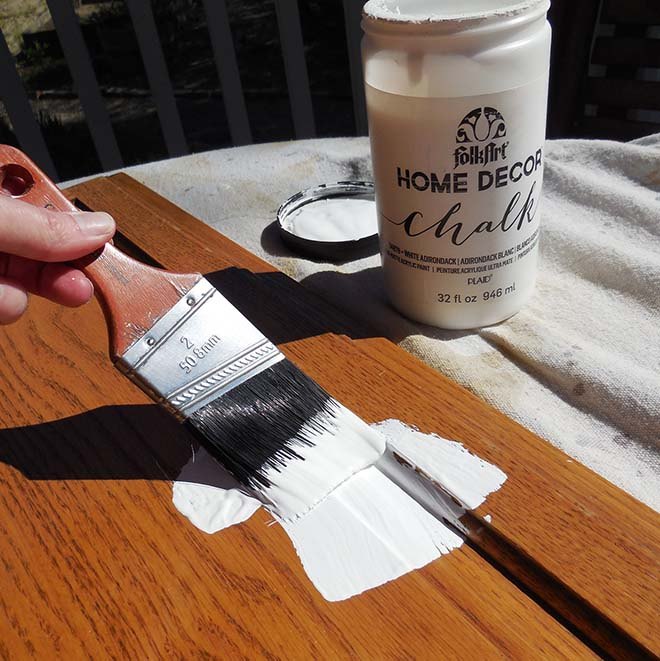
Next up was painting. I only painted one coat, working quickly over where I had applied the crackle medium before so I didn’t pull any of it off.
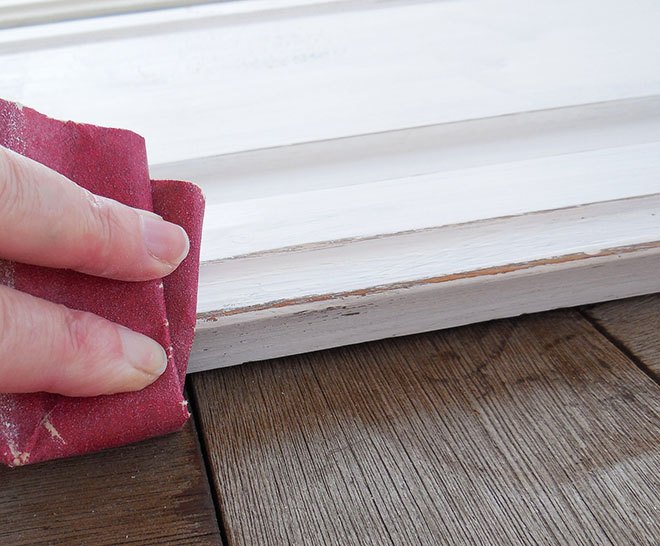
I distressed the all the edges with 150 grit sandpaper to really give these doors an aged effect.
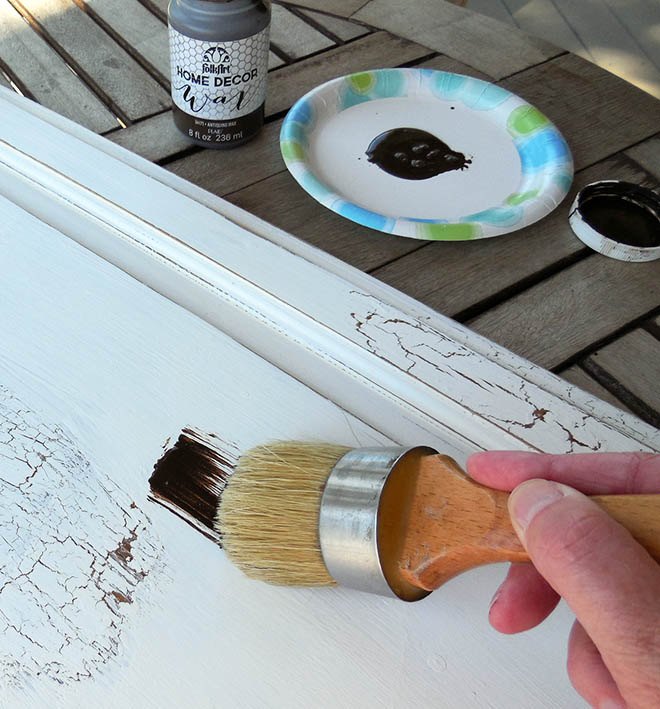
I used the FolkArt Home Decor Waxes in Antiquing and Clear to finish up the project. I applied the Antiquing wax first. Since the bottle was small, I poured a bit of the wax on a paper plate so I could use my large wax brush. I brushed the Antiquing wax on working in areas, then immediately wiped off the excess wax with a clean, damp cloth. After leaving it dry thoroughly, I did the same thing with the Clear wax, only I let each area sit for a few minutes and then wiped off the excess with a clean, dry cloth.
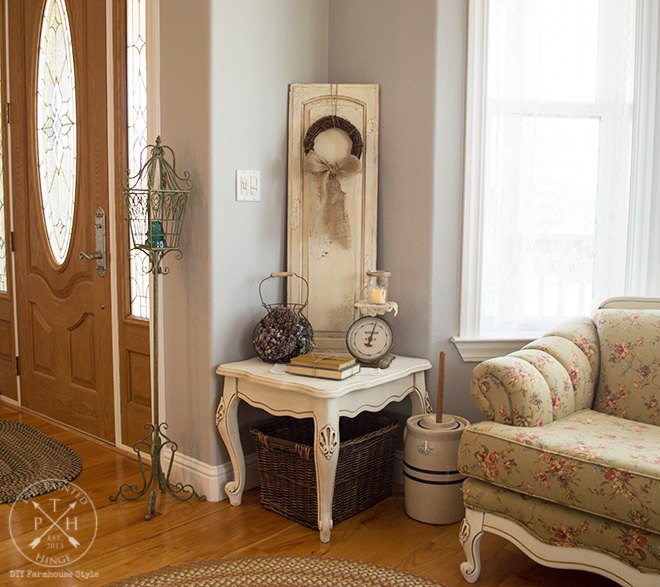
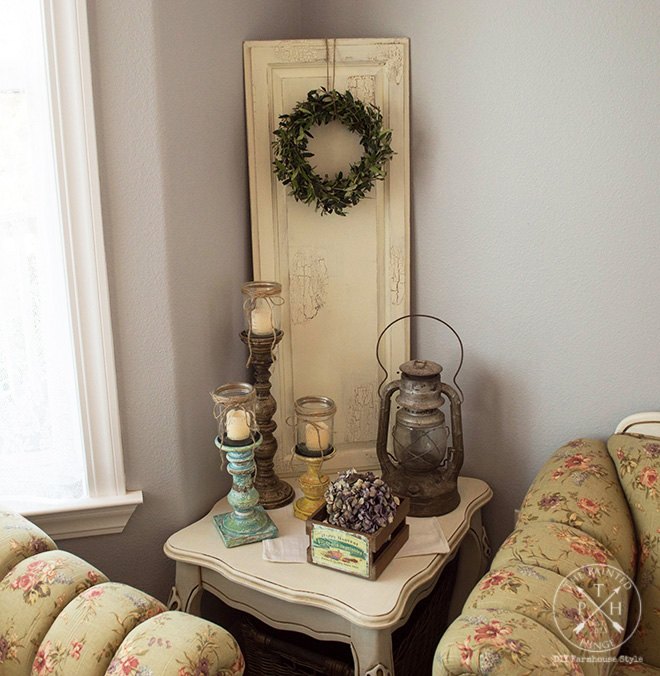
I’m pretty happy with the results! I used them on top of my end tables in my front room where I needed to fill up some empty wall space. Of course these are not limited to using just like this – you can hang them on your wall, use them as back plates for hooks, make them into trays… the list goes on and on! 
For a complete list of the materials I used for this project, please visit my blog HERE.

Want more details about this and other DIY projects? Check out my blog post!
Comments
Join the conversation
2 of 31 comments
-
Oh i absolutely love what you did..you have inspired me to do it..and the little wreaths just made them perfect..GREAT JOB my lady... :)
-
That's a very nice living room. The cabinet doors really set it off. I find that that little corner area and my room is always a good place to put a Finishing Touch. It pulls everything together.


Frequently asked questions
Have a question about this project?
where did you find your Folk Art crackle paint?
Love the look of your couch. Would you please send me a pic.. Did you finish it Yourself? Love your post, great pics and info.