


Upcycled Kitchen Island With a Reclaimed Wood Top

by
Jenni Ingram
3 Materials
$200
4 Hours
Medium
As I am remodeling and updating our kitchen, I wanted to add functional counter space. Doesn't every cook want an island? To gather around, to use for storage and prepping space or to decorate... So read on to find out how I built this gorgeous custom kitchen island using my pre-existing cabinets and an old countertop.
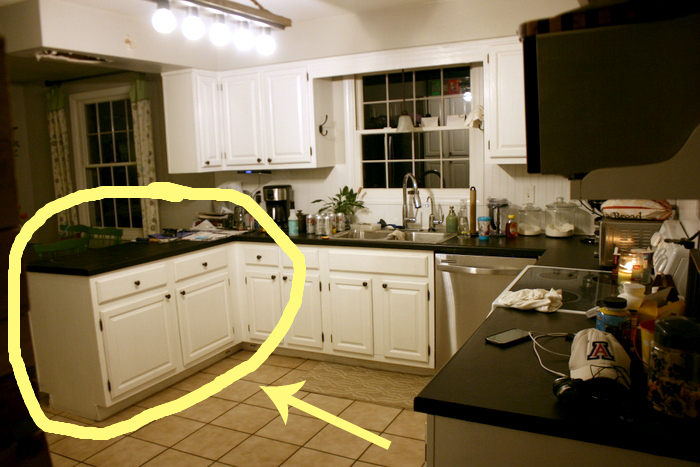
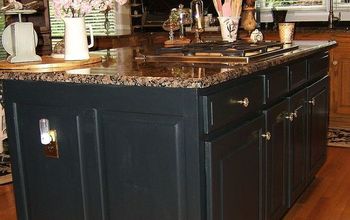
Here is my kitchen before. I took off this peninsula (the two cabinets to the left in this photo), and used them as the base for the island. You can follow my kitchen progress by subscribing to my blog here.
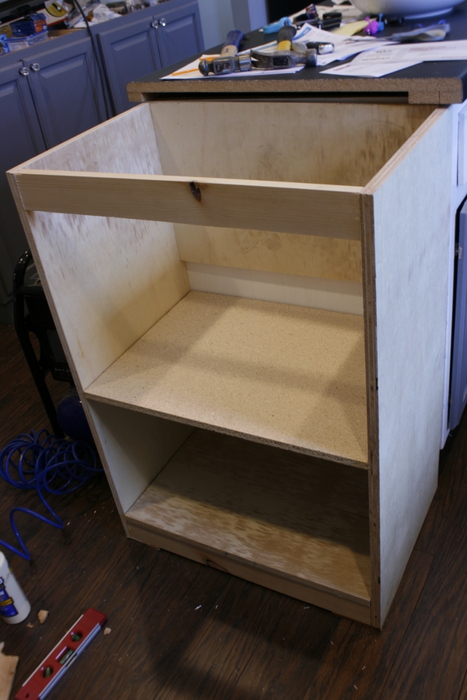
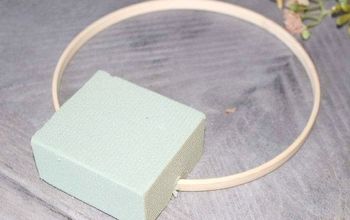
I wanted to extend the island longer than just those two cabinets so it can hold the microwave. Plus the longer island is more proportional to the kitchen layout . All I did was build a box out of 3/4" plywood, and attached it to the existing cabinet.
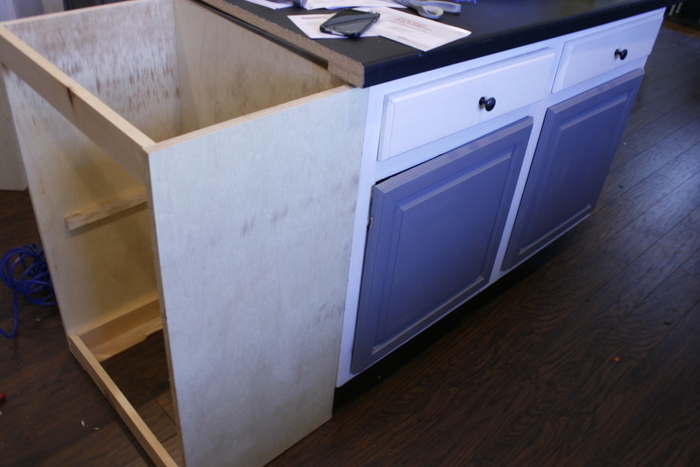
It always gets worse before it gets better... you can see here I already sprayed the doors and installed the hidden hinges but nothing else. I just made sure the new cabinet box was flush on all sides. (You can get the details on those cabinet projects posts on my blog too!)
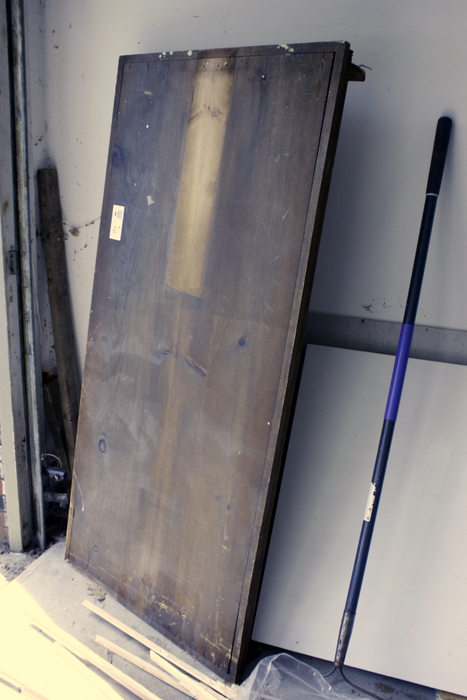
When I went to pick out our new front door (see one of my previous projects), I found this "wood counter top" and wouldn't you know it was the exact length I needed for the new counter top! I did a happy dance and put it in my cart - $12 later and I have a reclaimed wood counter top!
It was a little wide, so I cut down the sides, filled some old holes and sanded it all down. In my full blog post you can see the custom stain mix and sealer I used. And now I have a beautiful counter.
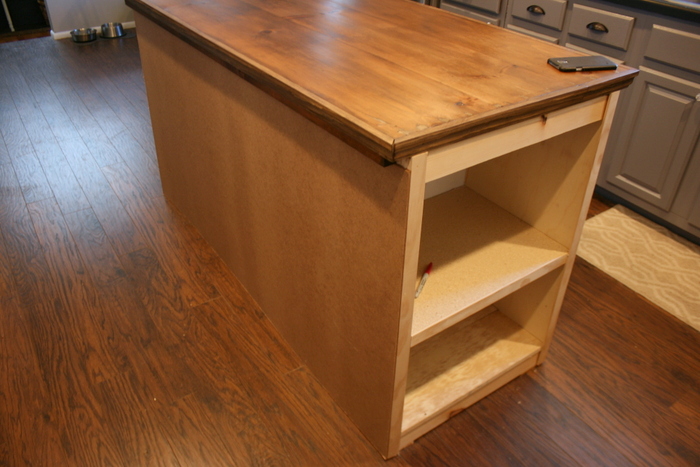
I picked up some cheap sheets of MDF cut to size of the sides of the island, this covered the seams and gave me a smooth surface to paint. I just nailed this into the cabinets.
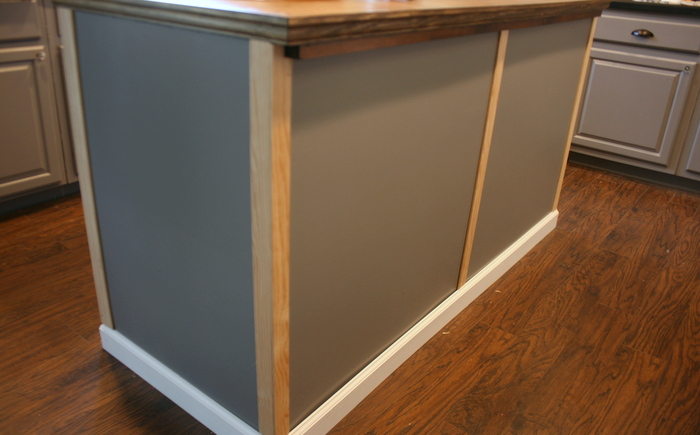
Trim that matches the other cabinets and banquette (just pieces of lattice) and a simple baseboard finish this off and make it look so sleek!
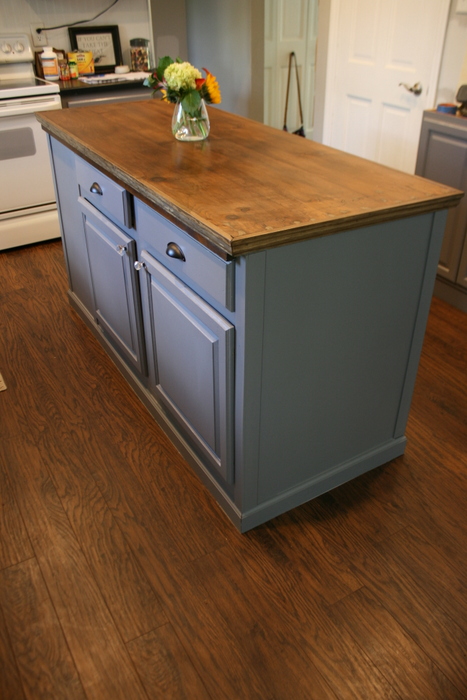
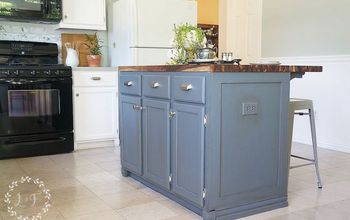
I'm loving having this gray island in my tuxedo-painted kitchen!!!! It only cost about $100 in wood and trim, $12 in an old wood countertop and a bit of paint and stain.
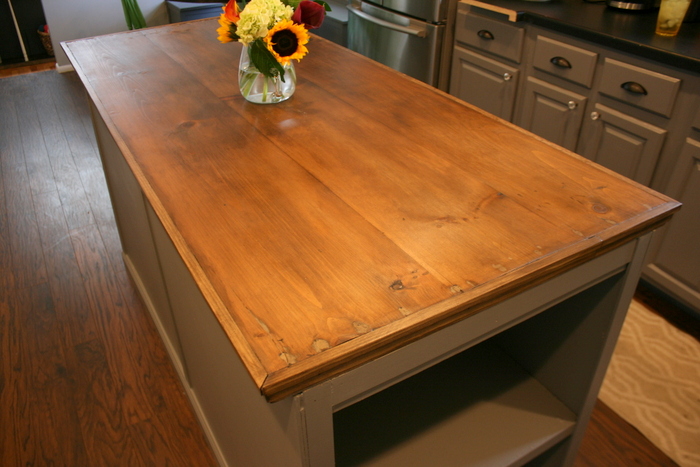
Ahh... love me some old wood!
What an easy, non expensive way to add a gorgeous custom island.
See more photos of this project at my full blog post by clicking the link below! Thanks!
Want more details about this and other DIY projects? Check out my blog post!
Comments
Join the conversation
4 of 37 comments
-
Extra space is great for storage but, more counter top is always a great find!

-
Fantastic find! What you did with it looks amazing!


Frequently asked questions
Have a question about this project?
Do you use your new island top for food prep? If so, what product did you use to seal the wood and what do you clean it with so you don't contaminate your food?
How does the wood stand up to putting a hot, off the stove, pan on it?
Curious about the shade of gray and finish, semi, eggshell, etc?