


Accent Barnwood Wall, a La Heather
I’ve seen tons of walls accented with wood on the interweb. Whether it’s someone imitating Johnna Gaines’ shiplap or someone using barnwood, wooden accent walls are where it’s at! Or at least I’m hoping so. I just finished the wall in my foyer with REAL barn wood, although I did it a little differently than most. For one, my house is colorful. Tastefully, colorful, IMO. And second, I don’t like to do what everybody else is doing. I like to add my own touch.
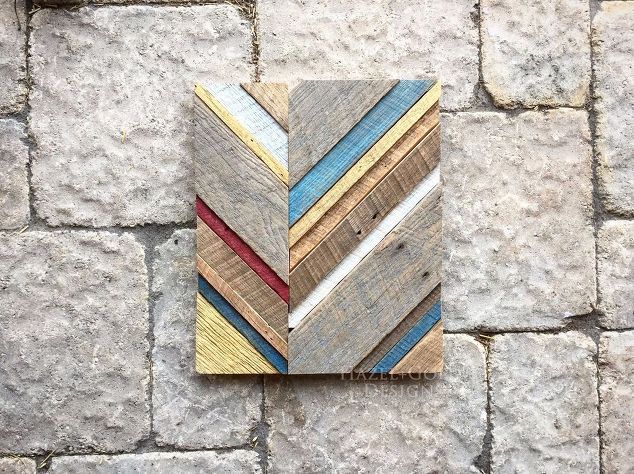
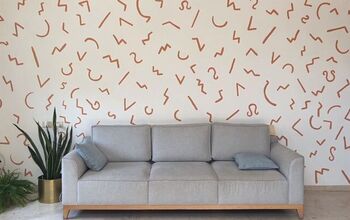
My inspiration for my wall came from this post on Hometalk. I loved that it was wood. I loved that it was in the chevron pattern. And I loved that it was colorful. While this piece was wall art, I wanted to expand on it. Like, expand it the size of my wall! Since I have a habit of changing my mind so frequently, I opted to afix the barnwod onto plywood that was then attached to the wall. You see, I figured if I changed my mind, filling in 20 nail holes is much better than having to fill in 100.
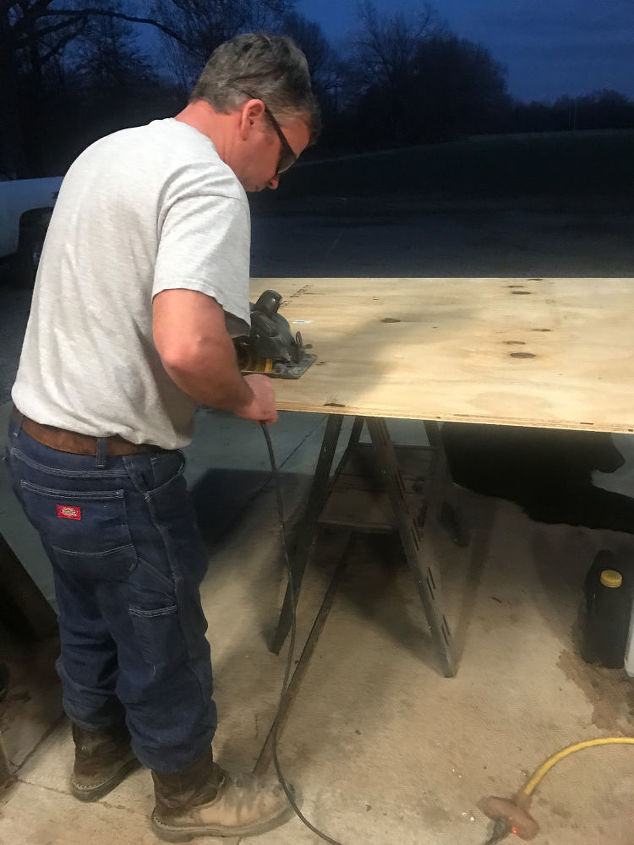
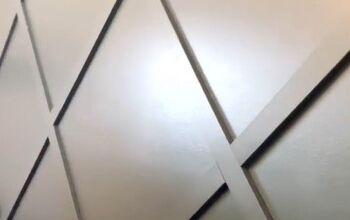
For starters, my better half (aka, Jamie) measured the wall in the foyer for me. Yes, I could have done it myself but my measurements wouldn’t be exact. When I measure things, I round up or down to the nearest half inch. Or, if I want to be a little more specific, I say things like, “It was two of those little lines past 8.5.” Like I said, Jamie measured the wall to know exactly where the plywood was to be cut. After he cut the plywood, I started finding pieces of barnwood to lay in a chevron pattern. After I laid the corner piece, which was the longest piece, I secured it with clamps so that my measurements would remain exact.
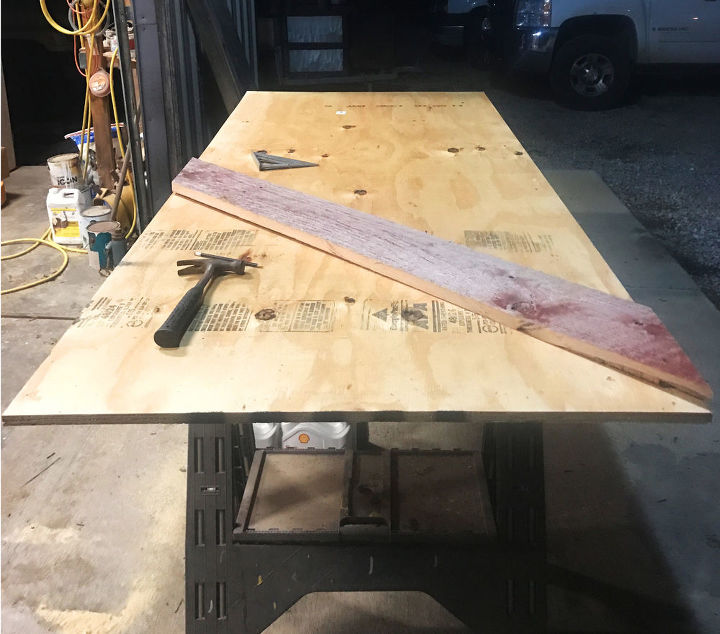
Since I was going to be the one cutting the pieces of wood, I decided instead of measuring them with a tape measure (since I think everybody knows what a nightmare that would have been), I would just draw a line underneath the barnwood to know where to cut. Fool proof, right?
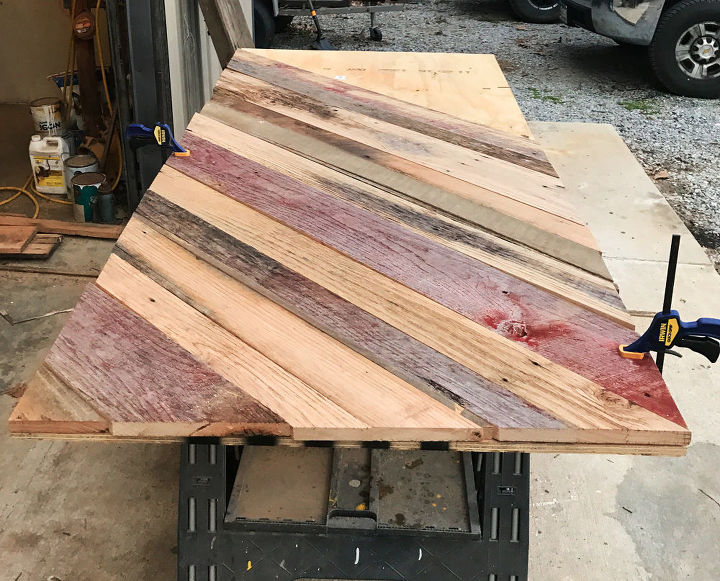
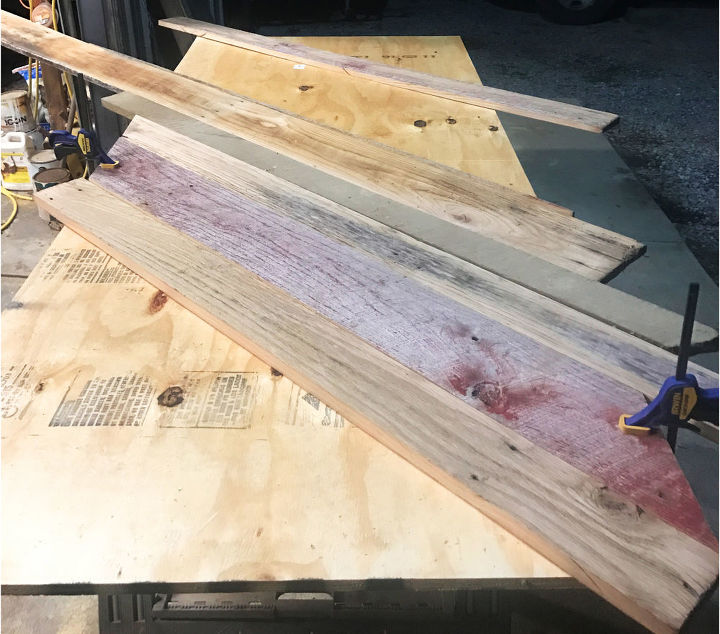
Looks exact, doesn’t it? Well, now is the time I removed all of the pieces so that I could stain them different colors. First, I labeled each board on the backside with a number so I’d know exactly where it goes when we attach it to the wall. To make the wood match the one I was inspired by, I went to Lowe’s and bought Minwax stains in red, blue and green. I already had other stains I had used on other projects in the past. I get them stained exactly how I want them and lay them back on the plywood. For some strange reason, they weren’t fitting perfectly on the plywood like they had before. **nervous laugh** I didn’t think too much about it. (I mean, they fit once, surely they’ll fit again.)
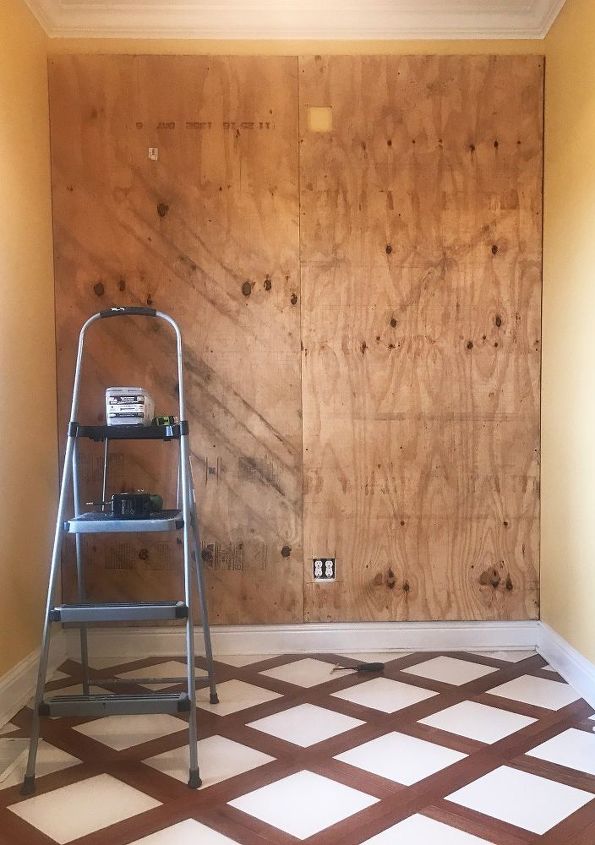
We were now ready for the next step: Jamie was going to attach the plywood to the wall in the foyer. I bring all of the wood over from the barn and start screwing them into the plywood. Strangely, they WEREN’T fitting exactly how they were supposed to fit.  I tried a few more pieces and it was just getting worse. I was getting frustrated and decided to call it a day; I’d come back to it at a later date. I pouted about it for close to a month and decided to just screw the chevron pattern (no pun intended) and just go straight across with the boards.
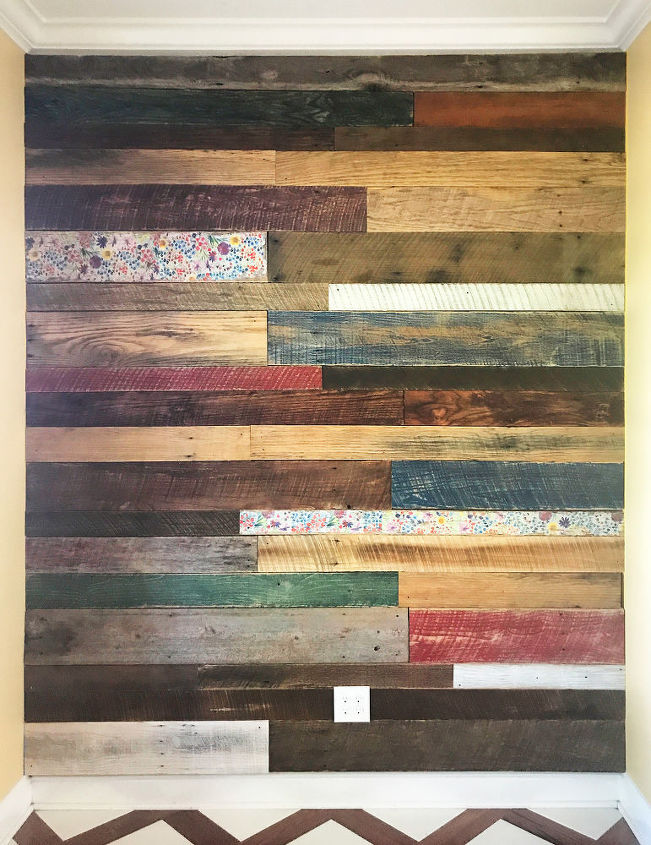
I decided to take pictures of my progress every time I would complete a row. The first row I completed and took a picture but now I can’t find it. The second row I completed and I had already started on the third row when I remembered that I forgot to take a picture of the second row. (Sigh.) So I took a few more pictures of the finished rows. As you’ll be able to see in the video below, by the eleventh row I got bored with the video and decided to just jump to the end result. (Before watching the video you need to know that I’m impatient, severely ADHD and I’m NOT a videographer.)
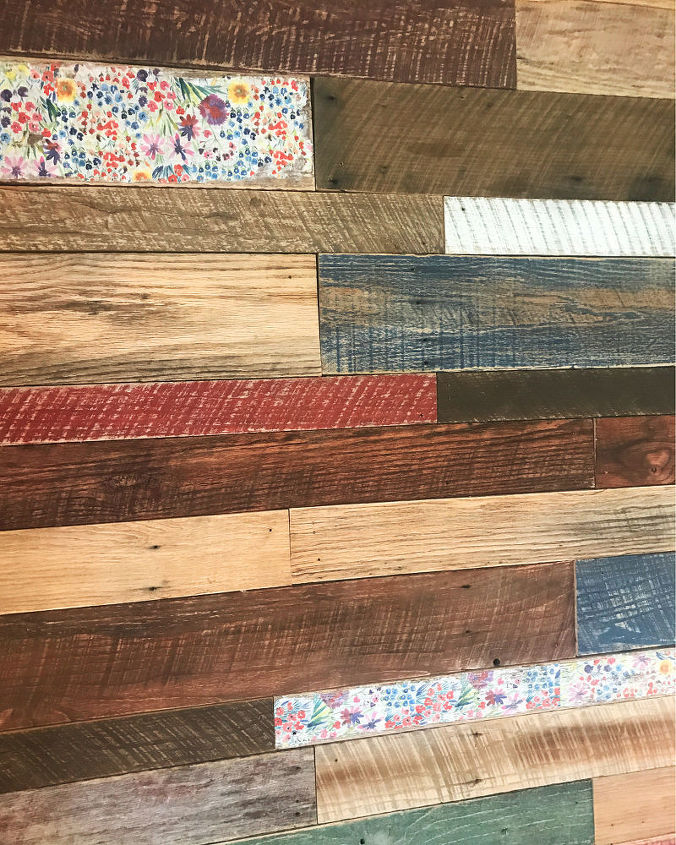
You may have noticed some sort of pattern or design on the wood in the seventh and fourteenth row. This is the part where I wanted to make this project MINE. I had found some tissue paper with a really pretty, colorful design. I applied Mod Podge to the wood, laid the paper on top and applied another layer of Mod Podge. Then I let it dry completely. Then I took my sander and 120 grit sandpaper and went over it to make it look vintage.
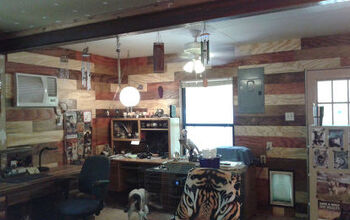
The wall may be complete but it’s not finished. I made a bench from a headboard that I’m going to paint white and set in the center of the wall. I’m also looking for a large, round/oval mirror to hang above it. Then it should be completely finished.
Hindsight: I always look over my projects and see what I would have done differently. Overall, I’m quite pleased at how this wall turned out…considering the direction it was going. If I were to be picky, I would say that I should have painted the second row of wood white to camouflage the outlet. Looks like now I’ll just have to paint the outlet cover.
This past weekend I found a mirror at the Salvation Army (what luck!) and I painted the bench we had made, so check out my blog to see the completely finished project! Thanks for looking. 
The wall may be complete but it’s not finished. I made a bench from a headboard that I’m going to paint white and set in the center of the wall. I’m also looking for a large, round/oval mirror to hang above it. Then it should be completely finished.
Hindsight: I always look over my projects and see what I would have done differently. Overall, I’m quite pleased at how this wall turned out…considering the direction it was going. If I were to be picky, I would say that I should have painted the second row of wood white to camouflage the outlet. Looks like now I’ll just have to paint the outlet cover.
This past weekend I found a mirror at the Salvation Army (what luck!) and I painted the bench we had made, so check out my blog to see the completely finished project! Thanks for looking.

Comments
Join the conversation
-
Really original and totally great. Love the tissued pieces, they make the wall just wonderful.
-
It is posts like yours that inspired me to create my own walls! I love the wood tones and layers of colors! You and your better half did a fine job! Oh, btw, I measure like you do, 7 and 3 lines..... ;)


Frequently asked questions
Have a question about this project?