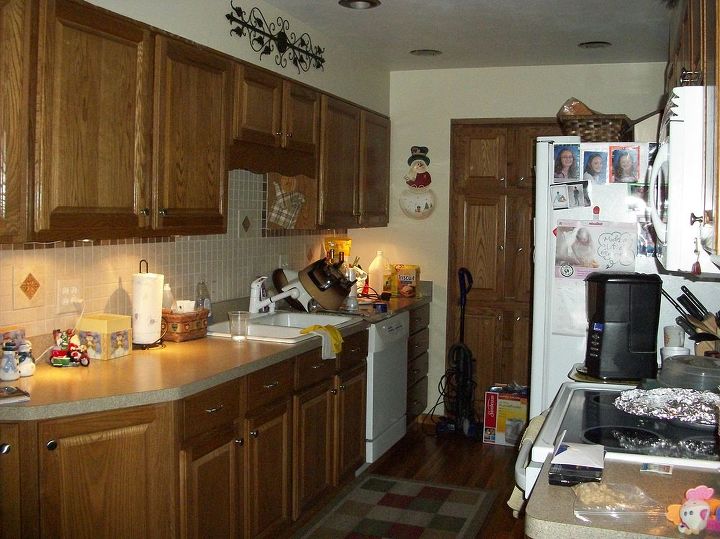
How do you paint kitchen cabinets

by
Kim
+3
paint cabinets
5 answers
-
Hi Kim, there is a lot of info on this particular subject. In fact, I've been researching it myself and have a board with several clips. And there are many people on here that have posted their progress, (with tips) with their own cabinets. Prep work is key, and a lot depends on what your painting over; unfinished cabinets, painted or wooden cabinets. I wish I had completed mine so I could offer tried and true suggestion, however, there is plenty of how-tos and blogs with lots of advice. Good luck.
 R.V.R. Farris
on Jan 19, 2014
R.V.R. Farris
on Jan 19, 2014
-
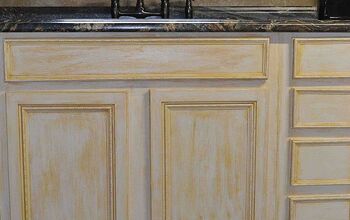
I painted over unfinished cabinets-- I added trim, sanded, primed them (even though was using valspar's paint with primer built in, wanted as little of grain to show as poss.) and then painted (I used a paint sprayer for primer and base paint) after that I went over dry brushing a glaze (which looks yellow in pics but is caramel brown), then I put on a matte finish.. I had never heard of chalk paint when I did this or might have used those and if I ever change them will use those as from what I understand can be painted right over existing paint or stain with no stripping or sanding.. Really it depends if you are using unfinished, stained or painted cabinets and what type paint you are going to use. But it is 1 of the most doable DIY changes you can do to your kitchen to change the look. Like R.V.R Farris suggested research is the most important key. Keep looking at kitchens decided which style of painted cabinets you love and then research how to do that paint process, practice on scrap wood or poster board until you are satisfied with look then go for it. GL and be sure and post pictures of what you do here so we can see.
 Cynthia E
on Jan 19, 2014
Cynthia E
on Jan 19, 2014
-
Prep work is very important. Make sure you cabinets are clean. I used ammonia and water to clean mine. Here's the order I did mine in... 1. Remove cabinet doors, remove fronts of the drawers, remove hardware. Put everything in plastic bags so as not to lose anything. 2. Clean everything with a mixture of ammonia and water. 3. Wipe everything down with a deglosser. This way you don't have sand anything. 4. Make any repairs that are need, fill holes, etc. Sand those areas smooth. 5. Prime everything. I use Zinsser primer. Follow the directions for drying times. 6. Paint cabinet frames 7. While cabinet frames are drying, paint the drawer fronts and doors. 8. Repeat steps 6 and 7 however many times you need to to get the coverage you want sanding lightly between coats. 9. Finish with a coat of clear satin polyurethane for a protective topcoat. 10. Allow everything to dry at least 12 hours. 11. Replace drawer fronts and doors. 12. Leave drawers and doors open another 12 hours just to make sure the paint is fully cured and dry. 13. Enjoy the new look of your freshly painted cabinets.
 Loribeth
on Jan 19, 2014
Loribeth
on Jan 19, 2014
-
thank you very information....does the paint chip easily any special brand
 Kim
on Jan 20, 2014
Kim
on Jan 20, 2014
-
thank you so much very helpful I think I may tackle this project in the near future will post pictures.
Kim
on Jan 21, 2014
Sign Up to Answer
Related Discussions
Suggested Project Book
