


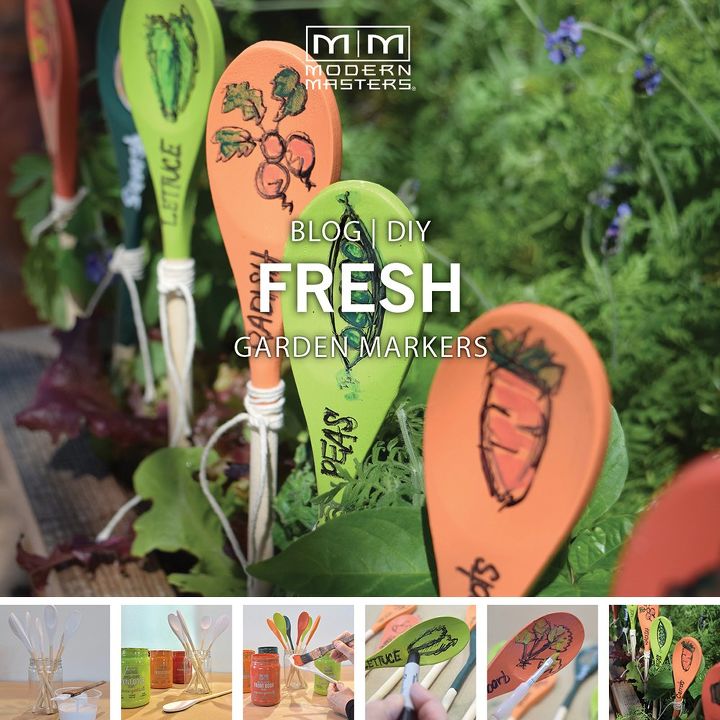
DIY How-to: Non Fade Garden Markers

We're excited to share a fun and easy DIY tutorial perfect for summer on creating colorful garden markers with our non-fade Front Door Paint! Debbie Dion Hayes of My Patch of Blue Sky shares how.
Paint a coat of primer on each spoon in the areas where you plan to add Front Door Paint colors. Let dry. Sand lightly if needed, then wipe off residue.
Paint a coat of primer on each spoon in the areas where you plan to add Front Door Paint colors. Let dry. Sand lightly if needed, then wipe off residue.
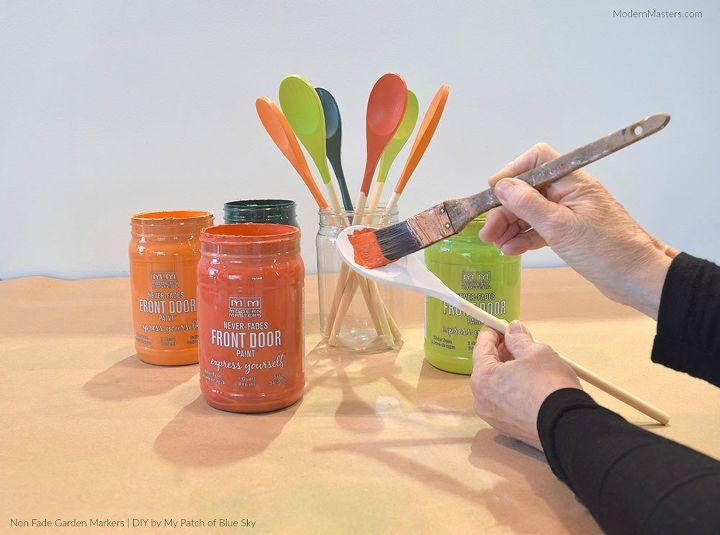
Paint 1 or 2 coats of each Front Door Paint color on the spoons. Let dry.
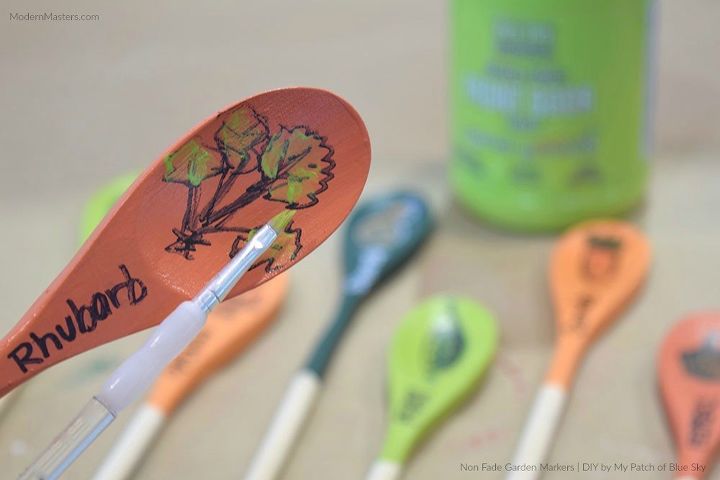
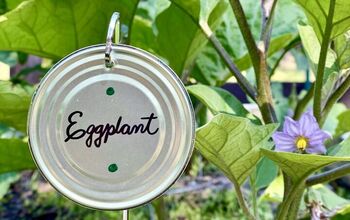
Use a black Sharpie to hand-letter the names of each plant. Let dry for a few minutes. Add hand-painted designs on each plant with the Front Door Paint. Let dry. Add optional embellishments, like string that can later be used to tie plants like tomatoes on stakes as they grow.
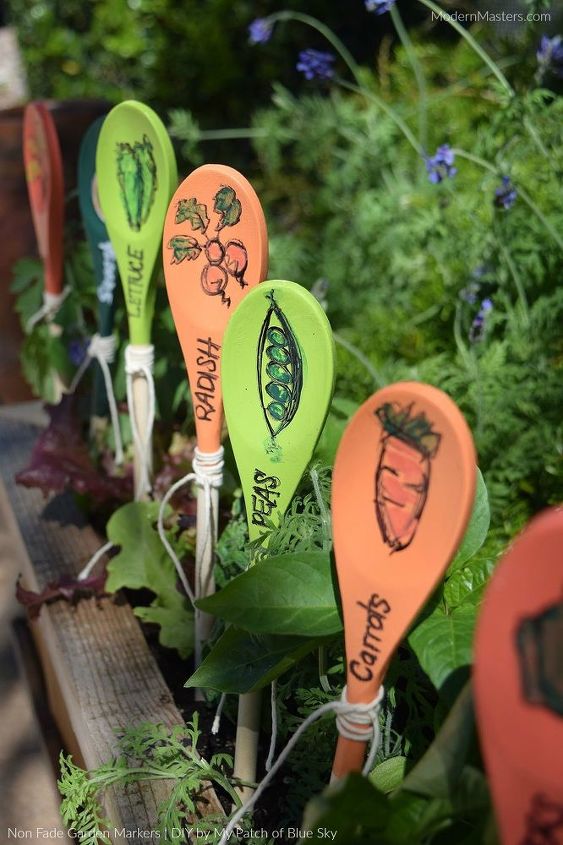
Your adorable custom garden markers are ready to “plant” alongside your flowers, herbs, or veggies. No sealer is required for the non fade Front Door Paint, so you can use them in the garden right away!
For more on this DIY project, click the link below to go to our blog. We hope to see you there!
Comments
Join the conversation
2 of 21 comments
-
Absolutely Adorable! Out of all the different ones I have seen yours are my favorite!
-
This is the cutest idea and I will make them for our garden. You could also use smaller spoons for your houseplant pots which would be real cute also and add a bit of whimsey to the pots!


Frequently asked questions
Have a question about this project?
Where can I find Front Door Paint?