


DIY CUSTOM DOORMAT FOR CHEAP!

by
Clarizz
$15
15 Minutes
Easy
I have been eyeing this super cute doormat for a really long time that said "SUP". Yes, it's not a question it's literally a statement. Just too cool right? Well, I was ready to pay almost $50 (plus tax and shipping and stuff!) but I always held back since, I mean, who pays that much for a doormat anyway?! FINALLY, I decided to recreate this for super cheap and I couldn't be more excited for this DIY project!
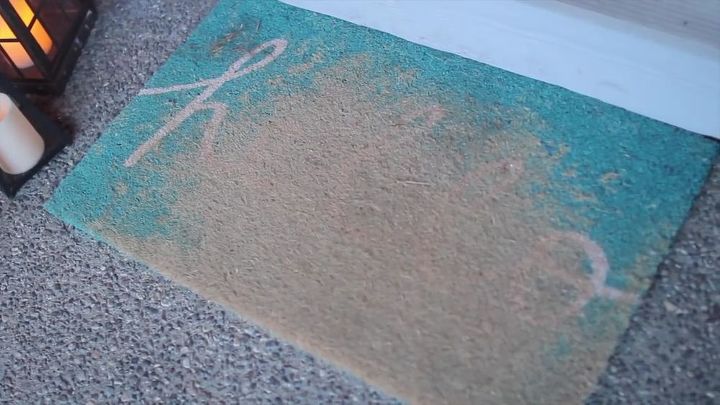
Hello no more ! This was my old doormat which lasted a couple months...and then came winter!
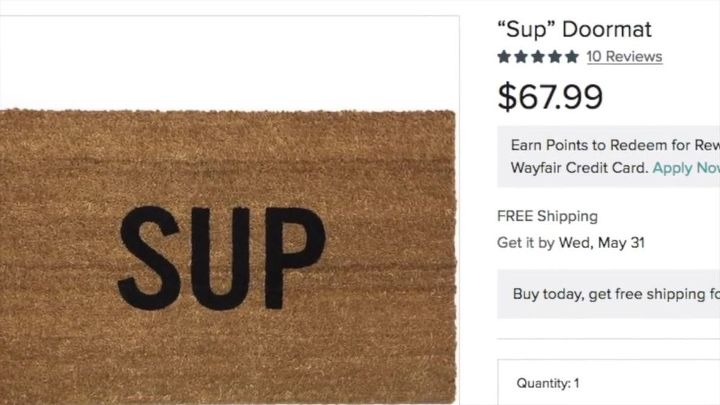
See? I wasn't kidding about the prices of these ..So let's get going!
..So let's get going! 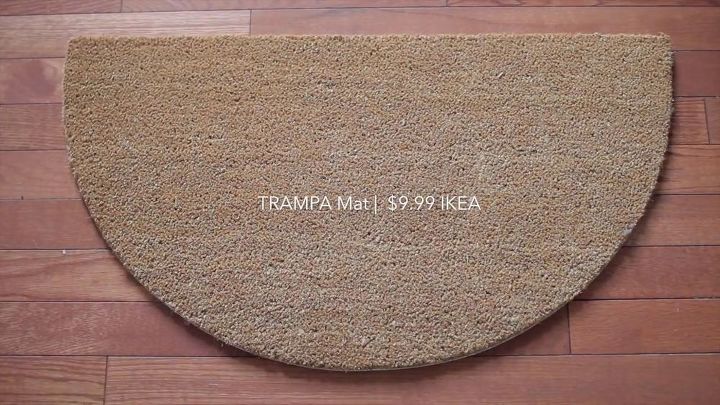
First, of course you'll need a doormat. I got mine from Ikea, super cheap and they literally have tons of different colors and shapes. I love this one, it's round at the bottom and flat at the top. You also can't beat the price at $9.99! Yaaas.
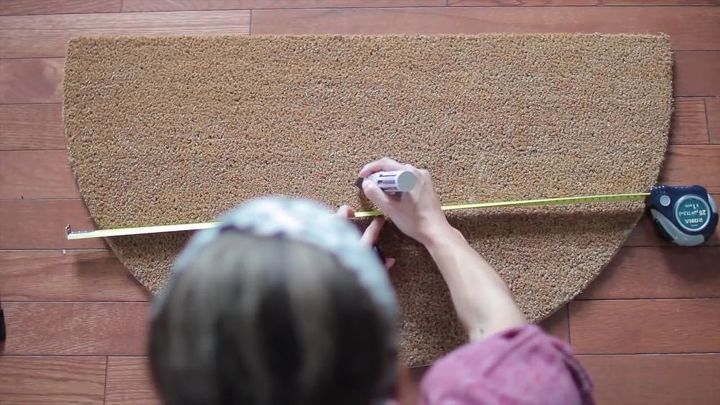
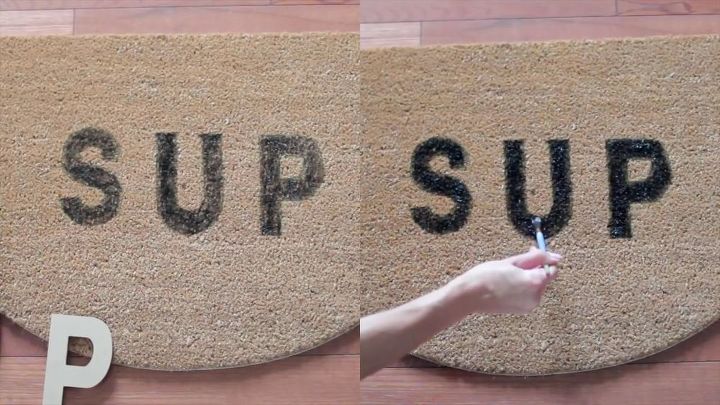
Measure the middle of this doormat so you can have an idea of where to place the letters. I wanted it to look even so with only 3 letters, I really wanted the middle letter to be in the center. You can also simply eyeball where your words will go.
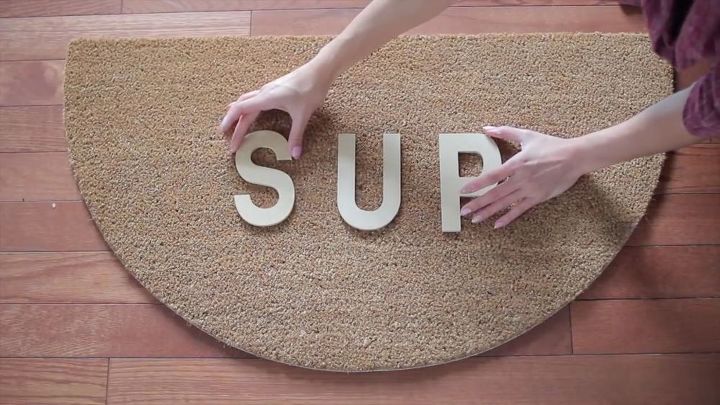
I got these wooden letters from Michaels for about $2 each. They have a variety of different sizes and fonts so you can choose depending on your personality. You can also use stickers which you can find at the dollar store.
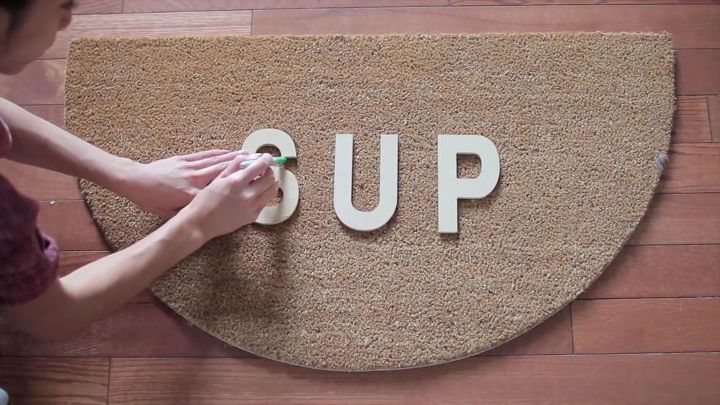
I wanted it to be perfect so I traced the letters with a sharpie to begin with. If you have really nice writing and you believe you can just freehand the letters, then go for it!
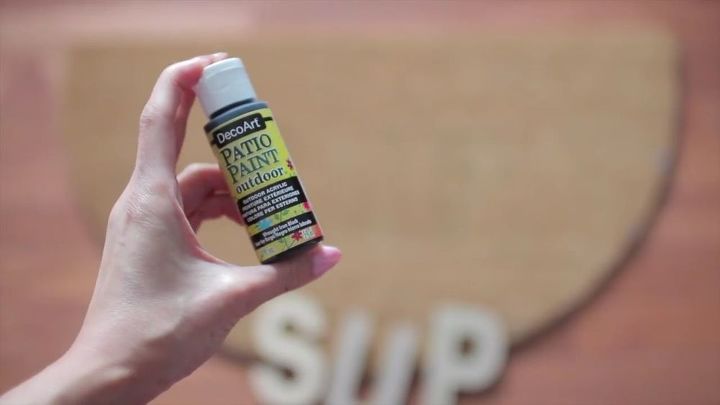
After tracing the letters, I used Patio Paint (acrylic) which I bought from Michaels again, which I believe was less than $4. Of course , never go into Michaels without your 40 or 50% off coupon. I mean, literally for any purchase! Normal acrylic paint will definitely rub off, so be sure to get this one, specially since you'll be stepping on it and rubbing it on the daily!
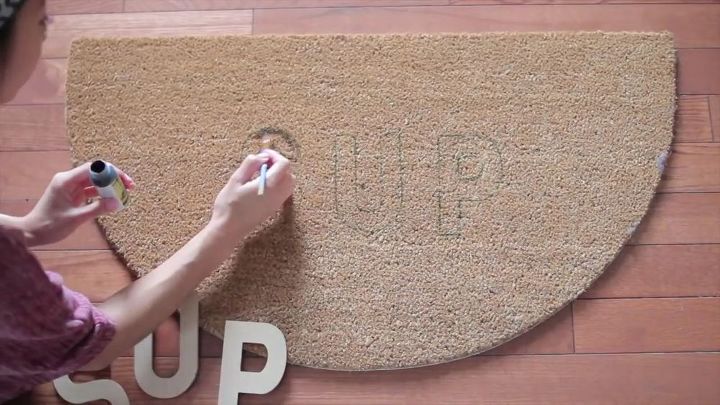
Take a paint brush and start dabbing the paint into the letters. You don't want to just brush it on top, but literally try to paint every single hair within that letter!
The left side is after one application. Be sure to wait until it dries to apply your second and third coat. The darker the better so I suggest three coats atleast.

Let it dry completely for 24 hours..
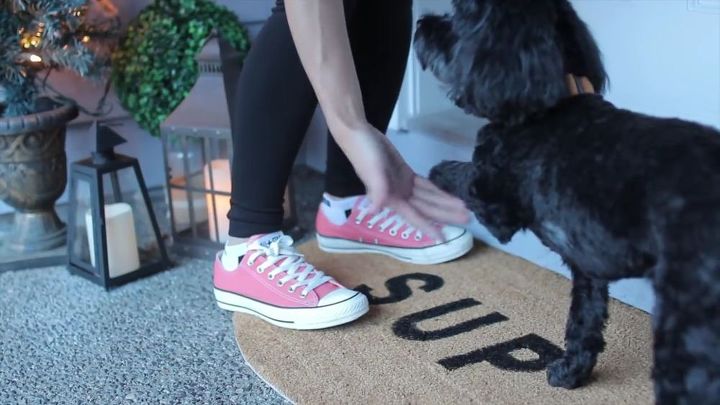
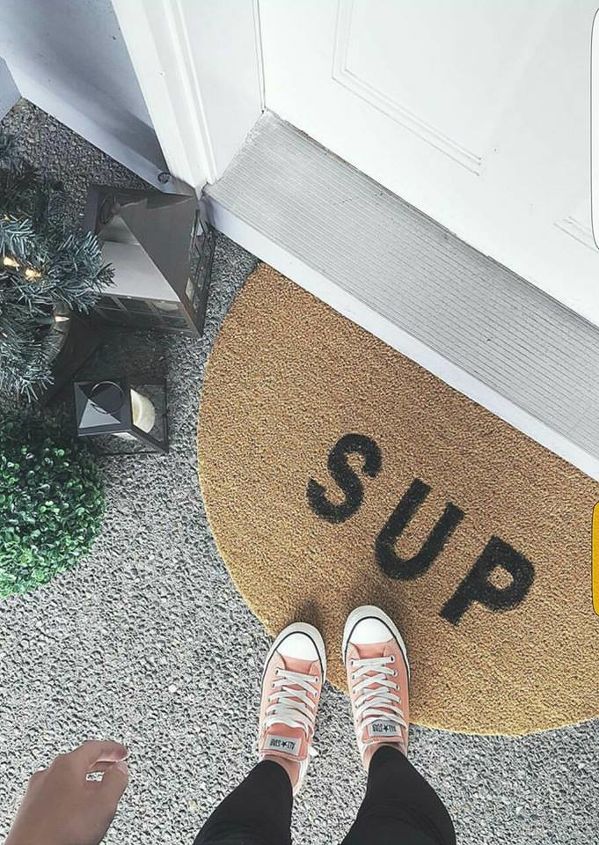
And all done! I love the way it looks! The best thing is you can always touch it up if it fades. You can do any words, customize the color, do pictures, the possibilities are endless. I'm thinking of doing a new one every time a season starts, just to change it up! 
If you loved this DIY project, you can see more of them on my YouTube channel  www.youtube.com/ClaCali
www.youtube.com/ClaCali CLICK ON THE VIDEO BELOW TO SEE A VIDEO GUIDE OF THIS PROJECT ON YOUTUBE!
I'd love to connect with you all so be sure to leave a comment and let me know what you think ! Thanks for watching and see you all soon!
{
"id": "3887045",
"alt": "",
"title": "",
"video_link": "https://www.youtube.com/embed/Vz3ijIYc1N4",
"youtube_video_id": "Vz3ijIYc1N4"
}
{
"width": 634,
"height": 357,
"showRelated": true
}
Comments
Join the conversation
2 of 37 comments
-
Love the idea, thanks for sharing.
-
awesome idea I am going to have to get a couple mats and go creative on them :)


Frequently asked questions
Have a question about this project?
SUP not 'sil vous plait" please in French?
Would liquid shoe polish work? it would seem to be easier but I don't know if it would bleed onto the rug?
Again, what does SUP mean/stand for?