


Create Barnwood Style Wood in Minutes

4 Materials
$10
10 Minutes
Easy
So you love the look and charm of old wood? But it's hard to find barnwood where you live, or its expensive, or you don't want to haul it....or even clean it right????! Let me inspire you! Read on!
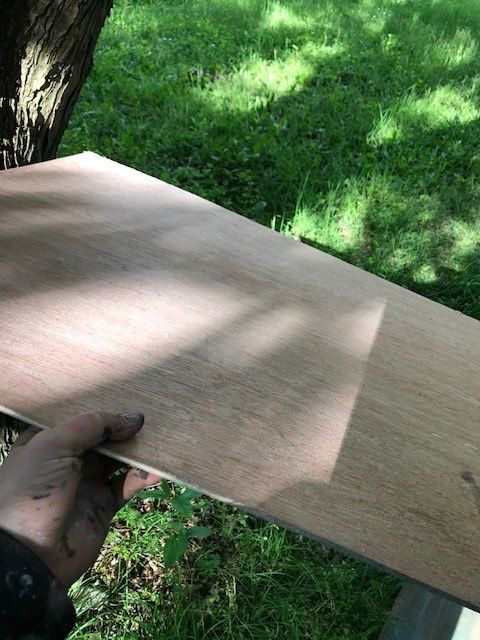
While finding the perfect piece of old distressed wood might be tough, creating it can be easy! I'll share my secret technique here. First up, find some wood laying around. In this case, check out this scrap piece I found in my garage.
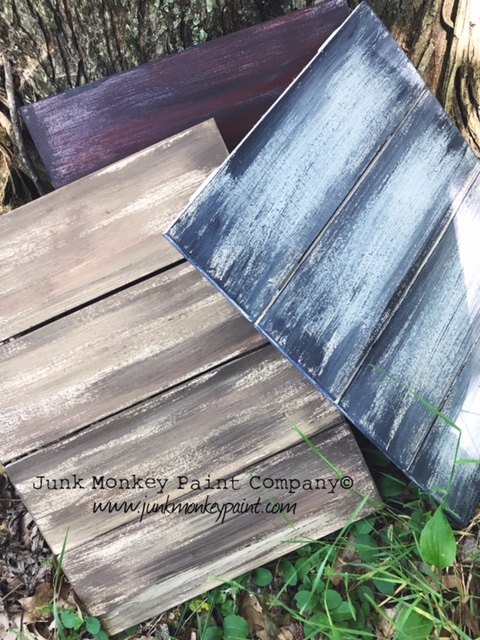
So old barnwood usually can be found in two popular colors. The grey tone. OR the brown tone.
Interesting tidbit: Usually grey means it came off the outside of a barn because it was exposed to sunlight and the elements. And brown was found
inside where its darker and hasn't been bleached by mother nature!
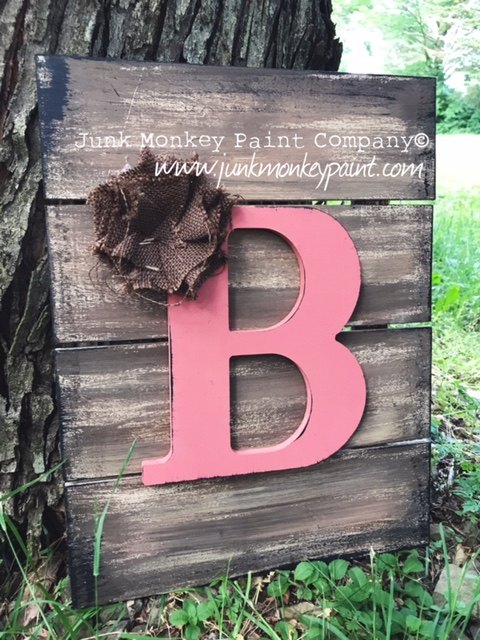
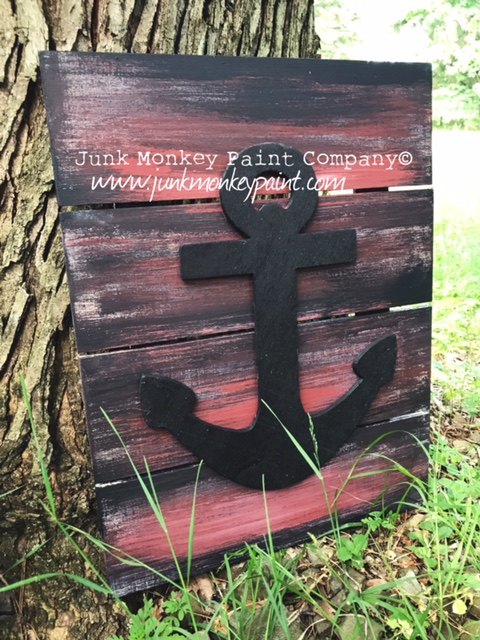
It's fun to create the traditional red barnwood look too! Check out all three here. Which is your fav?
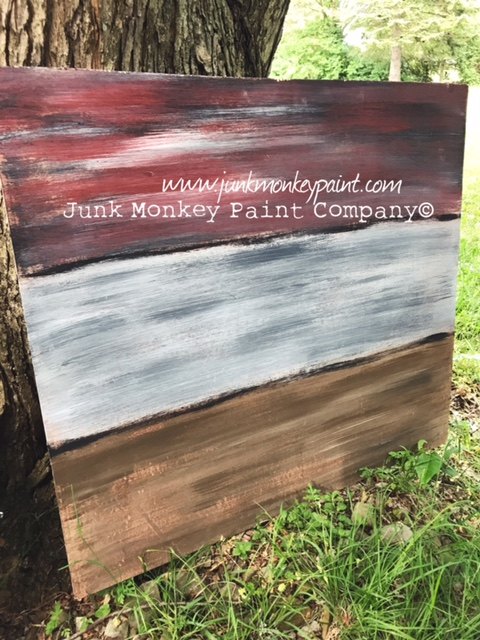
Basically to create this look you are going to either pick 3 shades (a light, medium and dark) of either brown, or grey or mix it up for something fun!
You see there at the bottom that I used black, red and white!
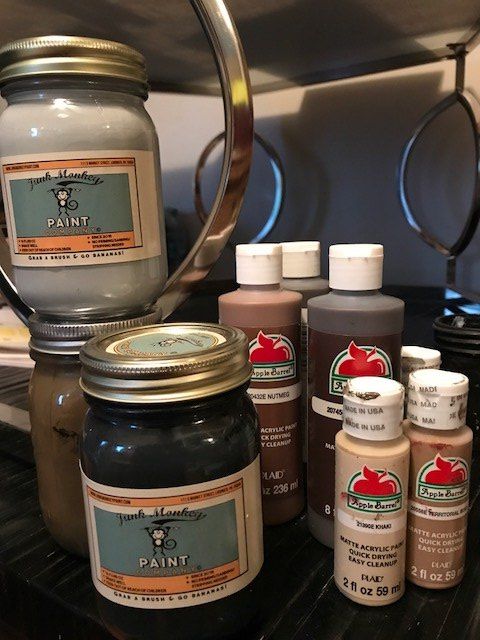
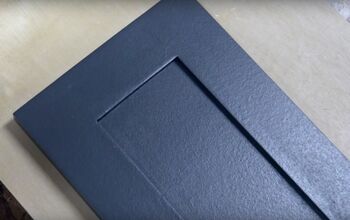
The most important part is first laying down a good paint. I used Junk Monkey Paint. There is no priming, no sanding or no stripping. Which means that by using that as my base color, I can pretty much build, "create", this effect on anything - including glass!
It sticks to just about everything, and other colors will stick to it! I also like the texture of it in creating this effect!
The base colors I used in each of these three effects were "Candy Bar Brown", "Mouse in the House Grey" and "Black Velvet". On top of them I used some cheap paints I found at Walmart.
Let's break each style down and let me show you how I used them to create fun wall art!
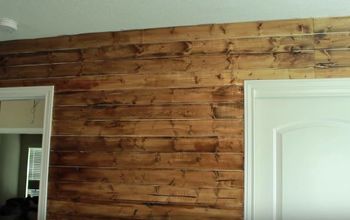
First up, here is the brown version. So again, brown base, let dry, add next brown color and let dry, then add next brown shade and dry!
Add as many of these three colors as you want to get just right
shade for you!
Next up, here is the grey version. So first layer of a grey then dry, add second layer to dry and then third! It's the three shades of a similar color
that makes this cool effect! I added some black at the end too!

Finally, the fun red version! So I painted black, let dry, added my white and let dry and finished off with my red!
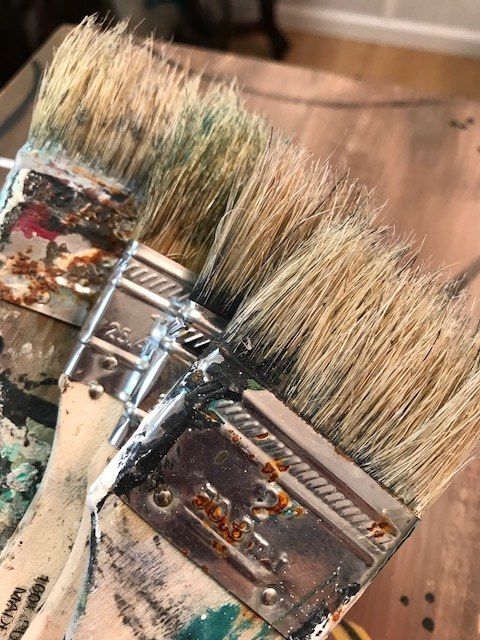
One of the most important things I should tell you is to use a shabby chip brush! They are perfect for achieving this look!
Here is a brown version that I added a fourth color to....teal! Do you love it as much as me???

Can't wait to see what you do! Where would you use this effect in your home?
If you enjoyed this project, be sure to follow me daily over at:
Sonia's Shabby Chic - Junk Monkey Paint on Facebook!
I also blog at www.styleshabby.com
Shabby love,
Sonia xo
{
"id": "3894657",
"alt": "",
"title": "",
"video_library_id": "8502",
"thumbnail": "https://cdn-fastly.hometalk.com/media/2017/07/31/3894657/create-barnwood-style-wood-in-minutes.jpg"
}
{
"width": 634,
"height": 357,
"showRelated": true,
"noautoplay": ""
}
Comments
Join the conversation
1 comment
-
Thanks so much for these method


Frequently asked questions
Have a question about this project?
Do you start with the darkest color for the first coat and then medium then lightest color. So excited to try this. I have run out of real barn wood from my farm....