


Revamped Thrift Store Picture Frame

by
Michelle
10 Materials
$5
3 Hours
Easy
I am pretty particular with my decorating, so when I couldn't find the type of picture frame I wanted, I just made one. :) If you have seen any of my other posts, you will see that I like to repurpose items that might otherwise end up in the landfill. My hubby and I went to visit his family in Florida and took some frame worthy photos (we thought so anyway  ) Of course I wanted beach themed frames to go with the photos I was framing, and to match my beach themed bathroom.
) Of course I wanted beach themed frames to go with the photos I was framing, and to match my beach themed bathroom. 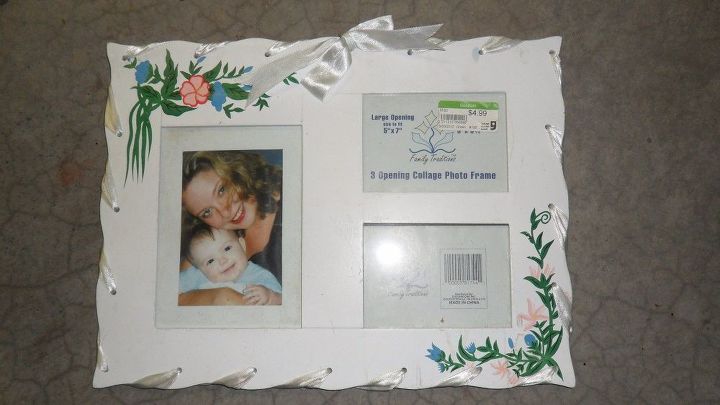
I started off with this incredibly ugly frame, with good bones, that I bought at Goodwill (I bought it on half off day and really only paid $2.50 for it hehe). I liked the fact that it had holes for the ribbon, but that ribbon will be replaced ;) I removed the ribbon and the glass from the 3 openings and painted 2 coats of green paint (that I had leftover from painting a bedroom). Once it was dry, I lightly sanded the outside edges and inside each of the 3 photo openings to give it a more worn feel.
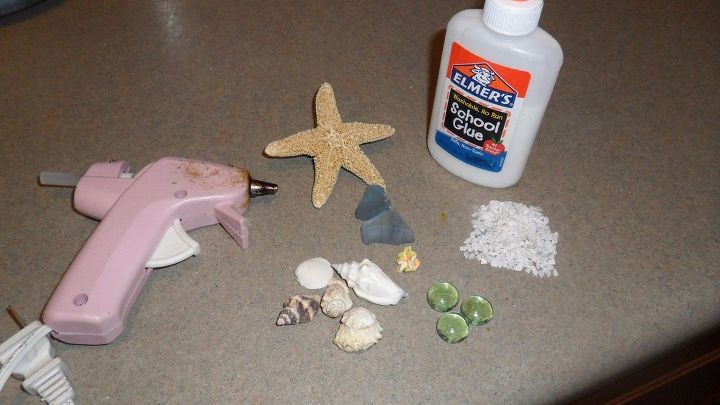
I used an assortment of shells, green glass blobs, blue sea glass, starfish, white and yellow flower beads and small white gravel to embellish my frame.
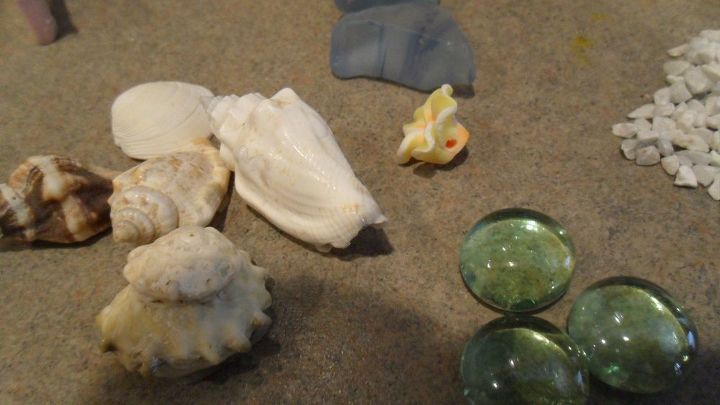
You can see that the flower is a bead. Gotta think outside the box when it comes to crafting
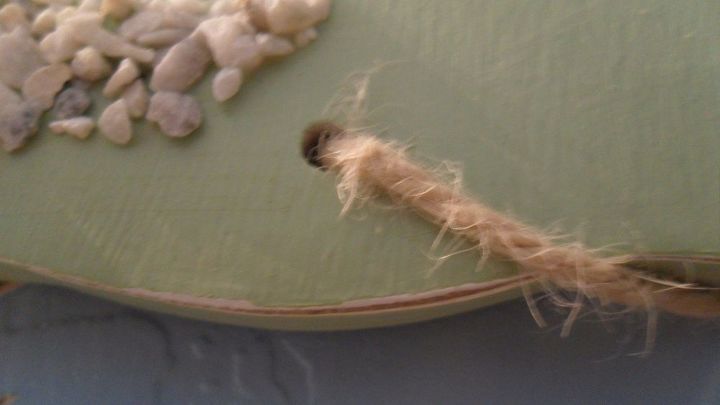
I weaved jute rope in the holes that the ribbon had been in. This photo also shows some of the worn look I created with the light sanding.
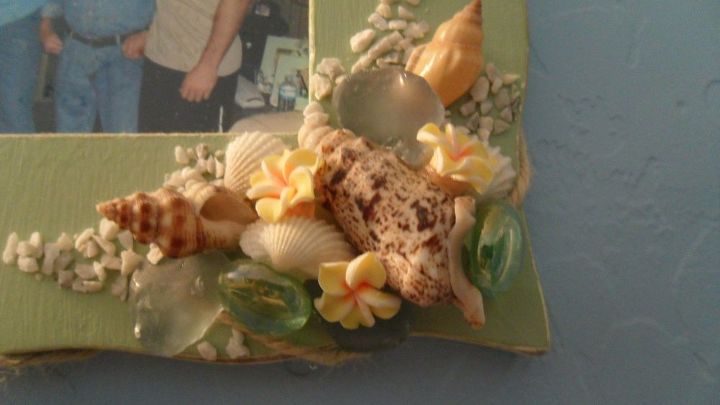
I started in the middle of the corner of the frame and hot glued the shells first, going from big (in the middle) and using smaller shells as I fanned out on each side. Next, I hot glued the glass blobs, sea glass and flower beads, placing them where I thought they looked best....just filling in the gaps.
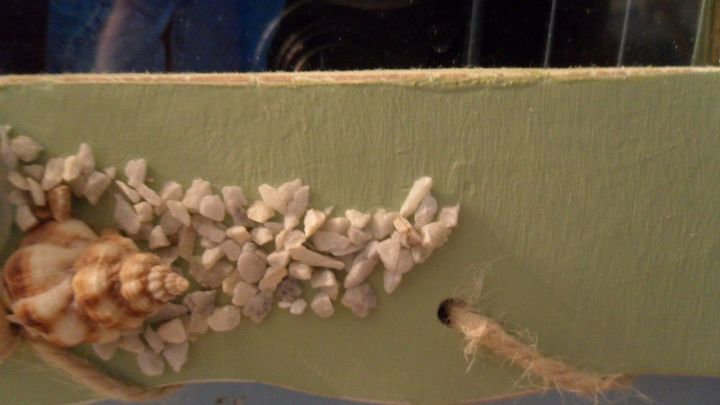
Using a small paint brush, I painted Elmer's glue fanning out from the shells and other decorations I had hot glued on. As soon as I painted the glue on, I sprinkled the white gravel on the glue. I worked in small areas so the glue wouldn't dry before I could put the gravel on it. I repeated this process all around the frame until I was happy with the results.
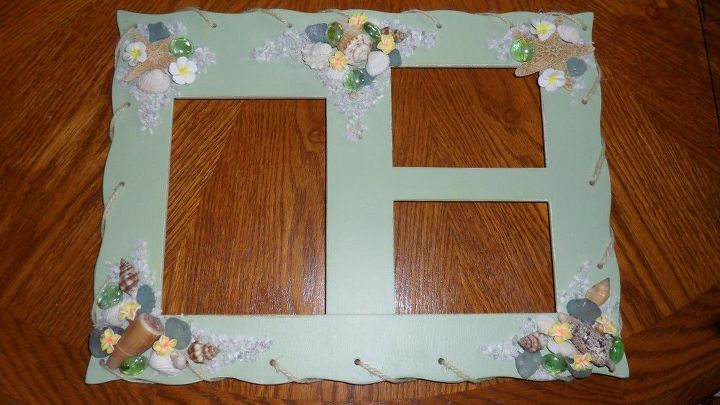
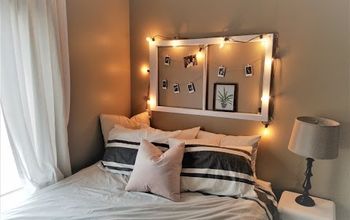
Here is my finished product. I'm pretty pleased with the outcome :)
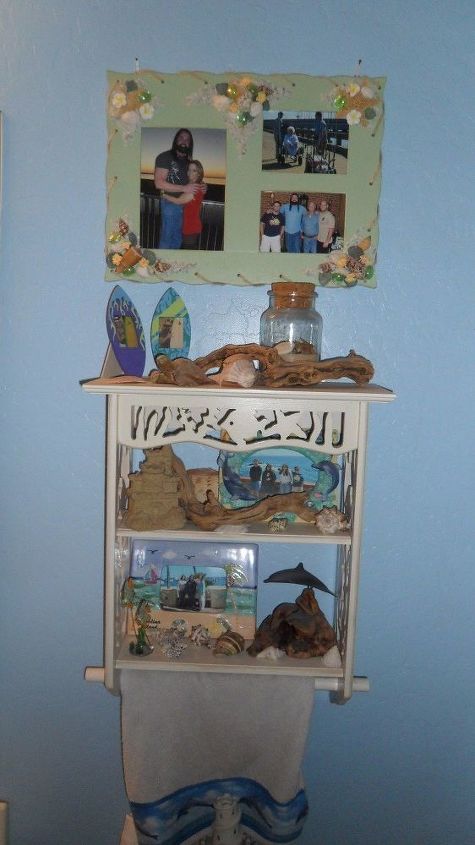
Here it is in it's place in our bathroom :)
Comments
Join the conversation
3 comments
-
Fun!! I love the beach theme :)


Frequently asked questions
Have a question about this project?