


Personalized Chalkboards
32 Materials
3 Weeks
Advanced
We love chalkboards at nluv Studio! For us though, it’s all about the detail in the frame and designs imprinted on the piece itself. It’s time to take it up another notch and create personalized chalkboards putting our heart & soul into every piece!
Chalkboards used to be in every school classroom but overtime were slowly replaced by white erase boards and technology. In recent years though, chalkboards have made an artistic resurgence in small businesses & homes for menu boards & wall art, To-Do lists and even children’s room decor. Chalkboards can be fun and easy to make. But, it shouldn’t be about painting a board black and hanging it on the wall.
Creating personalized chalkboards is an opportunity to design a special art piece with delicate details that not only make it functional for writing but also aesthetically beautiful as wall art!
Check out our blog for more ideas! http://www.nluvstudio.com/nluv-memos-blog-jaime-pirozzi/
A special gift for my Mom's birthday! Personalized chalkboards are heartfelt gifts that rock!
The Gift of Personalized Chalkboards
Personalized chalkboards make great gifts. Adults, kids, home or business, a unique one-of-a-kind chalkboard made just for someone holds an emotional tie. When you create or give a personalized gift, the thought and effort put into the idea holds just as much weight as the piece itself. At nluv Studio, I don’t like to make anything twice. Each piece has its own heart & soul and deserves to be the only one. With unlimited options for faux finishes, stencils, mediums and colors, there is no reason to create anything twice. And, if you are truly working with complex finishes, you could never duplicate it anyway! With this mantra for every piece we create and sell, our customers know they have something special that no else has.
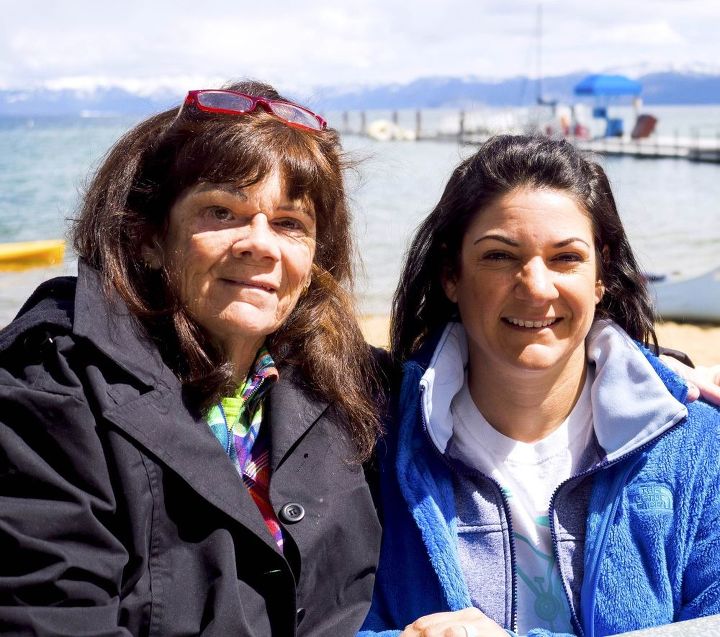
A special brunch date with my Mom! Happy Birthday Mom!
A Special Lady
It’s time to celebrate my Mom’s birthday! What better gift than a personalized creation made by her daughter? No matter how old you are, your mom always loves heart-felt gifts. I envisioned a special chalkboard incorporating things she loves, like birds and lively colors, surrounded by a mountain-mantra from living in Lake Tahoe. I like to start out with a rough idea but the process always takes a turn somewhere… leading me to a better outcome than I originally imagined! Over three weeks, my mom’s chalkboard took shape until it finally blossomed and was complete.
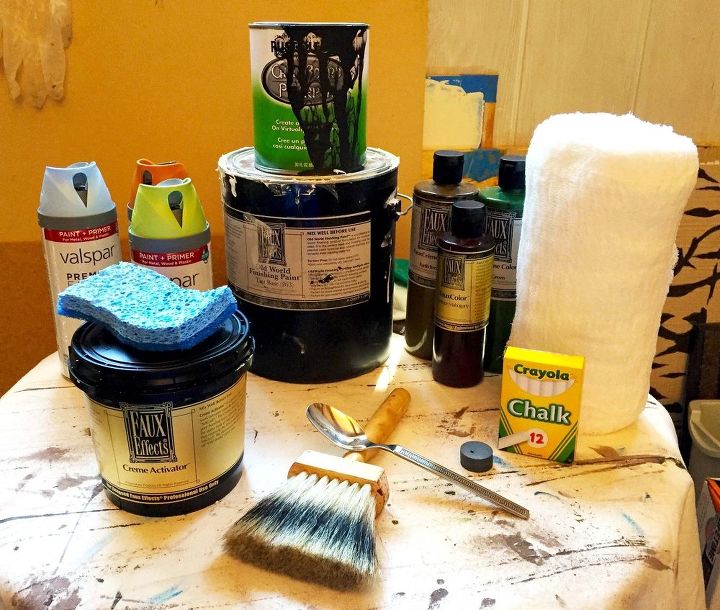
Start gathering all your tools & supplies and see what’s missing.
A Chalkboard's Creative Journey
There’s nothing worse than building momentum on a project to find out you are missing a key ingredient. I sketched out the chalkboard design first and laid out all the tools & supplies needed. You may be shocked at how long the list gets! Anything I didn’t have, I made one quick trip to the store and was ready to start.
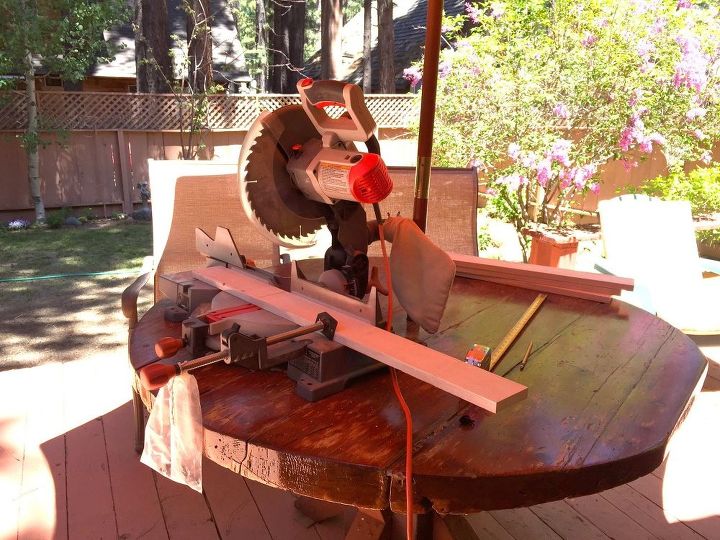
Power tools will make quick, easy cuts for the frame. Use whatever tools you have!
DAY 1
Tape backside edges of MDF board. This will keep any paint from splattering across the back and looking ugly! Clean edges are a must!
Paint 2 coats of chalkboard paint on the MDF surface, leaving 4 hrs. between coats. Set aside & let cure for 3 days.
Cut reclaimed 1 x 3 boards to size as a frame around the chalkboard. I wanted square rustic edges so cut 4 pieces: 2 – 27″ boards and 2 20″ boards. These dimensions will allow the frame to sit 2″ on the chalkboard and hang off ~1″ on the sides for wall mounting.
Sand all wood edges and faces for a smooth feel. Distress the corners and edges so they do NOT perfectly line up.
Paint the backs of the frame boards with primer for a clean, white look. Just 1 coat is needed. Let fully dry.
Mix up forest green custom colored OWFP. This will be used on the frame as the base color.
Tape backside of frame edges (what you primed once dry) to keep the front side paint off the back and give you those clean lines. Remember, clean edges are a key touch!
Paint 2 coats of green OWFP on all frame pieces, letting the paint dry between coats ~ about 2 hrs. Set aside.
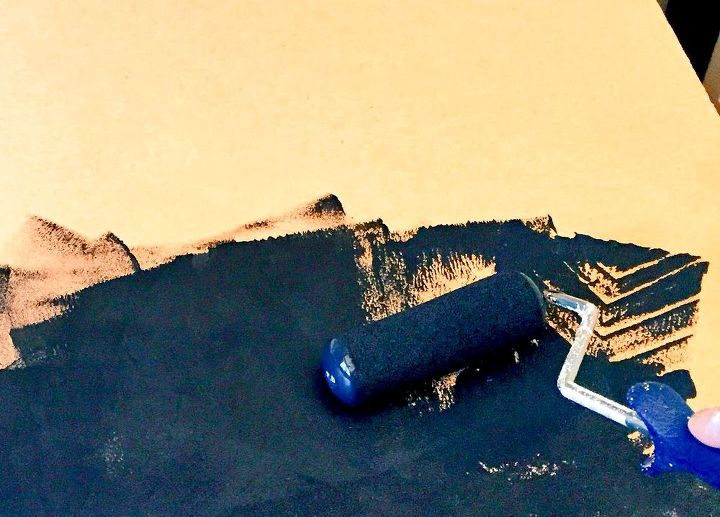
Applying chalkboard paint with foam roller makes for smooth strokes.
DAY 2
Apply Creme Activator over the green frame boards. Let dry for 30 min before applying top color.
Mix up cream custom colored OWFP. This is the frame top color.
After Creme Activator has dried for 30 min., paint 2 coats of cream OWFP on all frame pieces, let paint dry between coats ~ about 2 hrs. Set aside.
Prepare the chalkboard for stenciling. Cover all surfaces you DON’T want spray painted using tape and craft paper. Leave no opening for spray paint to sneak in!
Tape stencils as needed (if you are doing multiple step stenciling with different colors). I did 2 colors on each bird. Make sure you account for where the frame will go.
Apply stencils to chalkboard with tape and light spray adhesive. Spray paint each stencil, CAREFUL not to contaminate any surface with the paint that I don’t want! Do NOT speed through the spraying process. Spray paint will sneak in the tiniest space and ruin your project if you don’t do your due diligence on prep and tape! Let paint dry.
Repeat Steps 4 – 6 as needed until stencil art on chalkboard is finished. Remove all paper and tape. Set chalkboard aside.
Once top coat of paint on frames is dry from Step 3, scrape with metal multi tool and spoon until the desired distressing/chipping is reached. Also use sand paper and a wet rag to complete the look. Wipe clean so no dust remains.
Mix up a custom FauxCreme glaze using FauxColor and bronze Micaglow Powder.
After min. 4 hrs. dry time for final cream paint coat (this is the coat you scraped), apply glaze to all frame boards with sponge brush. Blot with cheese cloth and finish with a Badger brush for a natural, smooth look. Set aside overnight.

2 coats of custom mixed Base color for the frame.
DAY 3
I condition my chalkboards. On Day 3, rub chalk all over the board including the stencil graphics and leave on the chalkboard till Day 7. Set aside.
It’s time to stencil the frame boards. Align stencils on frame boards with tape and light adhesive. Apply Venetian Gem with japan scraper. Peel off stencil and clean.
Repeat Step 2 as needed until all frame boards are complete. *DON’T RUSH. Let your product dry before you place the stencil back on the boards and potentially smudge your completed areas. Set aside overnight.
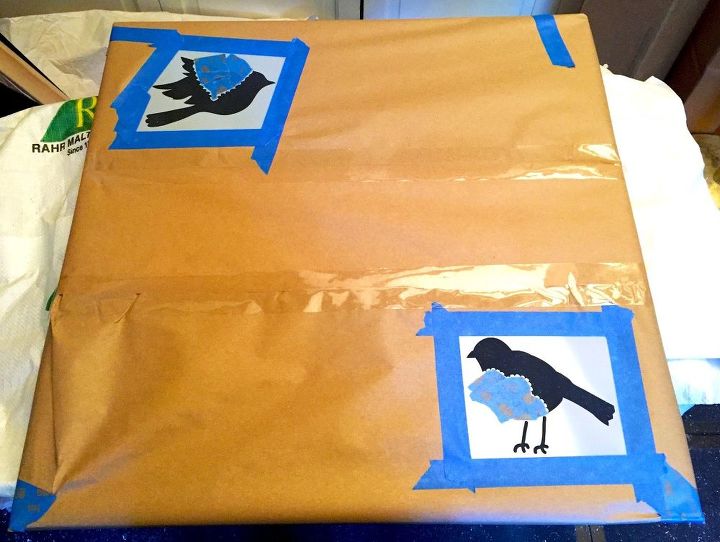
Cover anything you don’t want spray painted!
DAY 4
Apply wax on all frame boards and let sit for 60 min.
After Step 1, use drill buffer brush first to remove most of the wax and begin the buffing process. Wipe all loose wax residue off.
Take plastic bag and finish buffing the frame boards until smooth and shiny. No rough spots!
Remove all tape from back of frame boards.
In upper right corner frame board, use Forstner bit to drill hole in BACK of frame board to countersink magnetic discs. Drill down until magnetic disc is flush.
Apply construction adhesive and drop in magnets. Make sure you insert the magnets in the right direction. Test out to make sure the magnetic clip that will sit on the front is attracted to the magnet and not repelled! If it is repelling it, the magnets in the back of the board are backwards.
Measure out hooks for the bottom frame board and mount.
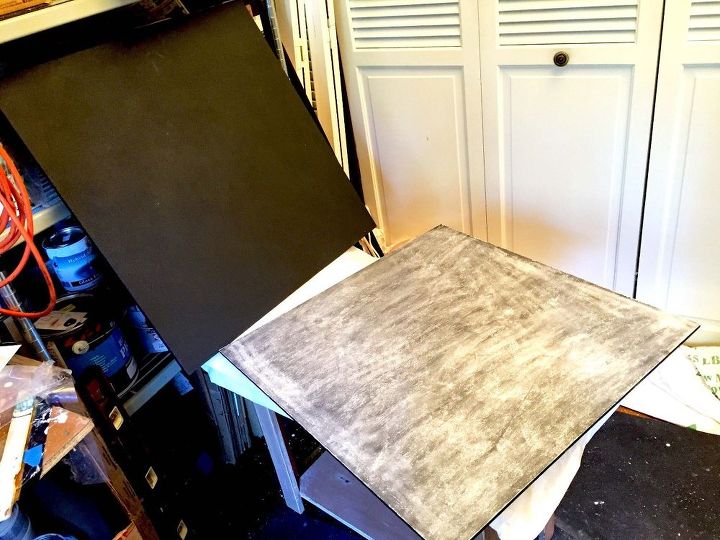
Conditioning new chalkboards for better writing & erasing!
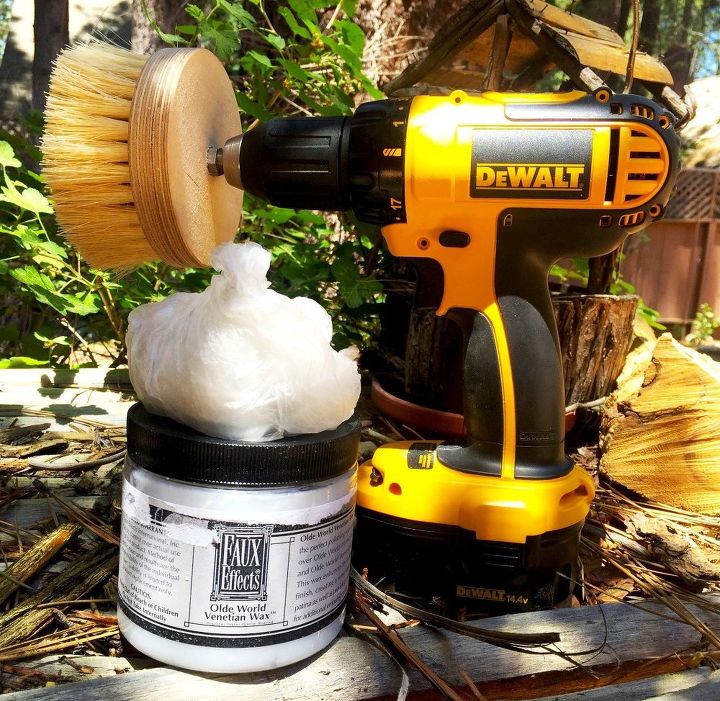
Get ready to shine your finish!
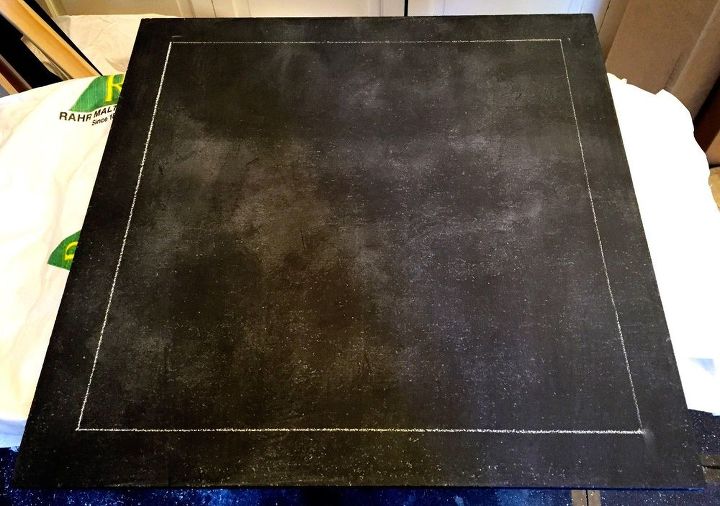
Example of marking chalkboard for frame installation. Also helpful when stenciling.
DAY 7
Take a clean sponge and wipe the chalkboard clean until all chalk dust and residue is removed. The chalkboard should get back to its original black color.
Remove all tape from the back of the chalkboard.
Measure out the frame boards and mark on the front of the chalkboard where they will go. Use construction adhesive and attach the frame boards from the front ensuring they are perfectly placed. Let dry.
As the final step, flip over the chalkboard and use the nail gun to permanently adhere the chalkboard to the frame. KNOW YOUR TOOLS! Make sure the nail length and PSI are correct so you don’t punch nails through the front of the frame OR they don’t sink far enough so they stick out. Flip it over and enjoy!

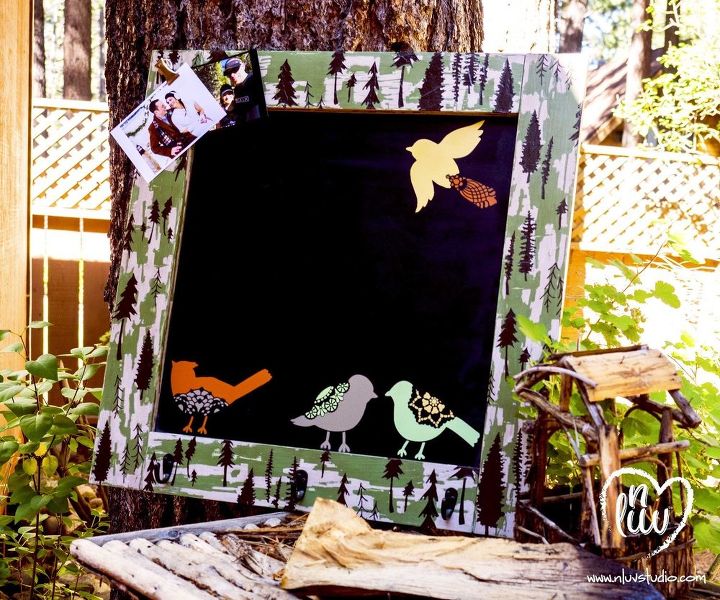
Finished product! A one-of-a-kind personalized chalkboard.
Congrats, you're done!
Personalized chalkboards can be as simplistic or detailed as you want. Be creative and have fun with your own designs. Personalizing a gift like this will leave a lasting impression on the lucky one who receives it. Don’t be afraid to put a little heart & soul in your projects.
Time & cost will depend on your materials used. Plan it out & have fun!
Stay tuned! Several custom nluv Studio chalkboards are going on sale soon!
Do you have an idea for a personalized chalkboard? I’d love to design & create it for you to share with someone special. Contact me and have one custom built today! http://www.nluvstudio.com/id-love-to-hear-from-you/

Want more details about this and other DIY projects? Check out my blog post!
Comments
Join the conversation
2 comments
-
Wonderful! I love your stenciled frame and the little birds. So unique and special. Thanks for posting and sharing!


Frequently asked questions
Have a question about this project?