


Kids Sit On Spinning Toy DIY
I recently saw a grown-up version of this Kids Sit On Spinning Toy on Pinterest. It got me thinking about how easy it would be to make one for my boys. And since I already had Lazy Susan hardware waiting for a purpose, I was half way there. After playing around with the design for a few weeks, I’m ready to share it with you guys. And it’s a super easy DIY kids toy that you can make in a day. Yea!
I love the idea of making a couple heirloom kids toys that will last for generations. My grandfather made a cool board game that I loved as a kid. And I just thought that he must be nearly magical for being able to make it. I still get nostalgic when I see it. So, I hope the kids in your life will look at you the same way when you make this. And, the best part is the custom paint job.
I made this Sit & Spin toy 2 ways. Once with a sweet medallion pattern and once with a cool Captain America paint job for my boys. Pick your kids favorite cartoon, toy, movie, game, candy, etc. and have fun with the design. As always, I’d love to see what you come up with.
This project is actually really simple. The longest part is the paint job and waiting for all the layers to dry.
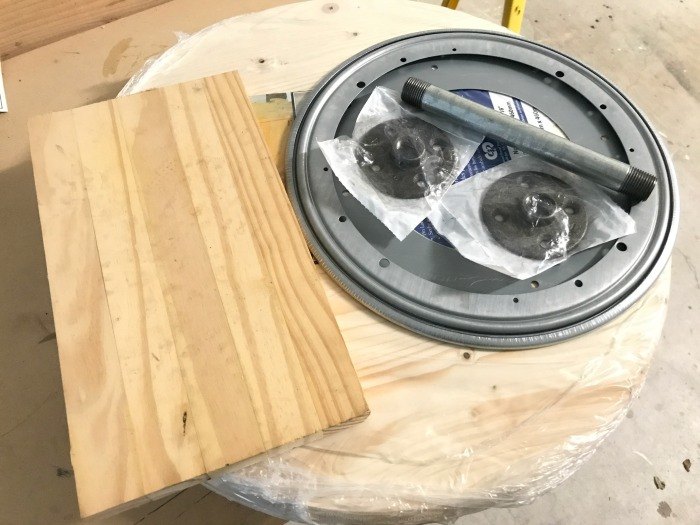
You use 2 store bought 18" wood rounds, 1 Lazy Susan Hardware, 1 8" metal pipe, 2 flanges, and a 3/4" thick piece of wood cut to 7" diameter.
Mostly store bought with just a little jigsaw and drill work. Easy!
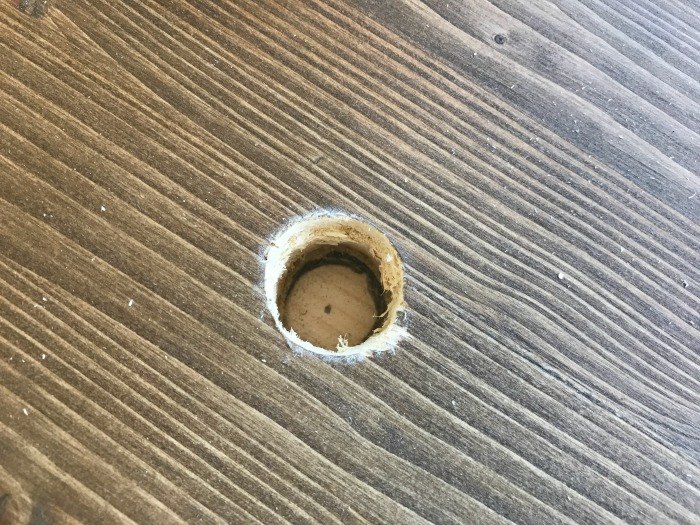
Find the center of the top round and use your drill and jigsaw to cut a 1 1/4" hole.

Line up the top round with the bottom round and mark the center of the bottom round through that hole you just drilled. Now attach the Lazy Susan hardware (aff) to the bottom round. Mark the access hole for the top round (don't worry, I have a video on my site explaining this). Drill a 1/2" hole at that mark.
Line that top back up with that mark you made on the bottom round. Hold the pieces together and flip them over.
Use the access hole to screw the hardware on to the top round at the 4 corners.

Now cut a 7" round wheel with 3/4" thick wood.
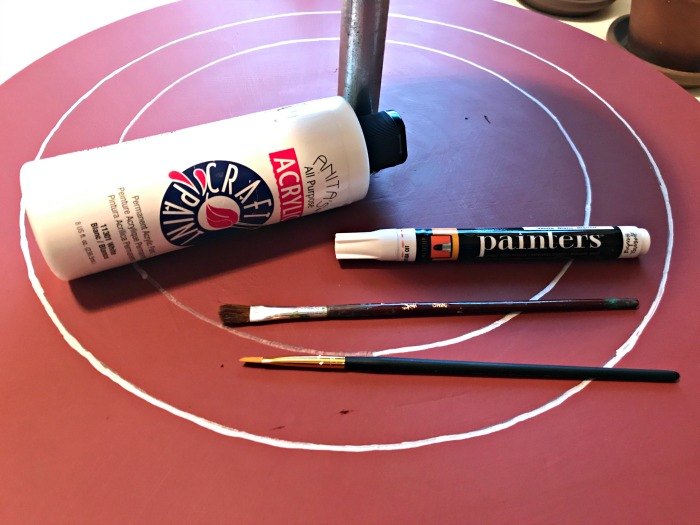
Now finish your paint job before assembly. I created a Captain America Shield printable you can download for free to make this design.
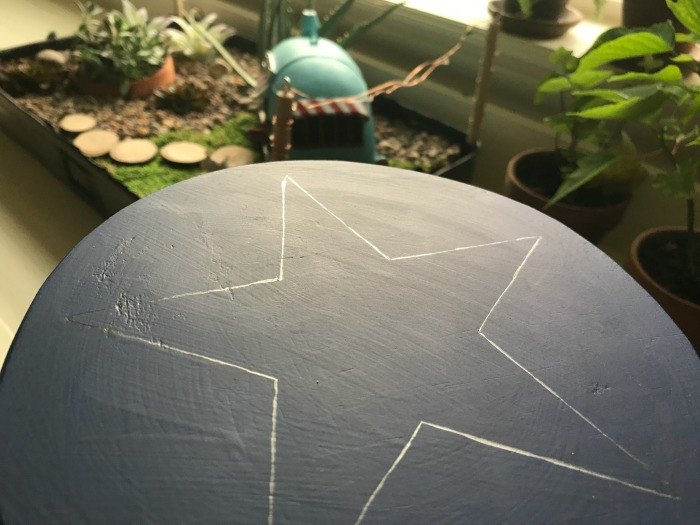
Cut the star and white ring out of the printable. Then trace around them with pencil. Fill that in with white primer, so that the dark colors don't bleed through.
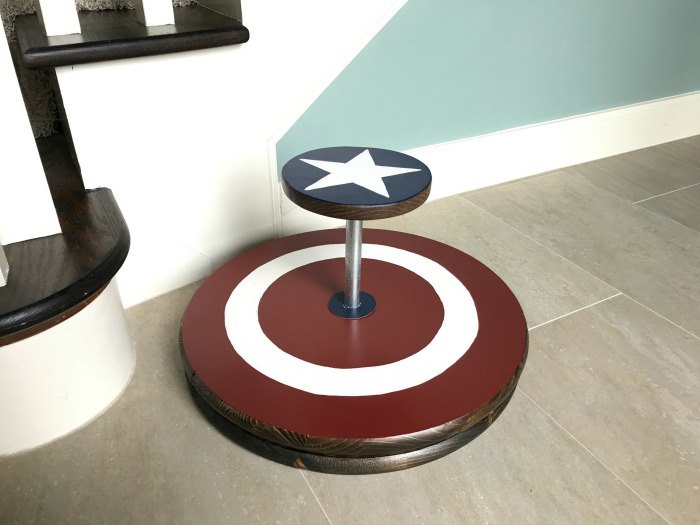
After painting is complete, apply super glue to the threads on one end of the pipe. Screw the pipe into the bottom flange. Attach the other flange to the center of the bottom of the wheel. Apply super glue to the top threads of the pipe, and screw the wheel in place.
The super glue keeps the kiddos from unscrewing the toy while spinning.
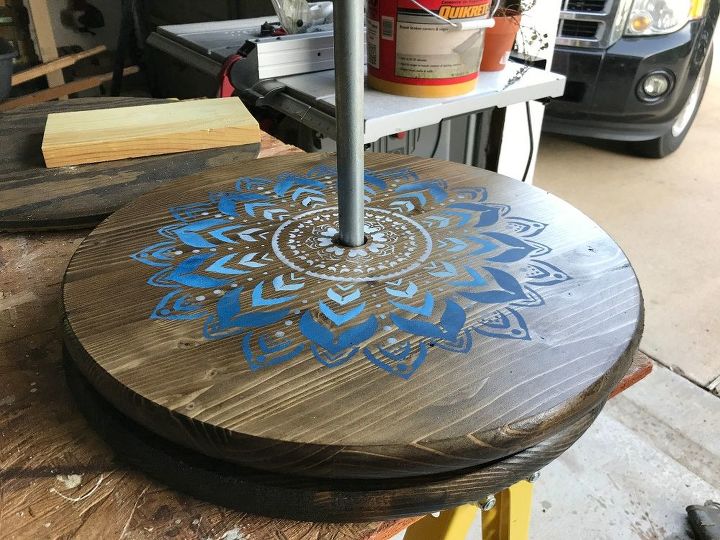
This design was made with a stencil.
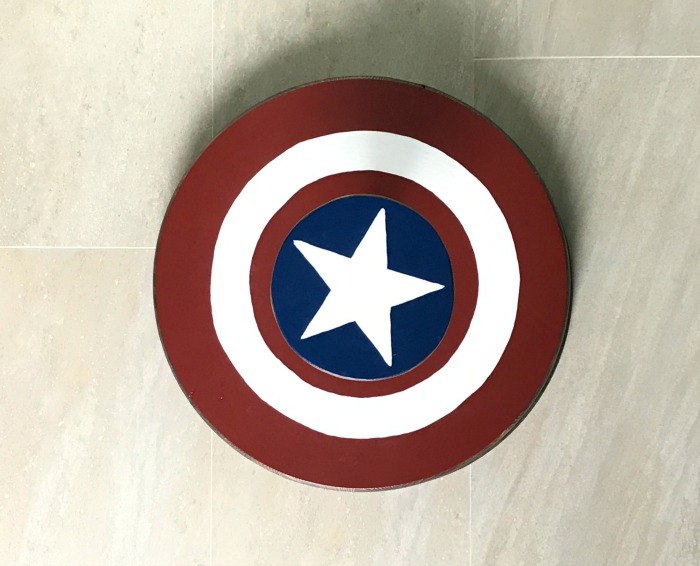
Top view of the Captain America design.

Comments
Join the conversation
-
OHHHH I can see now that I will have to make a couple of these in the very very near future ,,,,,I might even make some for Christmas Presents !!! the great grandkids will love them !!!! Thanks for posting ...
-
A steering wheel cover would save a lot of sanding and splinters if you cut the wood circle the right size. Just saying


Frequently asked questions
Have a question about this project?
great idea! What is the weight limit?