


Coffee Can Decoupage Project
10 Materials
$10
25 Minutes
Easy
This is one of my favorite home decor projects ~ upcycling coffee cans by turning them into gorgeous decoupage table centerpieces! I'm so addicted to it my husband calls me "the can hoarder"!  Friends and co-workers love these and always ask how it is done, so here is a step-by-step video. (no extra charge for the humor) or feel free to scroll down to read the guide below!
Friends and co-workers love these and always ask how it is done, so here is a step-by-step video. (no extra charge for the humor) or feel free to scroll down to read the guide below!
{
"id": "3930820",
"alt": "",
"title": "",
"video_link": "https://www.youtube.com/embed/ZpBThhcBr9c",
"youtube_video_id": "ZpBThhcBr9c"
}
{
"width": 634,
"height": 357,
"showRelated": true
}
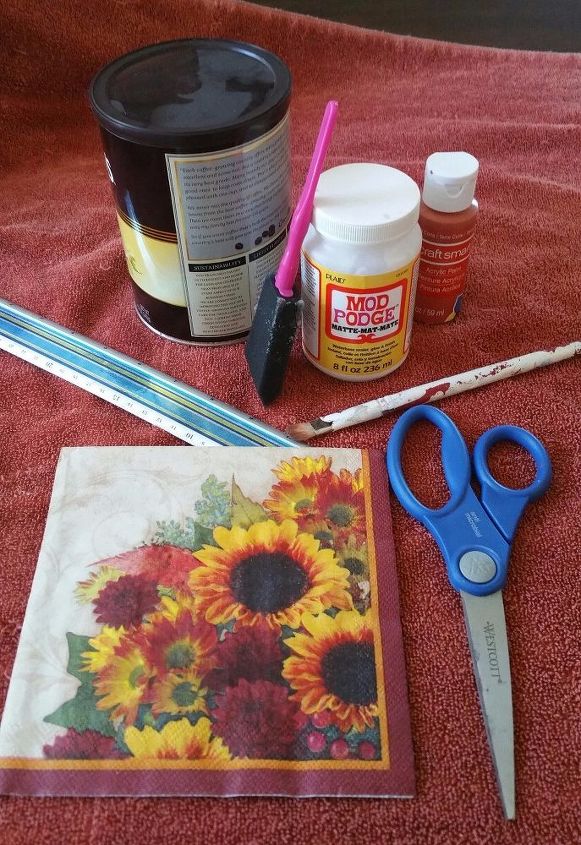
Step 1: Gather your supplies: Coffee can, printed paper napkin, Mod Podge, Sponge brush, acrylic craft paint (choose a color to match your napkin print), small craft paint brush, a ruler, and a pen. You may also substitute craft paint with spray paint if you prefer. I like to play around with different types of paint depending on the look I am going for.
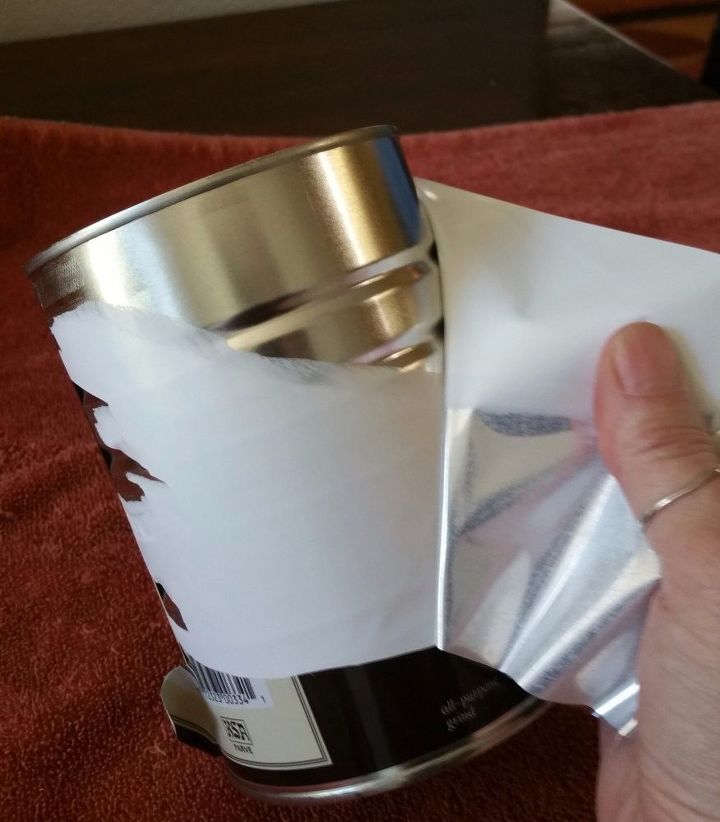
Step 2 - Remove the label from the coffee can. Don't worry about residual glue as the Mod Podge and napkin will cover it.
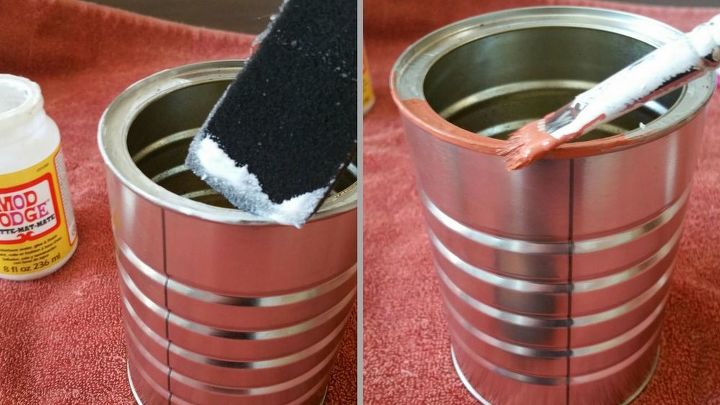
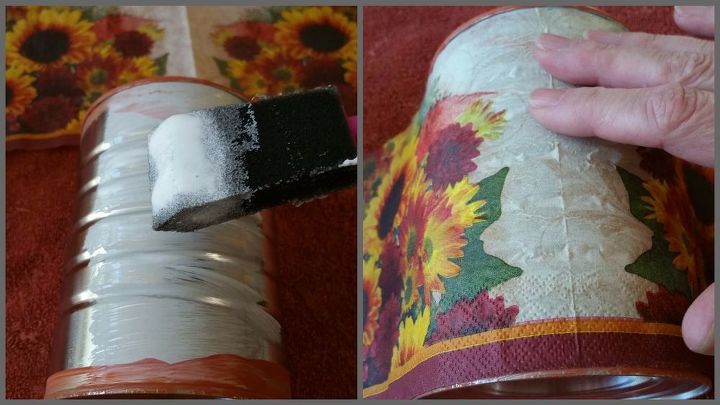
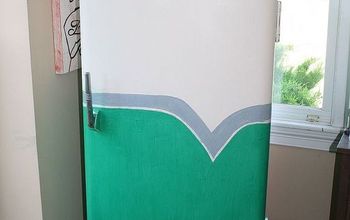
Step 3 - Using your sponge brush, brush a layer of Mod Podge around the lip and top & bottom rims of the coffee can. (This will act as a primer for your paint). Allow to dry for about 15 - 20 minutes. When it is dry to the touch, paint over the Mod Podge with your craft paint. Paint as many coats as you like to achieve the desired look you are going for. Personally, I like a rustic look...so one or two coats works for me.
Step 4 - Once the paint is dry, measure the height of your can inside the top and bottom rims. (Mine was approx 5 1/8") Find the area of the printed napkin you want to use for your decoupage and measure/cut the napkin to size. I was lucky enough that the length of my napkin was enough to wrap around my entire can. If for some reason yours isn't long enough, you can always patch up a piece to make up the difference at the end.
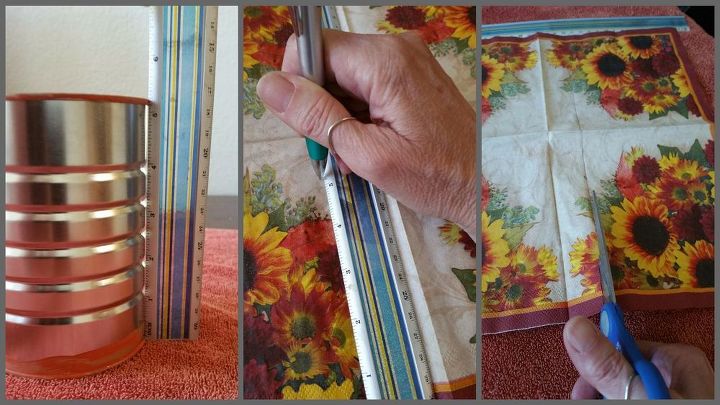
Step 5 - Most printed paper napkins are 2 ply, and sometimes even 3 ply. Peel away the printed ply from the other(s), if you skip this step your decoupage will not work out, as the Mod Podge will only adhere 1 ply. Be very careful and avoid rips! These are very thin layers! Pull away slowly!!!!
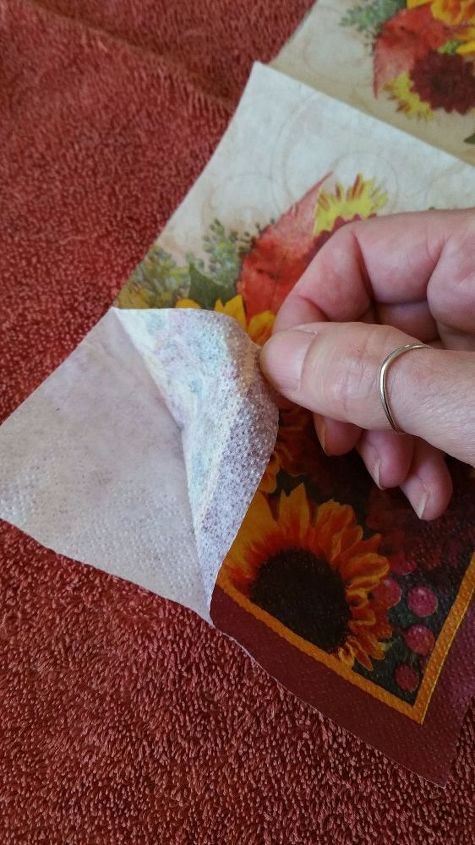
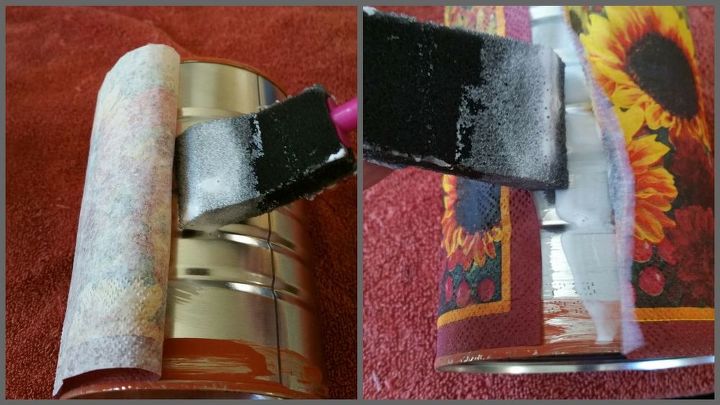
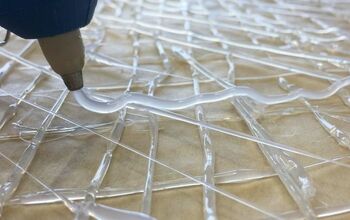
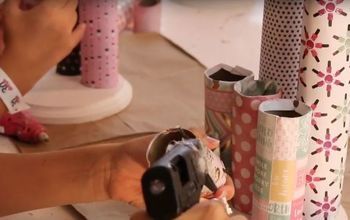
Step 6 - now for the FUN! Using your sponge brush, paint Mod Podge to a 1 - 2" section of your coffee can. While it is still wet, lay the printed napkin on top of the can and press lightly to smooth out wrinkles and bubbles. THIS DOES NOT HAVE TO BE PERFECT! Once the Mod Podge dries, wrinkles can actually add to the charm of the piece!!! Keep adding Mod Podge in 1 - 2" inch sections from top to bottom of the can and smooth napkin over it. Repeat all the way around until it is completely covered.
Last Step is OPTIONAL depending on how you want your decoupage to look. You can add another coat of Mod Podge to the overall project for a shinier look, or leave it "as is" for a more matte look. I've done it both ways, and its not a HUGE difference, but I think I prefer to add the top coat of Mod Podge because it also seals my project. Wait for the underneath layer of Mod Podge to dry before adding the top coat.
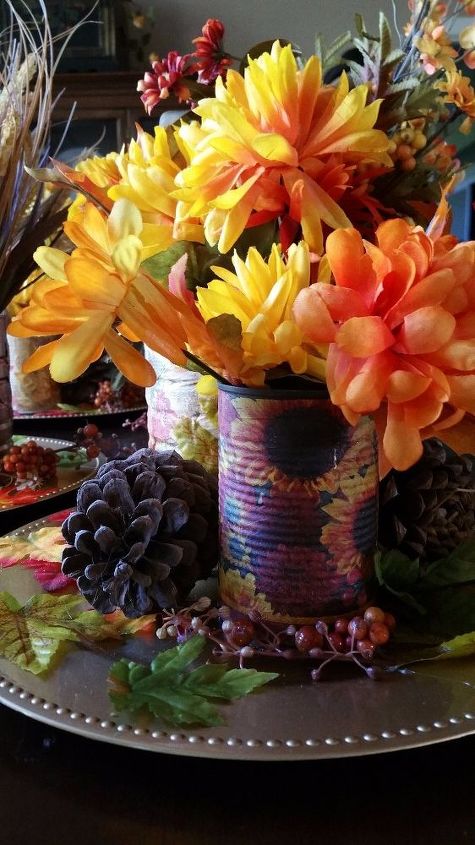
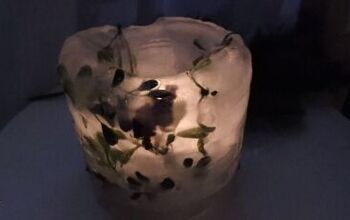
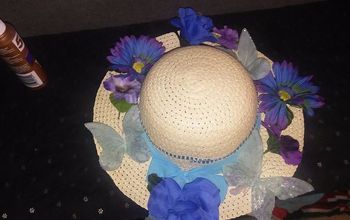
Here is a photo of centerpieces I made with this coffee can decoupage project. The centerpiece includes three cans (of different sizes) on a round charger, adding artificial flowers and pine cones...oh my goodness! These were so pretty on my Thanksgiving table!
This and more home decor projects can be found at www.JanesRealLife.com You can follow my YouTube channel at: https://www.youtube.com/channel/UCf-V-NKQ7vWPSeU_oalfopQ
Resources for this project:
See all materials


Any price and availability information displayed on [relevant Amazon Site(s), as applicable] at the time of purchase will apply to the purchase of this product.
Hometalk may collect a small share of sales from the links on this page.More info

Want more details about this and other DIY projects? Check out my blog post!
Comments
Join the conversation
2 of 10 comments
-
This would work with glass jars of various sizes as well!! I’m going to give it a try for Christmas gift and add ribbo around the top of the jar to disguise grooves from the lid.
-
I Love this!


Frequently asked questions
Have a question about this project?
Can I print labels or used printed designs instead of napkins. Will it work. Thanks great idea.
I have never done mod podg before so I was wondering if wall paper would work or would it be too heavy of paper?