


Swirl Paint for a High End Furniture Finish

by
Patricia
5 Materials
$20
3 Hours
Easy
I love the look of layered colors on furniture. But the process can be time consuming. To save a little time I decided to swirl my paint colors and brush it on in one coat.

The project I am working on is a Drexel end table from 1968. Overall it was in good condition except for some areas of damaged finish. The top of the table had seen the most wear and tear.
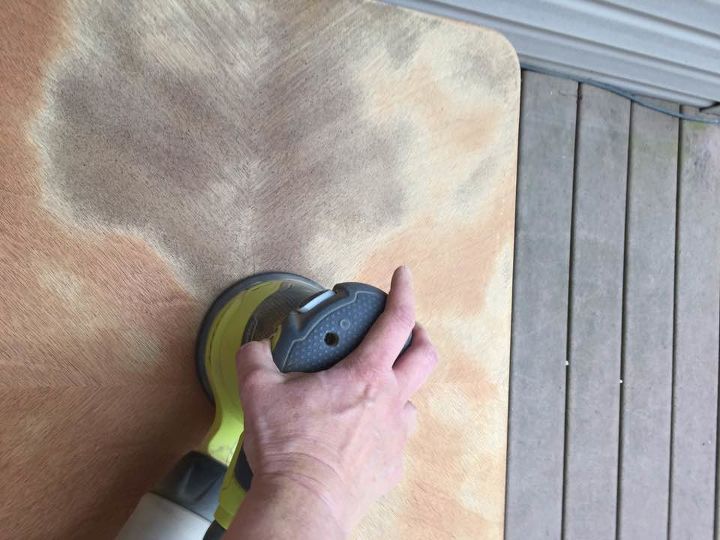
The top of the table had seen the most wear and tear. The piece is solid wood with a wood veneer on the top. So I used my orbital sander to smooth out the scratches.
Painting a light color over bare wood can result in "bleed through" where the tannins in the wood show through the paint. So I applied two coats of clear shellac to seal the wood. Usually one coat is sufficient, but I went ahead with two coats to make sure it was thoroughly sealed. The shellac dries very quickly so there's not a long time to wait before applying paint.
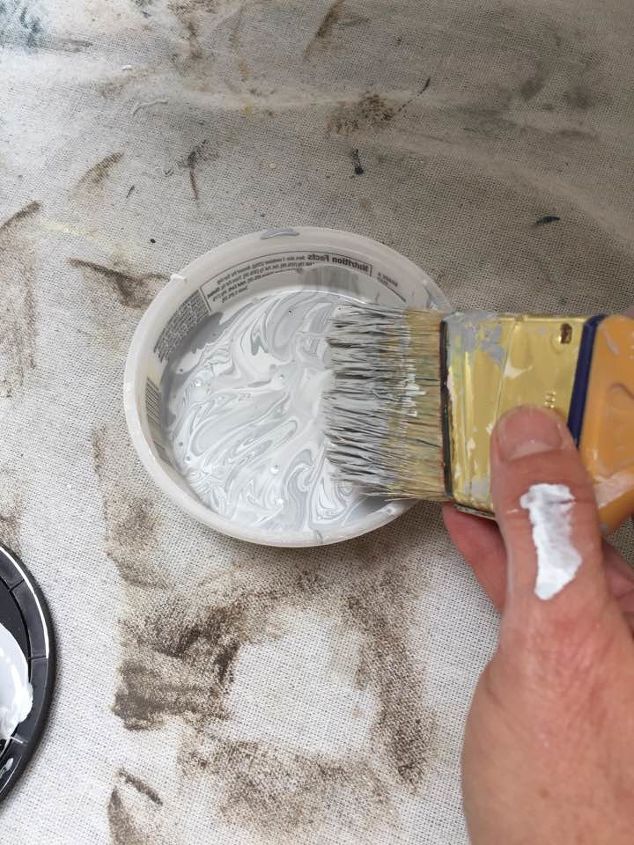
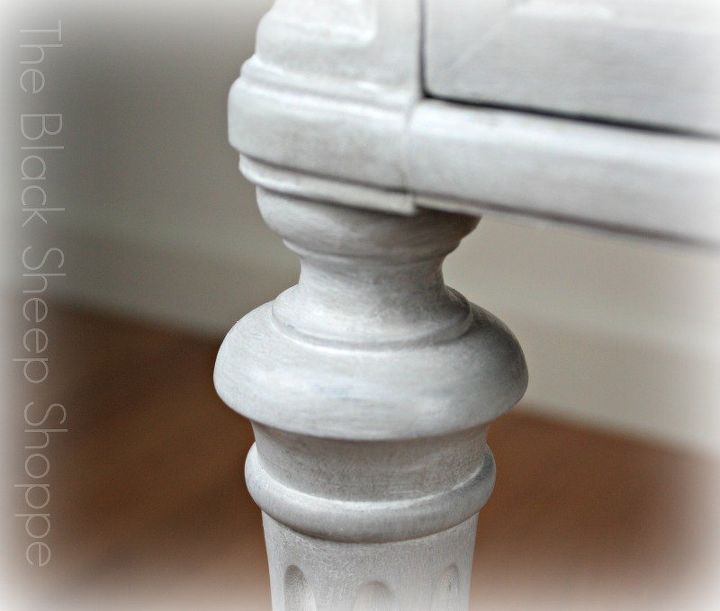
I added a bit of Paris Grey and Pure White to a container. Then I used a paint stick to swirl the paint. I brushed on one coat of the swirled paint mixture to the base of the table. I painted the top and drawer knobs in white.
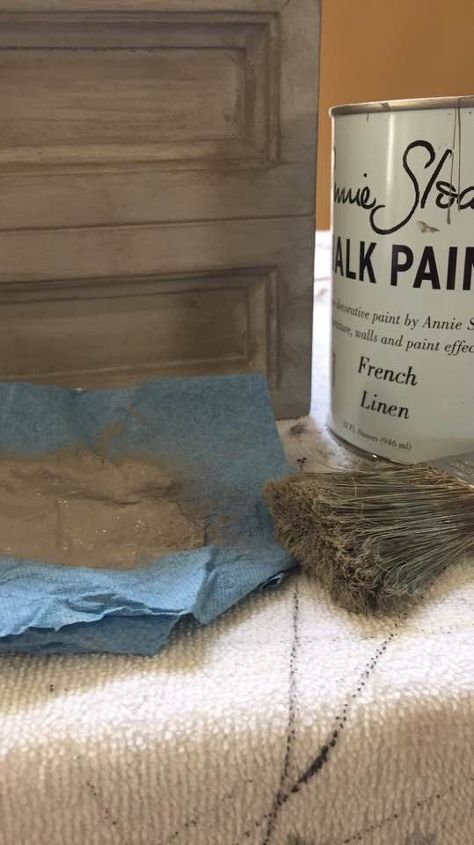
I was hoping to get this project done in one coat, but I felt it needed hints of a darker color, so I did a quick dry brush of a darker grey (French Linen) here and there over the top of the first coat. Next time I'll add a bit of the darker color to the swirled paint to start with!
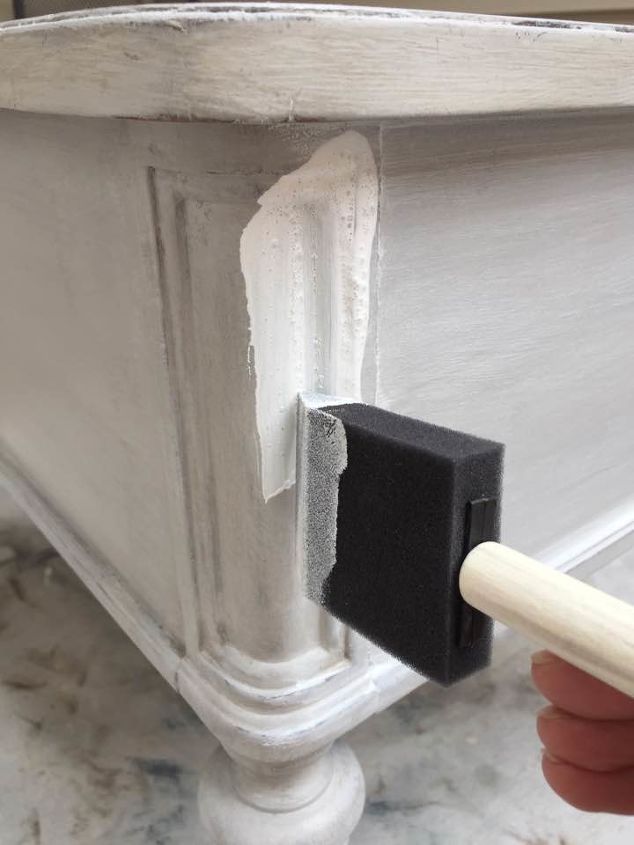
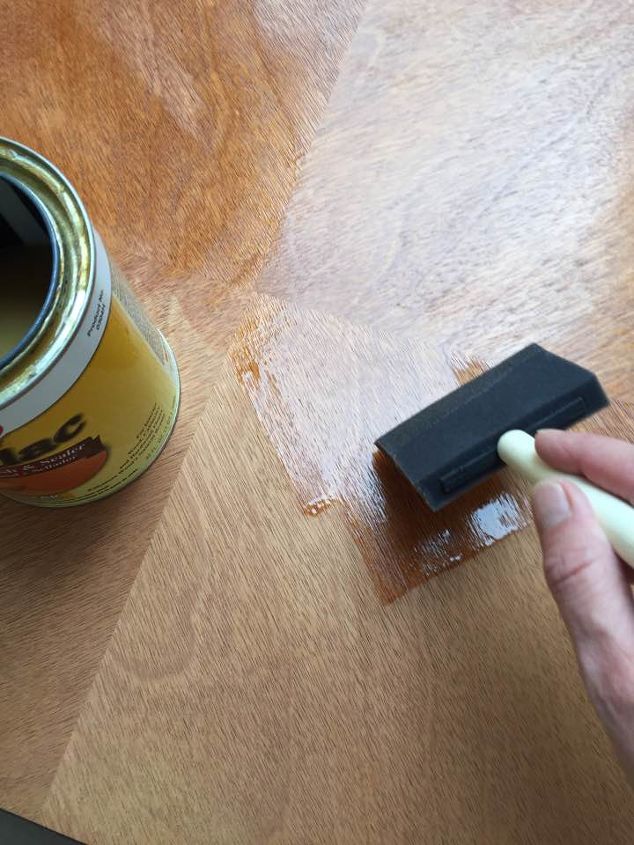
I sealed the paint with soft clear wax. Then I applied a white glaze (General Finishes) to add more dimension and to soften the look. I used a foam brush to apply the glaze and then wiped off the excess with a shop towel.
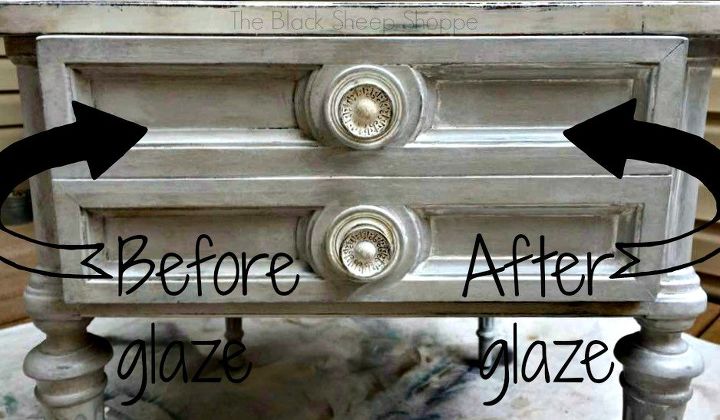
The photo above shows the difference the glaze makes. It's somewhat subtle, which is what I was going for on this project, but you could make it more dramatic depending on the look you want.
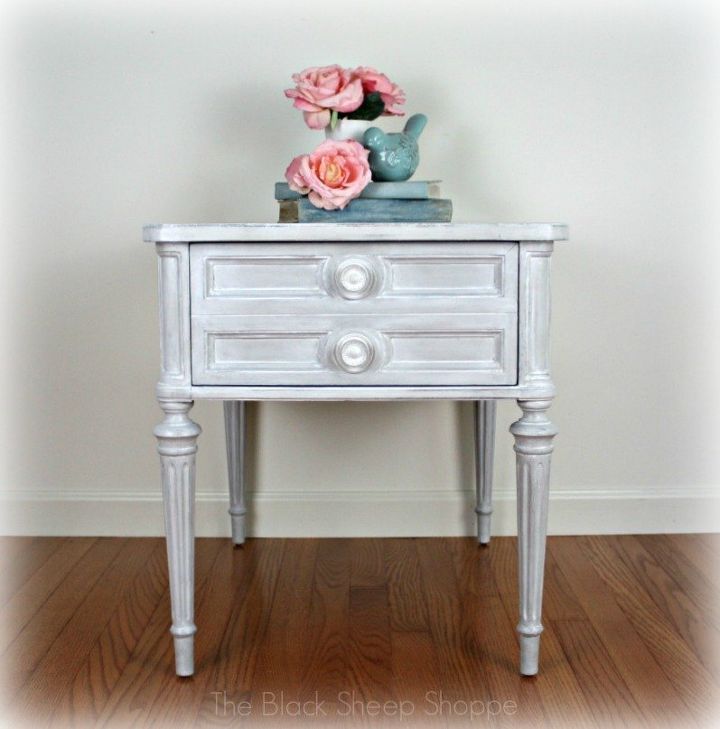
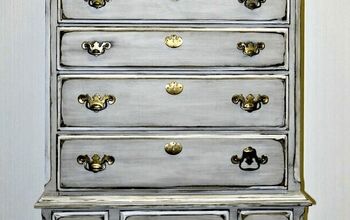
And here is the final finish!
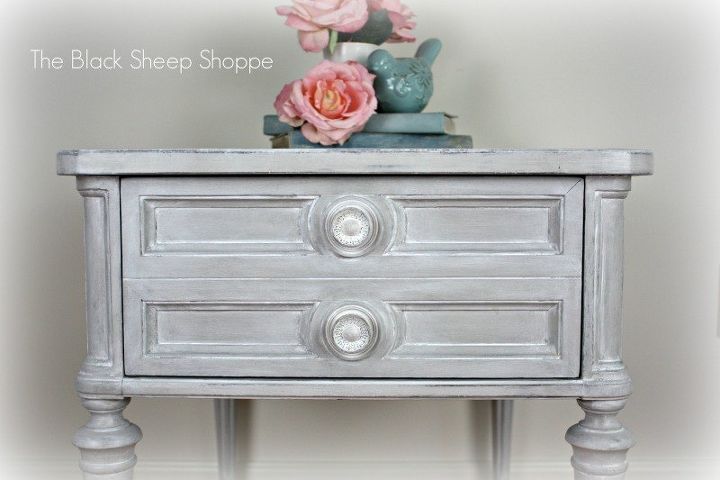
The colors blended well together for a soft look with a touch of elegance.
If you enjoyed this project then I'd like to invite you to stop by my blog to see my other projects. Or follow along on my Facebook page. New friends are always welcome!
Regarding the cost of the project, it's so hard to say because I used products that I already had on hand. But it didn't take much paint, maybe 1/2 cup or a little more, but that's just a guess. So I'll go out on a limb and guess the cost is between $10 and $20 dollars overall. If you had to buy full containers of paint, shellac, wax, and glaze, it would cost a bit more for the initial investment.
Want more details about this and other DIY projects? Check out my blog post!
Comments
Join the conversation
4 comments
-
This is very pretty. I love how it turned out.
-
love this!


Frequently asked questions
Have a question about this project?