


DIY Pallet Flag – The Hit of Your 4th of July Party

by
Wet & Forget
12 Materials
Easy
It’s red, white, and blue season which means it’s time to start getting everything you’ll need to host the best 4th of July party on the block. From the patriotic themed food and decorations, to fireworks and sparklers, there’s a lot that goes into hosting a party. We’re here to help make your life a little easier with some special treats and a homemade pallet flag that’ll ensure you’re celebrating America’s birthday in style.
Decorations
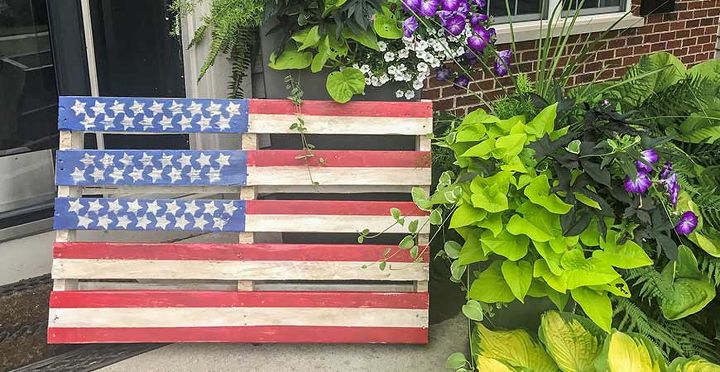
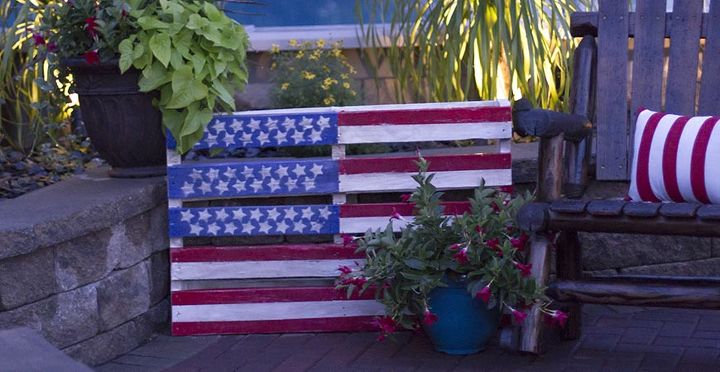
No party is complete without decorations, and over the past few days, we created an awesome pallet flag that you can easily put together at home without spending too much time or money. This pallet flag will be sure to catch the eyes of all your friends and family while showing your true American colors.
Step 1: Materials
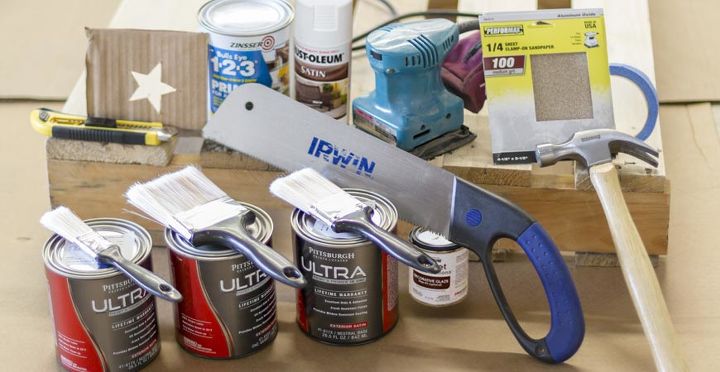
Before you begin, here’s the materials you’ll need to gather for building your pallet flag:
- A pallet
- Red, white, and blue paint
- Paint brushes
- A saw
- Sand paper and sander
- Primer
- A hammer
- White spray paint
- Star stencils
- Wood stain (for distressed look)
- Painters tape
- Box cutting knife
Step 2: Preparation
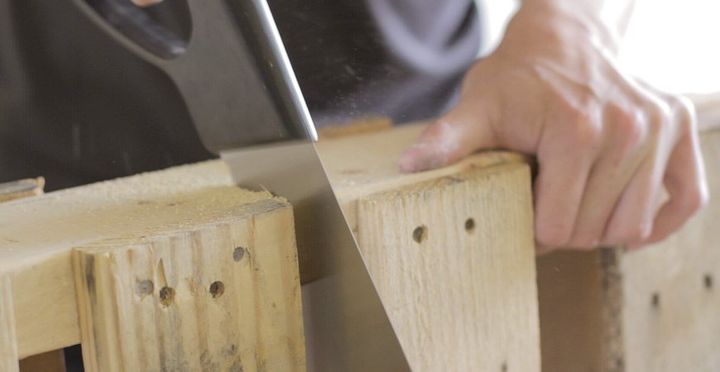
After you’ve gathered everything you’ll need for your DIY pallet flag, you’re going to need to prepare the pallet for use. To start, hammer in or remove any nails that are sticking out of the pallet so that you have an even surface that is safe to work with.
Once you’ve removed the nails, decide how big you want your flag to be. Next, cut along the pallet where you see fit. For our pallet, we decided that it was too big and cut it in half so it was approximately 26 in. x 40 in.
Now that you have the right sized pallet, it’s time to sand it down to so that you can paint it. Start with your lower grit sand paper and work your way to the higher grits to make a smooth surface. For our pallet, we used 80 and 100 grit sandpaper to do the job.
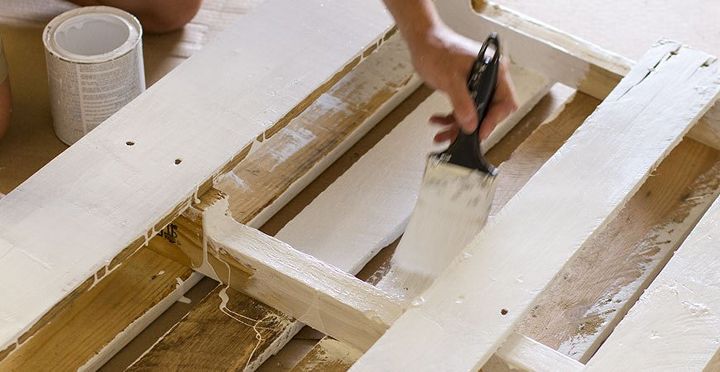
Step 3: Priming
Your next step is to start priming your pallet flag. We used a white based primer and completely covered the whole pallet. For our pallet, we used two coats of primer before we decided that it was ready for painting. Another route you could take is to not prime the pallet at all. This would give the pallet a more natural wood-like finish if you wanted to go for that sort of look.
Tip: Use Q-tips with your primer to cover those areas that your paint brush can’t reach.
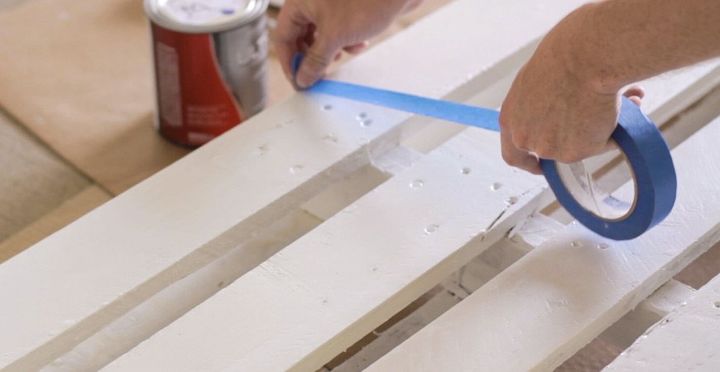
Step 4: Preparing for Painting
Before you can begin painting, you’re going to need to plan on how large your stripes are going to be for your specific pallet, as well as where the blue area for the stars is going to be. Measure out how you want your pallet to look, then use painters tape to mark out the different parts of the flag. Depending on the size of your pallet, you may or may not be able to make the full 13 stripes and 50 stars, so do what you think will look best for your pallet. For ours, we could fit 11, 4.5 cm. wide stripes by putting two stripes on each board and three on the last one board.
Tip: Make sure to press the tape down to the surface completely so no paint gets through the tape. This ensures that you don’t have to make any touch-ups when you get to painting.
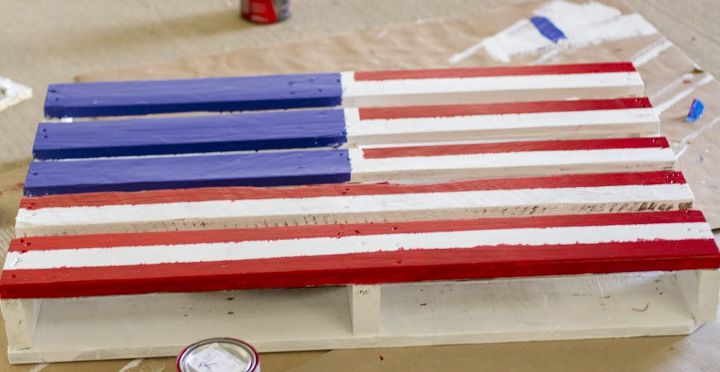
Step 5: Painting the Stripes
Now that everything on the pallet has been laid out, you’re ready to paint. Take your time to make sure that every area gets completely covered with paint. Avoid using too much paint, as this can lead to some pooling or even paint running down the sides of your pallet. Plus, you can always add more layers of paint, so we recommend taking your time when painting to ensure you’re getting nice and even coats. Also, if you didn’t end up priming the pallet, you have the option of not painting the white stripes at all as the wood color can be your white stripes. This will give your pallet flag a more natural wood look. Make sure you finish your touch-ups before you move onto painting the stars on your flag.
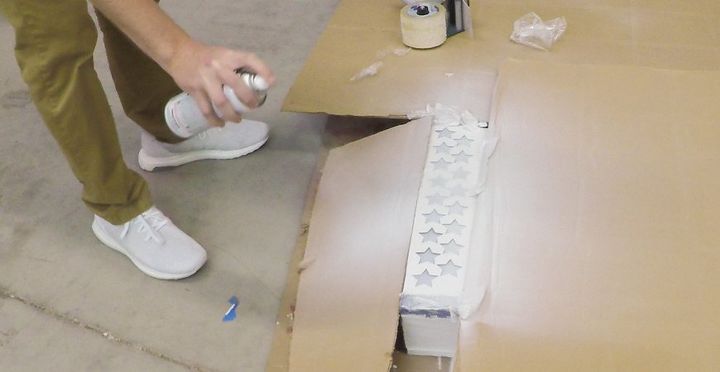
Step 6: Painting the Stars
After painting the stripes and blue area, your next step is creating a star stencil. We recommend using card-stock as a stencil, and draw out the stars as they would fit on your pallet. We used a Cricut to cut out a stencil which measured out specifically to the planks on our pallet. After cutting out your stencil, you’re going to want to place it on your pallet and start painting over it. Make sure that you secure it to the pallet with tape so it doesn’t move.
You can use either spray paint or a paint brush with white paint to make your stars. If using spray paint, make sure the stencil is as flat as can be on the surface. Also, cover all other areas around the stencil to protect them from over-spray. Use quick strokes when using the spray paint and don’t spray too much in one area to avoid pooling. For more tips on using spray paint, click here.
Tip: If using a paint brush for the stars, avoid using too much paint so your stars look neat.
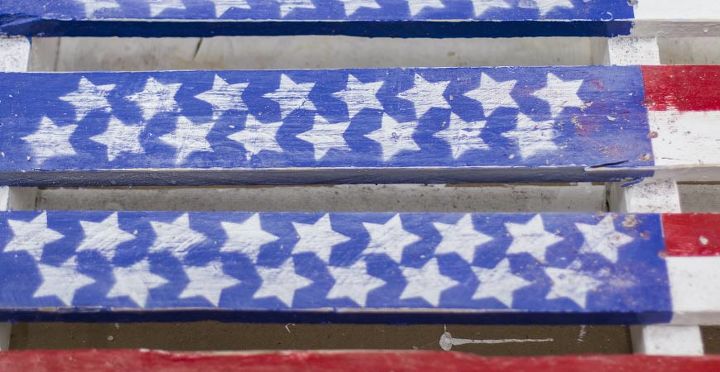
Step 7: Distressing Your Pallet Flag
After completely painting your flag, you have one more optional final step you can take to finish off the flag.
This final step involves making the pallet seem a bit more worn. After allowing your pallet flag to dry, you can take sand paper to some areas to reveal some of the natural wood underneath the paint, to give it a more distressed look. We decided to use a wood stain on our pallet as well as use some sand paper to give it the desired look we were going for. If you decide to stain your pallet, make sure to use a paint brush to apply the stain to the painted area, and then wipe off the stain with paper towels so that it isn’t too heavy on the surface. This will darken the colors and make the pallet look older then it is.
Step 8: Show It Off!
Finally, you are ready to show off your pallet to everyone. Perfect locations for displaying your pallet flag are outside on your front patio or even hanging it in your garage. One thing’s for sure though, your new flag will be the envy of all your friends and family.
For more DIY 4th of July decorations and recipes check out our blog post here.


Frequently asked questions
Have a question about this project?