The Definitive Guide to Deep-Cleaning Your Kitchen

BrightNest
by BrightNest
This isn’t your standard Saturday morning wham-bam-thank-you-ma’am cleaning session. Oh no! The difference between that half-baked cleaning and a “deep cleaning” is basically the difference between your local high school baseball team and the Braves.
The good news: if you do this deep clean 2-3 times a year, all of your weekly cleaning sessions will become drastically easier. Ok, here we go!
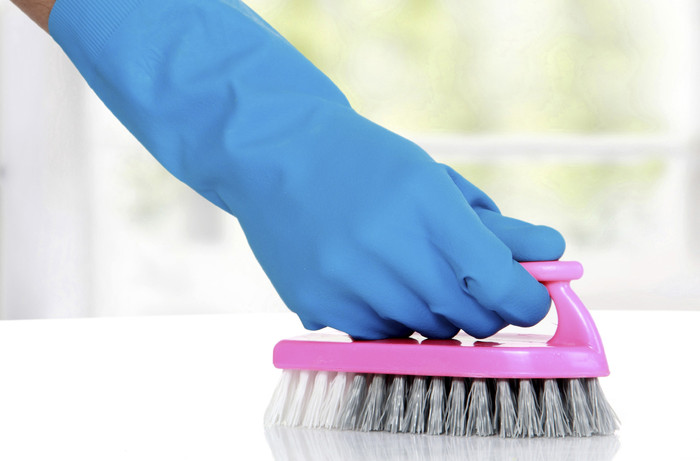
Before You Start


Clear an afternoon, because this is going to take a while. Remember, this isn’t your standard Saturday morning sesh.


Gather your tools and supplies. Here’s what you’ll need to successfully deep clean your kitchen:


Tools:


-soft cloth


-spray bottle


-sponge


-toothbrush


-broom


-microwave-safe bowl


-Supplies:


-​Easy Off


-baking soda (optional)


-white vinegar


-Bar Keeper's Friend Cooktop Cleaner (optional)


-Mrs. Meyer's Clean Day


-dish soap


-wax paper


-lemon slices


Create a game plan. While you don’t have to stick to the order below, it helps to do tasks by “zone.” For example, do everything related to your refrigerator and freezer before moving on to your stove and oven.


Zone 1: Stove and Oven


Clean Your Oven


Two options here! It's like a Choose Your Own Adventure (with your oven). Option One: Mix ½ cup of baking soda with a few drops of water. Option Two: Reach for a cold-oven storebought cleaner like Easy Off. We like Easy Off because it's fume and lye-free and powerful.


Once you've chosen your method, coat your oven walls with the paste or spray. Let the walls stay coated overnight. Tip: If you went the baking soda route and the mixture is too drippy, add more baking soda to thicken. Then next day, wipe away the paste (and the grime) with a damp cloth. If there is any remaining grime, spray or baking soda, fill a spray bottle with white vinegar and spray the oven. When the white vinegar hits the baking soda, it will foam. Do one last wipe down and admire your clean oven. Note: If you opt for a storebought cleaner, make sure to read the can directions carefully before proceeding.


Clean the Stove


First, remove your drip pans and choose your favorite method to clean them. (We’re partial to the Plastic Bag Sauna.) Then while they’re off, spray down the stove top with your white vinegar-filled spray bottle . Let the white vinegar sit for a few minutes and then wipe it away. The white vinegar will take care of any greasy residue. Tip: If your stove hasn't been cleaned since Zack was at Bayside, white vinegar may not do the trick. In that case, we recommend Bar Keeper's Friend Cooktop Cleaner.


Degrease Your Vent Hood


Greasy vent hoods are pretty disgusting. To degrease, first remove the filter. Then, fill a sink with boiling hot water and a few squirts of dish soap. Submerge the greasy filters in the water for ten minutes, and then scrub them with a sponge. Rinse and dry the filters, and return them to the vent hood.


Zone 2: Sink


Clean Your Sink


Is your sink copper? Is it porcelain ? Maybe it’s stainless steel? Depending on your sink’s material, the cleaning process is going change quite a bit. Choose the step-by-step for you and get to it!


Erase Fingerprints from the Faucet


Mix together a concoction of half white vinegar and half water. Then, using a toothbrush , scrub away the ugly fingerprints and soap scum spots. To keep the fingerprints away, rub the faucet with a piece of wax paper .


Zone 3: Refrigerator and Freezer


Inside the Fridge


Toss any expired food and leftover takeout. Then, remove the drawers and shelves and wipe them down with an all-purpose cleaner like Mrs. Meyer's Clean Day. (The Lemon Verbana Scent is amazing.) Use the same spray to wipe the inside walls of your fridge, too. Using a damp rag, wipe away the spray. Tip: If your fridge still smells funky, try one of these tricks .


On Top of the Fridge


Remove the cereal boxes and everything else that’s hanging out on top of your fridge, and then grab a clean cloth and wipe the dust away. Once the dust is gone, spritz a second cloth with disinfectant spray or Mrs. Meyer's Clean Day and wipe down the now dust-free fridge.


Inside the Freezer


Empty the freezer completely (put the food into a cooler) and then wipe it down with either a mixture of 50/50 baking soda and water or an all-purpose cleaner like Mrs. Meyer's Clean Day. If you need to defrost the freezer , go ahead and do that now, too. Wipe away the cleaner of your choice with a damp cloth and then organize your food back into the freezer. Tip: If you went the baking soda route and it's sticky, follow up with a spray of white vinegar. The white vinegar will loosen the baking soda, so you can wipe it away.


Zone 4: The Floor


Clean the Floor


Unless you have a dog, anything dropped on the kitchen floor is probably going to stay there. Take the time to sweep anything loose up from the floor with a broom and then use a mop to disinfect the floor with a mixture of ½ cup white vinegar and a gallon of warm water.


Clean the Trash Can


If your trash can is smelling funky, bring it outside and hose it down. Then spritz down the inside of the can with white vinegar and let it dry completely before putting in a fresh bag. If possible, let it dry naturally outdoors, because sunlight will kill any remaining mold. Tip: To keep the trash can fresh, try this trick .


Zone 5: Appliances


In this zone, if you’re feeling up to it, you can also clean your blender and toaster . If you clean nothing else, make sure you focus on the dishwasher and the microwave.


Disinfect Your Dishwasher


Pour one cup of white vinegar in the bottom of the dishwasher when it’s empty and run a complete cycle on the hottest temperature setting.


Clean the Microwave


Put 1-2 cups of water and a handful of lemon slices in a microwave-safe bowl . Place the bowl into the microwave and heat it for 3-5 minutes. Wait two minutes - don’t open the microwave – and then wipe the inside with a soft cloth . The heated lemon will have loosened any debris.


Zone 6: Countertops and Backsplash


Wipe Down Your Countertops (and Backsplash)


Fill a spray bottle with a mixture of half white vinegar and half water or an all-purpose cleaner like Mrs. Meyer's Clean Day, and spray down your countertop and backsplash. Using a soft cloth, wipe away the vinegar until it’s dry. If you have hard-to-fight gunk, use an old toothbrush to scrub it up. Then, repeat the vinegar spray process.


To view the full post, and for other cleaning tips, visit: http://bit.ly/1zG39qh
BrightNest
Want more details about this and other DIY projects? Check out my blog post!
Go
Frequently asked questions
Have a question about this project?
Comments
Join the conversation
 2 comments
  • ...I liked reading this,..but I do wait until everything is ' done' before I sweep - or vacuum- the floor and then mop. I start at the far left side of my kitchen, then work my way around the areas till I am finished, working from top to bottom. :)
  • Beverly Beverly on Mar 23, 2015
    what about tile floors I can't get the grout clean
Next