


HOW TO MAKE A T-SHIRT BIGGER
$5
30 Minutes
Easy
Because I’m a plus size girl, I was always afraid to buy the t-shirts at a concert. But after seeing my absolute favorite band, I knew I had to snag one – then I got it home and couldn’t wear it. Bummer, huh? You know me, though! I’m gonna make it work. So I figured out how to make a t-shirt bigger. Yeah, I did! Wanna do it yourself?

First things first, you need a t-shirt. I used a concert tee, but you can use any type you want (it’s your closet!)
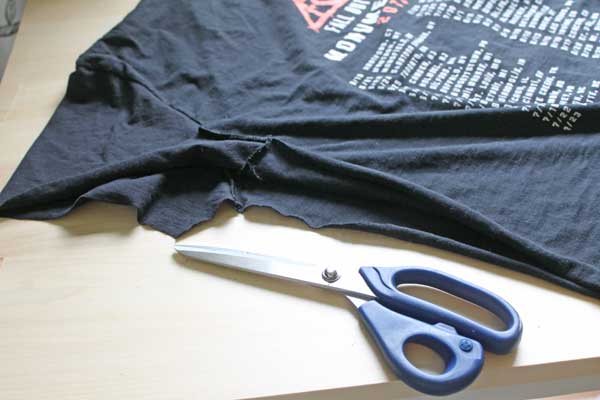
Alrighty, now we’re gonna cut it. That’s the hardest part. I almost cried a little when I cut into mine the first time. Take a deeeeep breath, then you’re going to flatten it out and cut all the way up the side through the bottom of the arm. You also want to cut off the hem on each arm, just right past the stitches (sorry, no photo of that step.)
Now you need something to fill in to make the sides bigger. You can do it with t-shirt material from the fabric store, but I found a couple of other solutions that work way better. Either take a matching maxi skirt (I always do black) or you can use yoga pants. Look for them on the clearance racks and you can do 2 shirts out of either one. If you use these, then you’ll already have a hem on the bottom edge, making the whole process much faster. If you can’t find matching, then get coordinating ones – that would look good, too. I just always buy black tees, then I know I need black filler fabric. Easy peasy.
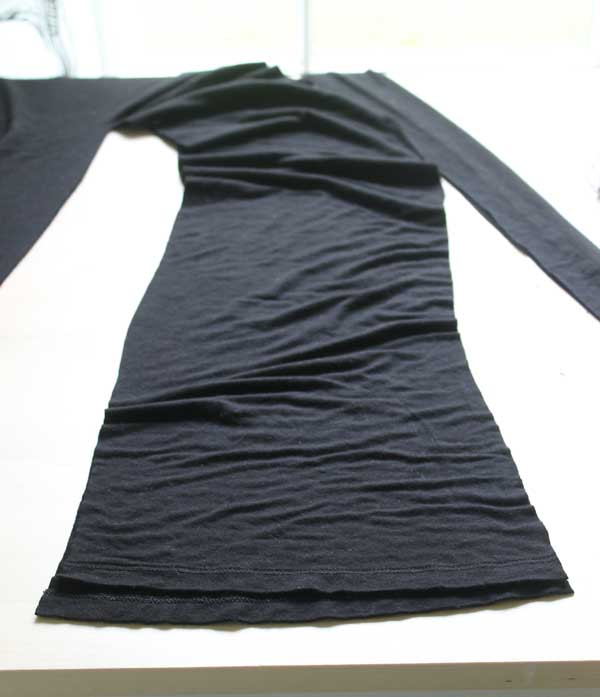
Cut a piece, starting with the hem, and make it a little longer than the side plus sleeve – but you want to taper it slightly from the hem up. To take an XL shirt to a 3X, I cut about 6 inches wide at the bottom and go up to about 5 inches on the top. Slightly tapered is perfect. Just make sure you don’t have any hems on the cuts, and you can cut both pieces at once if you just lay out the pants/skirt out flat.
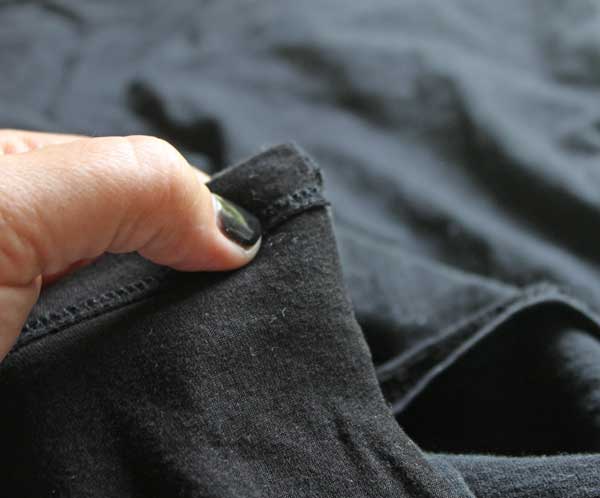
Starting from the bottom, line up the hems right side together and sew it up one side, from the bottom all the way up through the bottom of the sleeve.
Now on the other side of the same cut, line up the other edge of that same piece and stitch it together. (Make sure you back-stitch at the beginning and end.)
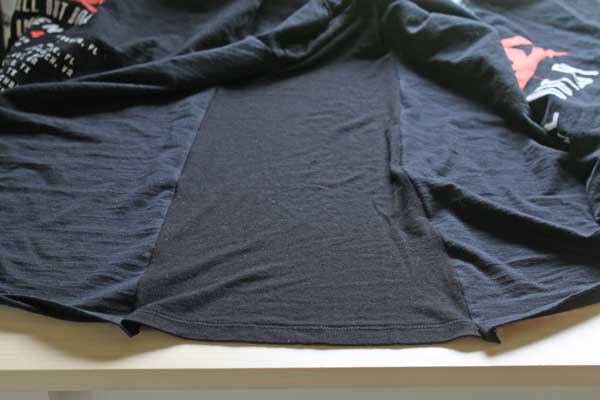
After you finish the first side, then you can use the second piece to do the other side. When it’s all sewn together, each side will look like the one above. ^^^^^^^
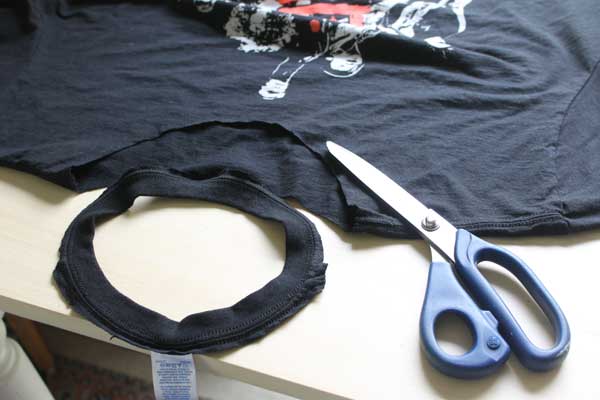
The very last step is cut out the neck (because it’s probably too small, too) and luckily t-shirt material doesn’t unravel, so it just gives it a fun/edgier look. Works great with concert tees, huh?
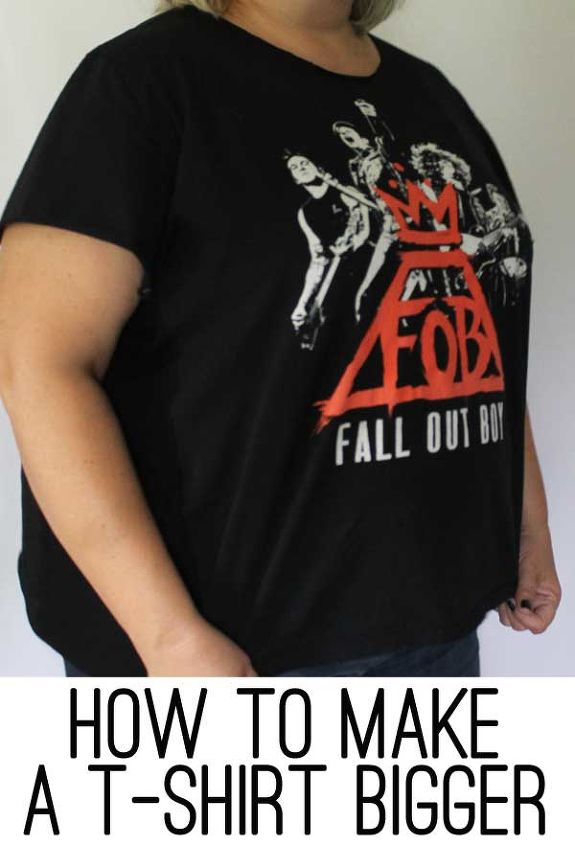
Ta da!! And that is how you do it!
Get the full tutorial over at my blog theshabbycreekcottage.com

Want more details about this and other DIY projects? Check out my blog post!


Frequently asked questions
Have a question about this project?