


DIY HEADBOARD ( SUPER EASY)

6 Materials
$20
1 Hour
Easy
If you google "definition headboard" you'll get two options:
1. an upright panel forming or placed behind the head of a bed.
2. a board on the front of a train bearing the name of the route or service for which it is being used.
I'm gonna show you how to do the first one, sorry to disappoint all of you who wanted to know how to make the second one, that's for another post..
{
"id": "4001616",
"alt": "DIY HEADBOARD BY FRIDA",
"title": "DIY HEADBOARD BY FRIDA",
"video_link": "https://www.youtube.com/embed/3ggHSSpeEXs",
"youtube_video_id": "3ggHSSpeEXs"
}
{
"width": 634,
"height": 357,
"showRelated": true
}
Check out the video above to learn how to build your own headboard or you could just read the step by step guide below! It's all up to you my friend, i won't judge...
Step 1.
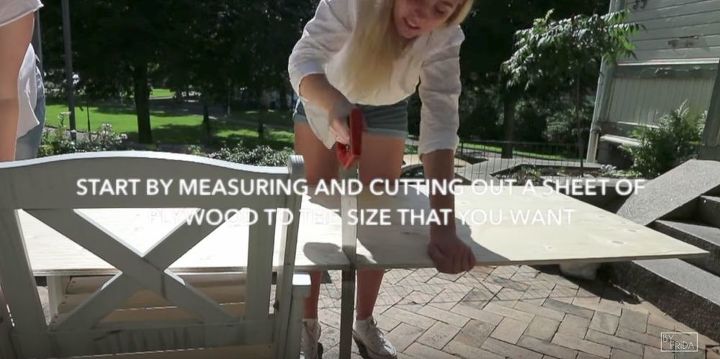
For this headboard i used a big sheet of plywood that we had from a previous DIY project. So to start of you need to measure out how big you want your headboard to be, by that i mean the length and the width. And then you cut it into the size you desire. It's not harder than that!
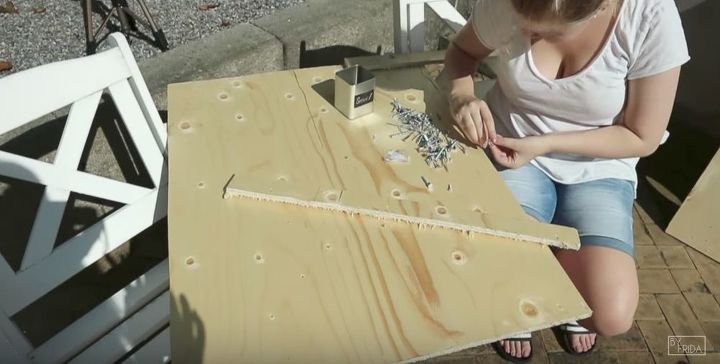
Now we're gonna have to make a decision, do we want to put legs on our headboard or do we have a big enough piece to skip that part? It's all up to you. In this video we had to put legs on it but on my headboard at home it's just one big board, as you can see on the pictures below.
The front of my headboard
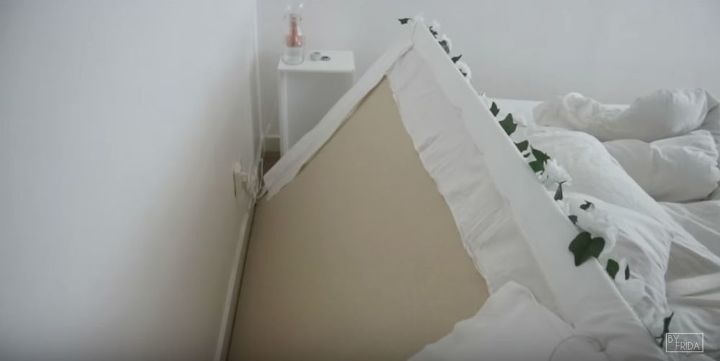
The back of the headboard
Step 2.
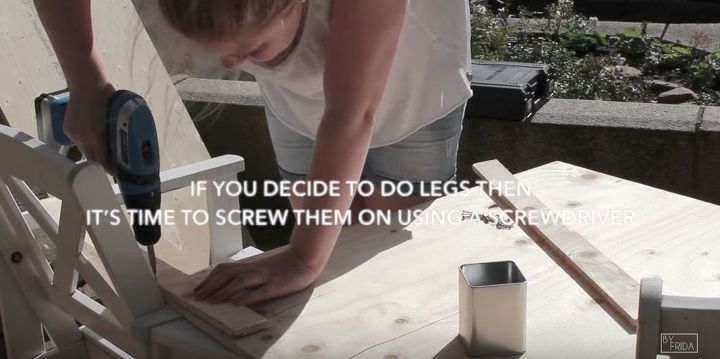
So if you decided to put legs on the headboard then it's time to screw them on, use a few more screws than you think you need just to make it extra sturdy.
We cut out the legs from the piece of plywood we had left, just two long rectangular pieces.
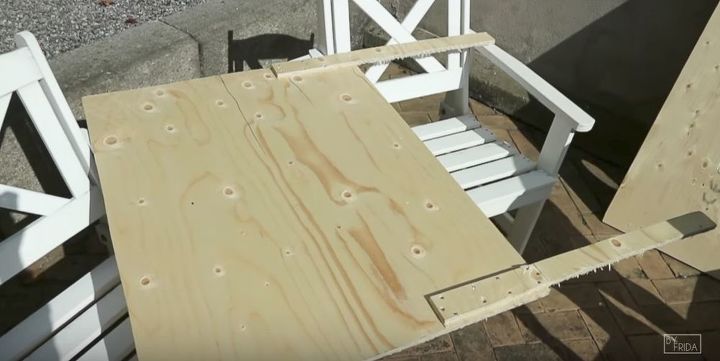
Now it should be looking something like this, but we're not done just yet...
Step 3.
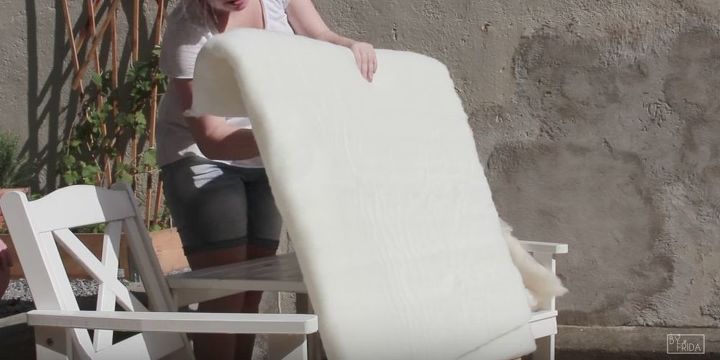
Now it's time to take your desired amount of foam and cover the front of the headboard, attach it with a staple gun.
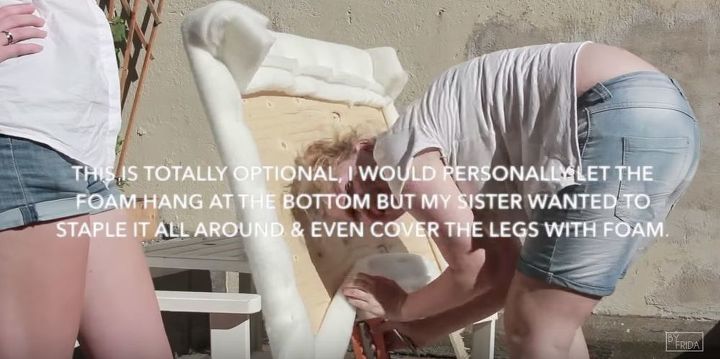
Step 4. (Optional)
Now this next step is optional, my sister wanted to cover the legs with foam so she did, since this headboard was for her house. I would personally just cover the board with foam and let the fabric that we're gonna put up soon hang over the legs, but it doesn't really matter what you do, it'll look the same.

Last step!
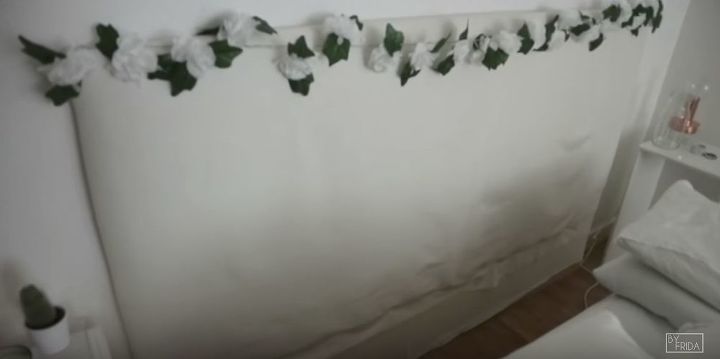
So now you need some fabric to cover up the foam, here you can go wild with a crazy color or pattern but we just went with a simple grey, it always works! So staple on the fabric and make sure that it's smooth and that you attach it all the way down to the floor, so it'll look good from all angels.
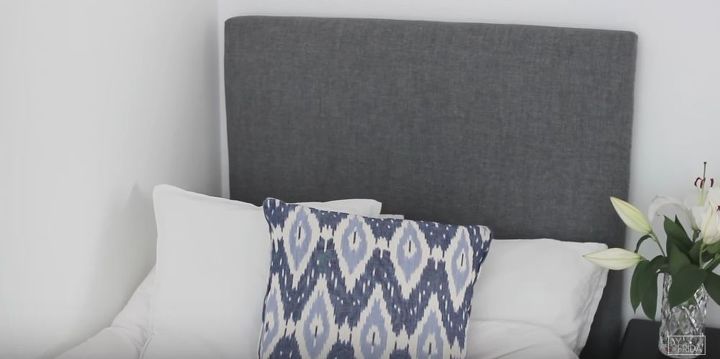
And there you have it, your DIY headboard is done! It's super easy, fast and extra fun since you get to personalize it yourself. Now i hope you enjoyed this little tutorial and that you try it out yourself, cause if i can do it i'm very sure you can too.
Resources for this project:
See all materials


Any price and availability information displayed on [relevant Amazon Site(s), as applicable] at the time of purchase will apply to the purchase of this product.
Hometalk may collect a small share of sales from the links on this page.More info
Comments
Join the conversation
2 of 24 comments
-
Yes this is great


Frequently asked questions
Have a question about this project?
How did you get it to stay on the wall? Was it staple or screwed do it didnrt moved?
Do you cut the foam the same size as the plywood or a little over?
hello, awesome idea! me/hubby started searching this a.m. for cheap easy diy headboard, he's says >> find 1 that gives me:; drawings, material list... for less than $300 & I'll make it > I said > no problem!
when you say cover fabric to the floor so it'll look good from all angles > do you mean right over the empty space in the middle of the legs? staple from top of the headboard to the bottom of the legs, all in one piece?
or all the way around not stopping/stapling under the legs?
material is goin straight accossed the empty part (in between the legs, below the bottom of the headboard.
THANK YOU SO VERY MUCH!
apologies for rambling (question longer than needed)
Lori A : )